
Can a Generator Transfer Switch Be Installed Outside
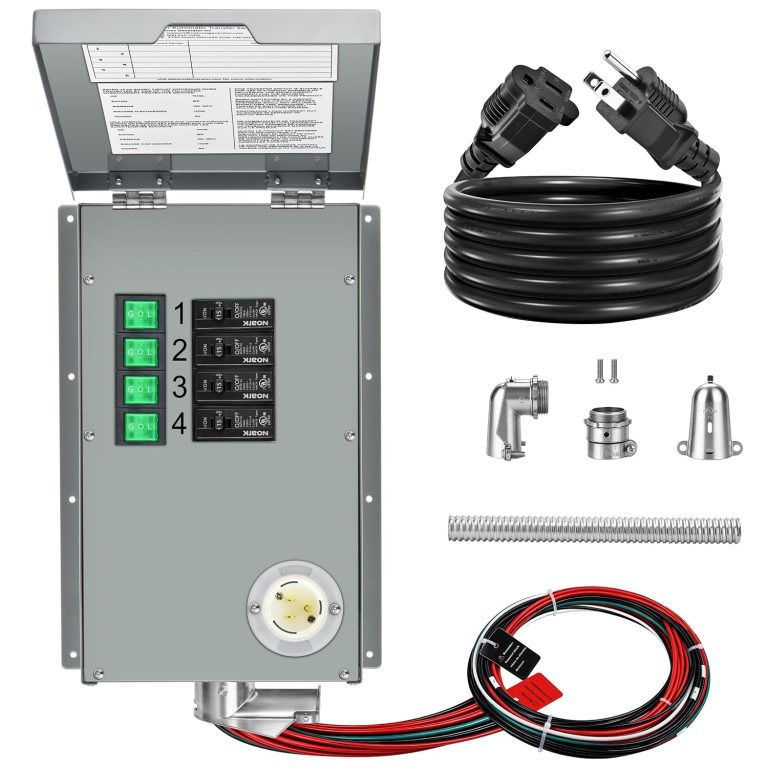
Yes, you can install a generator transfer switch outside, and in many cases, it’s actually the better choice. An outdoor-rated transfer switch is built to handle rain, snow, and direct sunlight, so you don’t need to worry about the elements damaging it. This setup keeps the switch close to your generator and your main electrical panel, which simplifies the wiring and reduces overall installation costs.
Choosing an outdoor transfer switch often comes down to where your breaker panel is located and how much space you have inside your home. We found that most homeowners prefer this option because it keeps all the high-voltage connections outside, away from living spaces. It also means you can place the switch right next to your generator for a clean, organized setup that’s easy for an electrician to service.
- Outdoor transfer switches are safe and code-compliant when rated for exterior use (NEMA 3R or higher).
- Placement flexibility is a major perk—you can mount it near the meter or the generator, no matter where your indoor panel sits.
- You must hire a licensed electrician to handle the wiring and permits; this is not a DIY job in most areas.
- Manual vs. automatic matters—outdoor manual switches are cheaper, while automatic ones start your generator without you lifting a finger.
- Weatherproofing is built-in, but you still need to ensure proper clearance and avoid low spots where water pools.
Below, we’ll walk you through the exact requirements for outdoor installation, the best types of switches for this setup, and the common mistakes to avoid so you get a safe, reliable connection every time the power goes out. For help choosing the right unit, our guide to the best generator transfer switches covers top-rated models.
Installing a Transfer Switch on the Exterior Wall
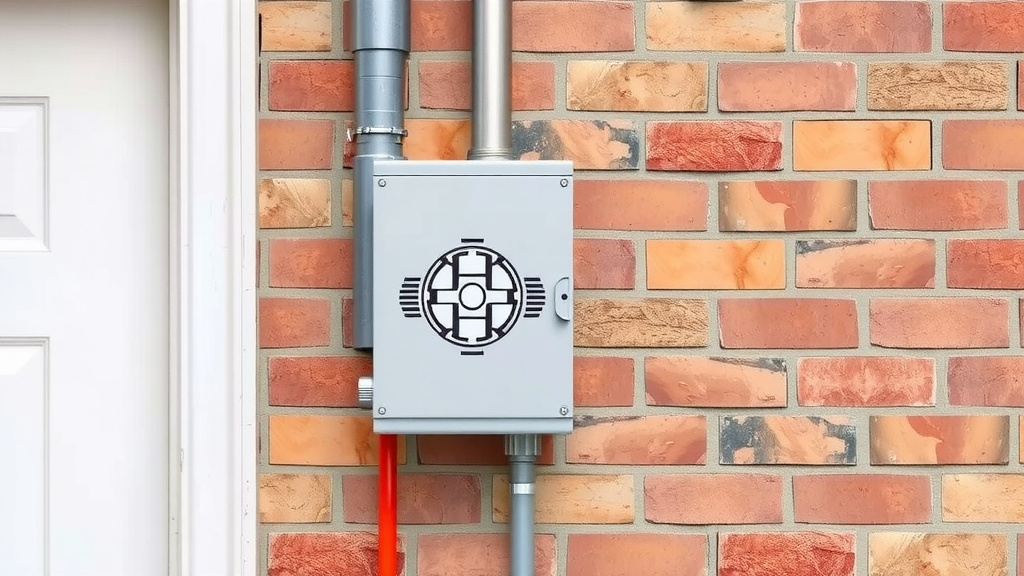
Yes, outdoor installation is completely allowed. You just need the right equipment and a licensed electrician. We found that most local building codes actually encourage this setup because it keeps heavy electrical work away from your living space.
The key is using a switch with a proper outdoor rating. Look for a NEMA 3R rating or higher. That means the box is sealed against rain, sleet, and snow. You can bolt it right next to your generator or on the wall near your electric meter.
What Makes a Transfer Switch “Outdoor Rated”?
An outdoor-rated switch has a weatherproof enclosure. The hinges and latches are rust-resistant. The gaskets keep moisture out. The interior components are protected from condensation.
You should never use an indoor-only switch outside. It will corrode quickly. Moisture will get inside and cause a short circuit. That is a fire hazard, plain and simple.
We found that most electricians prefer outdoor-rated switches because they last longer. The sealed box keeps bugs and dust out too. That means fewer service calls over the life of the unit.
NEMA Ratings Explained
You will see NEMA ratings on electrical boxes. For outdoor use, you want NEMA 3R at minimum. This rating covers rain, sleet, and ice formation. Many transfer switches use NEMA 3R enclosures.
Some models go up to NEMA 4X. That offers extra protection against corrosion and hose-directed water. Unless you live in a coastal area with heavy salt spray, NEMA 3R is plenty.
Where Exactly Can You Mount It?
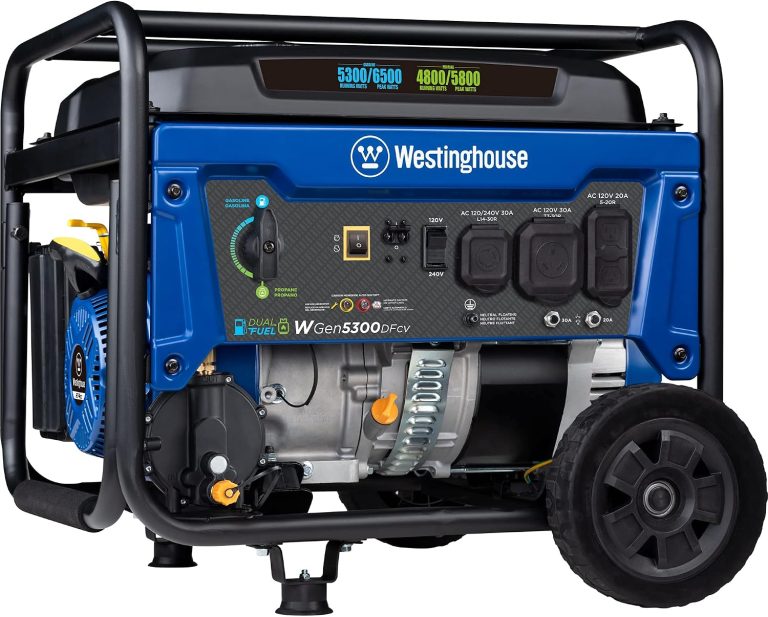
You have several good spots for an outdoor transfer switch. The most common location is right next to your generator. That keeps the high-voltage cable short and tidy.
Another great spot is on the wall beside your electric meter. This works well if your generator will sit near the meter base. Some homeowners mount it between the meter and the generator for a balanced look.
Just make sure the switch is within sight of the generator. You want to see both units when you operate them. That way, you can confirm the generator is running before you flip the switch.
Code Requirements for Outside Transfer Switches
Electrical work is heavily regulated, and for good reason. Your local building code follows the National Electrical Code (NEC). Article 702 covers standby generators and transfer switches. Your electrician will know these rules inside out.
We found that most inspectors look for three main things. First, proper grounding. Second, correct wire sizing. Third, adequate clearance around the box. Get those right, and you will pass inspection without stress.
Clearance and Mounting Height Rules
The switch needs breathing room. Most codes require at least 36 inches of clear space in front of the box. That gives you room to open the door and work safely.
The mounting height matters too. The center of the switch handle should be between 4 and 6 feet off the ground. That puts it at easy reach for an adult. It also keeps it above typical snow levels in colder states.
You also need to keep the switch away from windows and doors. Exhaust fumes from the generator must not enter the house. The National Electrical Code has specific spacing requirements for generator exhaust, so your electrician will factor that in.
Permits and Inspections
You will need a permit before any work starts. Your electrician pulls the permit from your local building department. This is not optional. Skipping the permit can cause major headaches later.
Here is why the permit matters. An inspector will verify the work meets code. If you ever sell your house, the transfer switch must have documentation. Unpermitted electrical work can kill a real estate deal.
Many experts say the permit fee is small compared to the safety it provides. Most fees range from 50 to 200 dollars depending on your city. That is a small price for peace of mind.
Manual vs. Automatic Outdoor Transfer Switches
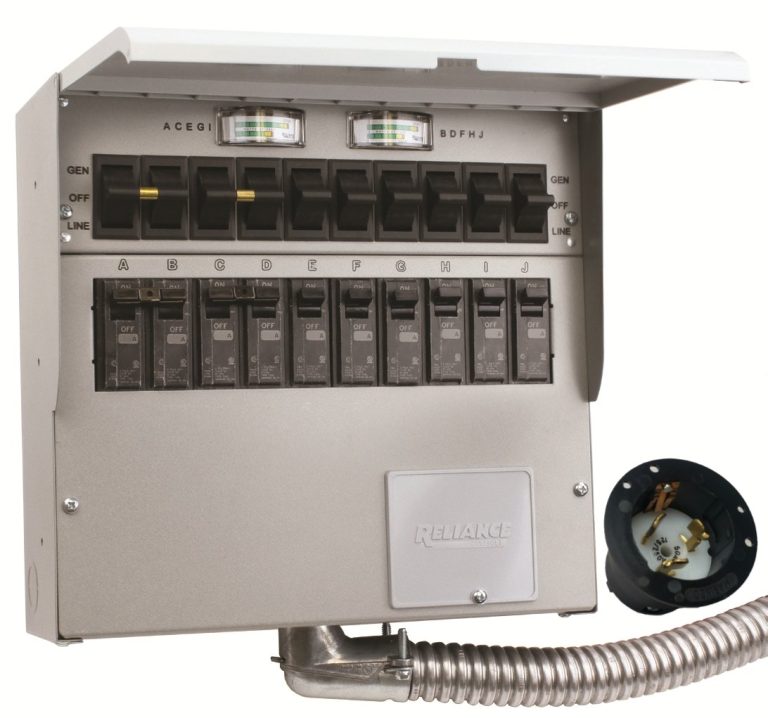
You have two main choices for an outdoor unit. A manual transfer switch requires you to flip it by hand. An automatic transfer switch detects a power outage and starts your generator by itself.
We found that most homeowners choose based on budget and lifestyle. Manual switches cost less but need your attention during an outage. Automatic switches cost more but run without any input from you.
Think about your situation. Are you home during most outages? Do you travel often? If you work long hours away from home, an automatic switch protects your pipes and fridge while you are gone.
Cost Comparison for Outdoor Models
Outdoor manual transfer switches typically run between 300 and 700 dollars. Automatic units range from 800 to 2,500 dollars. Installation labor adds several hundred more, depending on your area.
Your generator size also affects the switch cost. A 10-circuit manual switch costs less than a 20-circuit model. More circuits mean more breakers and a bigger enclosure.
| Switch Type | Typical Cost | Best For |
|---|---|---|
| Manual, 6-10 circuits | 300 – 500 | Small homes, tight budgets |
| Manual, 14-20 circuits | 500 – 700 | Larger homes, more circuits |
| Automatic, 10-14 circuits | 800 – 1,500 | Hands-off operation |
| Automatic, 20+ circuits | 1,500 – 2,500 | Whole-house backup |
These prices are typical for major brands like Generac and Reliance. We found that automatic units pay for themselves in convenience. You never have to go outside in a storm to flip a switch.
Load Management with Outdoor Switches
Automatic switches often include load shedding features. This helps your generator handle big appliances without tripping. The switch can turn off the AC for a few minutes while the water heater runs.
This is a huge benefit for outdoor installation. You can mount the load management module right next to the transfer switch. That keeps all the control wiring outside the house too.
Many experts say this setup is cleaner than indoor alternatives. You avoid running multiple cables through your exterior walls. The entire backup system lives in one weatherproof location.
Weatherproofing and Protection Tips
An outdoor-rated switch is built for the elements. But you still need to install it properly. Water pooling is the biggest enemy. Mount the switch where rain runs away from it, not toward it.
Check the drip loops on the conduit. The wiring should enter from the bottom or side with a drip loop. That prevents water from running along the cable and into the box.
We also recommend keeping the area clear of vegetation. Bushes and vines can trap moisture against the enclosure. Trim back any growth that comes within 12 inches of the box.
Direct Sunlight and Heat Concerns
Direct sun can heat up the enclosure over time. Most outdoor switches handle this fine. The internal components are rated for high ambient temperatures.
However, you should avoid mounting the switch on a south-facing wall in extreme climates. If the box gets too hot, the thermal overload protection may trip. That would shut down your generator during a summer outage.
We found that installing the switch on a north or east wall avoids most heat issues. If that is not possible, a small awning or shade structure helps. Just make sure the shade does not block your access to the handle.
Coastal and High-Humidity Installations
Salt air is brutal on electrical equipment. If you live near the coast, choose a switch with a stainless steel enclosure. Standard painted metal will rust within a few years.
Look for models with sealed gaskets and corrosion-resistant hardware. You can also spray the terminals with a dielectric grease. That adds an extra layer of protection against salt and moisture.
Many experts say coastal homeowners should inspect their outdoor switch twice a year. Look for rust, discoloration, or water stains. Catching small issues early prevents bigger problems down the road.
Common Mistakes to Avoid During Installation
We have seen plenty of outdoor transfer switch installs go wrong. Most issues come from poor planning, not bad equipment. Here are the biggest mistakes we found in our research.
First, do not mount the switch too low. Snow drifts can bury it. Second, do not place it under a roof drip line. Water falling from the eaves will hit the box.
Third, never use indoor-rated wire for the outdoor run. UV rays break down standard insulation quickly. You need wire rated for sunlight exposure.
The Grounding and Bonding Mistake
Grounding is the most common inspection failure. An outdoor transfer switch must be properly bonded to your grounding electrode system. That usually means connecting it to the same ground rod as your main panel.
Your electrician will run a grounding conductor from the switch to the ground rod. This creates a safe path for fault current. Skipping this step is dangerous and illegal.
We found that many DIY attempts fail exactly here. That is why we strongly recommend hiring a licensed professional. One small mistake can create an electrocution hazard.
Ignoring Generator Exhaust Placement
Generators produce carbon monoxide. You must place the generator and switch away from doors and windows. The exhaust needs to blow away from the house.
Your transfer switch can be mounted near the generator, but not directly in the exhaust path. Heat and fumes will degrade the enclosure over time. Keep at least 5 feet between the exhaust outlet and the switch.
We also found that generators should sit at least 18 inches from the house wall. This gives the exhaust room to dissipate. Your local code may require even more distance, so check with your electrician.
Checklist for Your Outdoor Transfer Switch Project
Before you hire anyone, run through this quick checklist. It will save you time and money. It also helps you ask the right questions during the estimate.
- Confirm your generator output voltage and amperage match the switch rating.
- Verify the switch has a NEMA 3R or higher outdoor rating.
- Choose a mounting location with easy access and proper clearance.
- Ask your electrician about permit requirements in your city.
- Plan for a concrete pad or gravel base for your generator.
- Schedule a final inspection after installation is complete.
We found that homeowners who follow this checklist rarely run into problems. The process is straightforward when you prepare. Your electrician will appreciate the clear planning.
Remember, the goal is a safe, code-compliant setup that works when you need it most. An outdoor transfer switch delivers exactly that. You just need the right equipment and a qualified pro to install it.
Conclusion
An outdoor transfer switch is a safe, smart choice for most homes. It keeps high-voltage work outside, cuts down on wiring costs, and puts everything right next to your generator. You just need a NEMA 3R-rated box and a licensed electrician to handle the install.
Before you book the job, pick your mounting spot and double-check your local permit rules. Then call at least two electricians for quotes. Ask them about clearance, grounding, and generator exhaust placement. A little planning now means you will not be scrambling when the next storm knocks out your power.
Frequently Asked Questions
Can I install a transfer switch myself to save money?
Most areas require a licensed electrician to do this work. You also need a permit and a final inspection. DIY electrical work on a transfer switch is dangerous and can void your home insurance.
Does an outdoor transfer switch need its own breaker?
No, the transfer switch connects between your meter and your main panel. It does not need a separate breaker. The generator’s built-in breaker handles overload protection.
Will rain ruin an outdoor-rated transfer switch?
No, a NEMA 3R-rated box is sealed against rain and snow. The gaskets and latches keep moisture out. Just make sure the conduit enters from the bottom and has a drip loop.
How far should the transfer switch be from the generator?
Keep the switch close to the generator, but at least 5 feet from the exhaust outlet. You want a short cable run, but you do not want heat and fumes hitting the box.
Can an outdoor transfer switch be mounted on vinyl siding?
Yes, but your electrician will need to use standoff brackets. That keeps the box away from the siding and allows air to flow behind it. This prevents moisture from getting trapped against the wall.