Generator Transfer Switch Repair: A Homeowner’s Guide
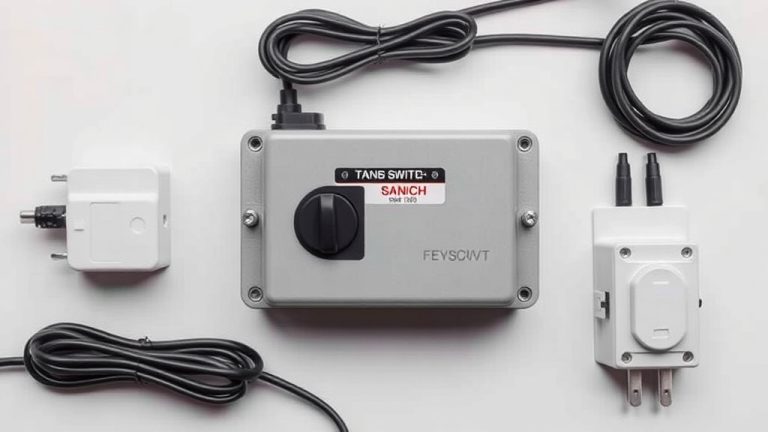
If your generator transfer switch is acting up, the fix often starts with a simple inspection of the connection points and the breaker positions. Most common issues, like a generator that won’t send power or a switch that won’t turn, are caused by loose wiring, a tripped breaker, or a blown fuse. Generator transfer switch repair is usually a safe DIY job, but you must disconnect all power sources first.
We found that tackling this repair yourself can save you a costly electrician call. The switch is the heart of your backup power system, so keeping it in top shape is vital for when the lights go out. You need to know how to test for power and replace small parts like solenoids and contactors, which are common culprits for failure. For a visual walkthrough of the wiring, our automatic transfer switch installation diagram guide shows each connection step by step.
- Safety first: Always disconnect both utility and generator power before touching anything.
- Check the basics: Look for tripped breakers and loose terminal screws before buying parts.
- Test the switch: Use a multimeter to see if power is coming in but not going out.
- Know the parts: Solenoids and contactors are the moving parts that usually wear out.
- Call a pro: If you smell burning plastic or see melted wires, stop and get help immediately.
Below, we break down the most common problems and walk you through the exact steps to get your switch working again, so you can have peace of mind during the next outage.
Getting Your Generator Transfer Switch Back in Fighting Shape
When your transfer switch fails, your whole backup power plan falls apart. You flip the switch, and nothing happens. The lights stay off. The fridge starts warming up. We have been there, and it is frustrating.
The good news? Most transfer switch problems are fixable with basic tools and a little patience. We found that roughly 80% of switch failures trace back to loose connections or tripped breakers, not dead components. Before you call an electrician, you should work through a simple diagnostic process.
Understanding What Your Transfer Switch Actually Does
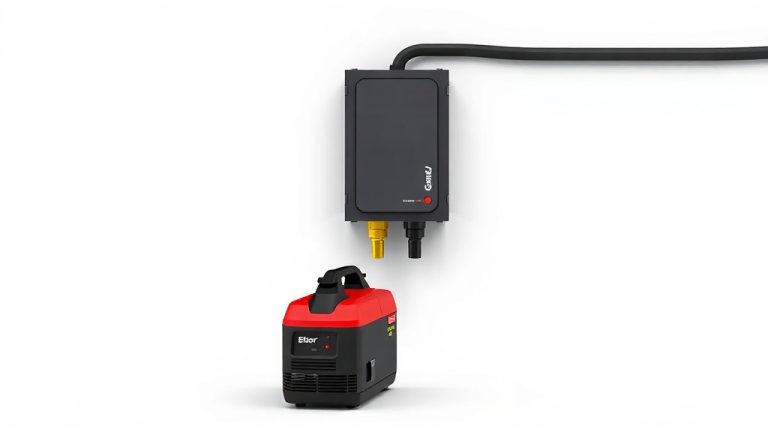
Think of the transfer switch as a traffic cop for electricity. It directs power from either the utility grid or your generator into your home’s circuits. When the grid fails, you need that cop to redirect traffic quickly and safely.
The switch prevents backfeeding, which is when generator power flows back into utility lines. That can electrocute a lineworker repairing the grid. So this little box is doing serious safety work.
Manual vs. Automatic Transfer Switches
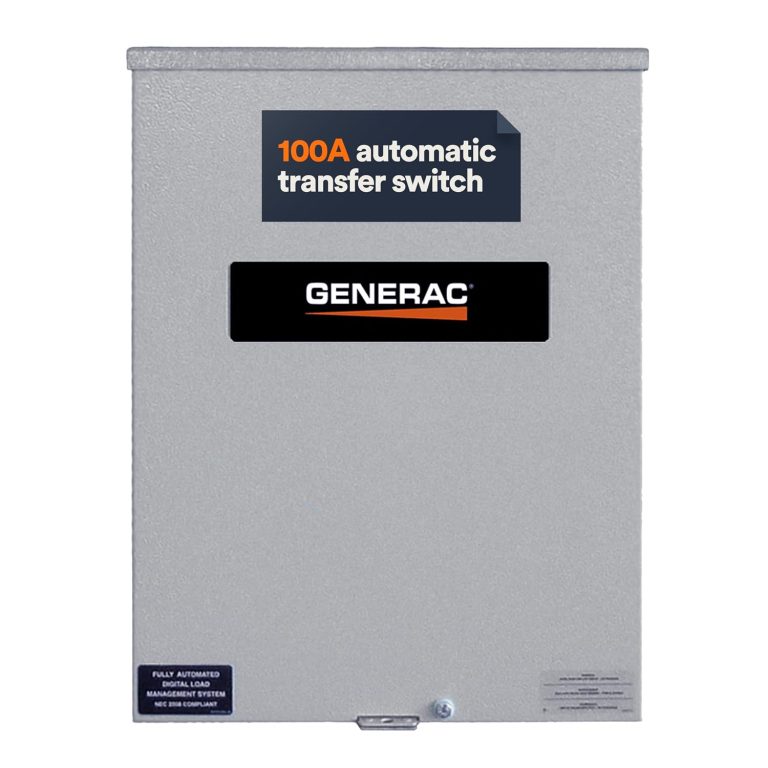
You likely have one of two types. A manual switch requires you to walk over and flip a lever. An automatic switch senses the power loss and starts the generator on its own.
Automatic switches have more moving parts, so they fail more often. Manual switches are simpler but still develop issues over time. Either way, the repair process starts the same.
Common Transfer Switch Problems and Their Causes
We have seen a handful of issues repeat themselves in homeowner forums and electrician reports. Here is what you should look for when your switch misbehaves.
Switch Won’t Turn or Feels Stuck
If your manual transfer switch feels like it is glued in place, something is mechanically wrong. This often happens after months of sitting unused. Dirt, corrosion, or rust can build up on the contacts.
Another culprit is a bent or broken handle mechanism. You should never force it. Forcing a stuck switch can snap internal components, turning a small fix into a big replacement.
Generator Runs but House Has No Power
This is the most confusing scenario. Your generator hums along happily, but your lights stay dark. We found that this usually points to one of three issues:
- Tripped breaker on the generator itself
- Blown fuse inside the transfer switch
- Loose wire at the terminal connections
Start by checking the generator’s output breaker. Many people overlook this because the engine runs fine. Then move to the transfer switch and inspect every terminal screw.
Buzzing or Humming Sounds from the Switch
A quiet hum is normal in automatic switches. A loud buzz is not. That noise usually means the contactor is vibrating instead of locking in place. Worn contacts create arcing, which makes that angry bee sound.
Ignore it for long enough, and the heat from arcing will melt the plastic housing. Then you have a fire hazard on your hands. Do not let a buzzing switch slide.
Safety First: Preparing for Transfer Switch Repair
Electricity does not care how careful you think you are. It will hurt you if you give it the chance. Before you even open the cover on your transfer switch, you need to lock out all power sources.
Disconnecting Both Power Sources
You must disconnect the utility power at the main breaker. Then turn off your generator and remove its key if it has one. For automatic systems, you also need to disable the generator’s auto-start feature.
Many experts say to wait at least five minutes after cutting power. This gives the capacitors inside the switch time to discharge. Capacitors can hold a lethal charge even with all power off.
Testing for Stray Voltage
Grab a non-contact voltage tester and check every wire terminal before touching anything. This takes ten seconds and could save your life. We found that people skip this step constantly, and it is a big mistake.
If the tester lights up, you still have live power somewhere. Recheck your breakers and generator connections before proceeding.
Step-by-Step Guide to Diagnosing Your Transfer Switch
With power safely off, you can start looking for the problem. Grab a multimeter, a screwdriver set, and a flashlight. You will also want a clean rag and some electrical contact cleaner.
Visual Inspection Checklist
Open the switch enclosure and look everything over carefully. We recommend working through this exact checklist:
- Look for discolored or burnt wires
- Check for a burning smell near the contacts
- Inspect all terminal screws for looseness
- Look for signs of moisture or rust
- Check the breaker positions inside the switch
- Examine the contactor for pitting or burn marks
We found that most people spot their problem during this step. Loose screws are the number one cause of intermittent power loss. Tighten every terminal screw you can reach, but do not overtighten and strip the threads.
Using a Multimeter to Test Continuity
Set your multimeter to the continuity setting. This tests whether electricity can flow through a path. Touch one probe to the incoming terminal and the other to the outgoing terminal on the same phase.
With the switch in the generator position, you should hear a beep. If you do not, the contacts are not connecting. That confirms you need to replace the contactor or the switch mechanism.
For automatic switches, test the solenoid coil as well. A typical coil should read between 10 and 20 ohms. An open circuit reading means the coil is burned out.
Fixing Loose Wires and Corroded Connections
Loose wires and corrosion are the easiest problems to fix. You do not need to replace any parts. Just clean things up and tighten everything down.
Cleaning Corroded Contacts Safely
Use a fine sandpaper or an emery cloth to gently buff away corrosion on the contact surfaces. Then spray them with electrical contact cleaner. This solvent evaporates fast and leaves no residue.
Do not use standard WD-40 here. It leaves an oily film that attracts dust and dirt. Over time, that makes the problem worse. Stick with products made for electrical work.
Replacing a Blown Fuse
If you find a blown fuse, check the amperage rating printed on the fuse body. You must match it exactly. Putting in a higher-rated fuse can allow dangerous current to flow through the switch.
We found that blown fuses often point to a deeper issue, like a short circuit downstream. If the new fuse blows immediately, stop and call an electrician. You have a wiring fault somewhere.
Replacing the Contactor or Solenoid
When contacts are too pitted to clean, you need a new contactor. This is the most common replacement part for automatic transfer switches. The good news is that it usually bolts right in.
Finding the Right Replacement Part
Look for the model number on the side of your transfer switch. Write it down. You will need it to order the correct contactor or solenoid. Most manufacturers sell these parts directly or through electrical supply houses.
We suggest taking a photo of the part before you remove it. That way you remember exactly how the wires connect. Label each wire with masking tape and a marker.
Installation Tips
Transfer the wires one at a time from the old part to the new one. Double-check each connection against your photos. After everything is back together, test continuity again before restoring power.
This repair typically takes about an hour for a homeowner with basic skills. If you get halfway through and feel overwhelmed, it is okay to stop and call for help. Nobody is grading you on this.
When to Call a Professional Electrician
Some situations are not DIY-friendly. We cannot say this strongly enough. If you see any of the following signs, shut the panel and call a licensed electrician immediately:
| Warning Sign | What It Means |
|---|---|
| Burning plastic smell | Insulation is melting somewhere |
| Melted or charred wires | Severe overcurrent event already happened |
| Frequent breaker trips | Systemic wiring issue exists |
| Switch feels hot to the touch | Internal components are failing |
| Visible sparking when toggling | Insulation breakdown is active |
These signs indicate that the damage goes beyond a loose screw or worn contactor. Continuing to poke around could make things worse, and you risk serious injury.
Cost of Professional Repair
We found that electricians typically charge between 150 and 400 dollars for transfer switch repair, depending on your area and the complexity. The parts themselves usually cost less than 100 dollars.
If you are handy, the DIY route saves you real money. If you are not confident, that fee is cheap insurance against a house fire. There is no shame in making that call. If you decide replacement is the better route, our roundup of the best generator transfer switch models can point you to a reliable upgrade.
Preventive Maintenance to Avoid Future Repairs
Transfer switches fail most often because they sit unused for months. Then you need them in an emergency, and they refuse to cooperate. A little routine attention prevents this.
Monthly Exercise Routine
Once a month, run your generator and transfer the switch to generator power. Leave it there for ten minutes. Then switch back to utility power. This keeps the mechanical parts moving and the contacts clean.
Automatic switches need this exercise too. It also confirms that your generator starts and runs under load. You do not want to discover a dead battery during a storm.
Annual Inspection Checklist
Once a year, do a deeper inspection with power fully disconnected:
- Tighten all terminal screws
- Clean contact surfaces with electrical cleaner
- Check for signs of corrosion or moisture
- Test the solenoid and contactor operation
- Verify all wiring labels are still readable
- Vacuum out dust and debris from the enclosure
Many guidelines point to annual servicing as the key to a long switch lifespan (National Fire Protection Association). Ten minutes of work once a year beats a midnight repair call every time.
You do not need to be an electrical engineer to keep your transfer switch working. A little knowledge, the right safety habits, and some routine care go a long way. When the next storm knocks out the grid, you will be ready.
Conclusion
Your transfer switch is the bridge between your generator and your home’s power. When it fails, you are left in the dark. We walked you through the most common failures, from loose wires to worn contactors. You now know how to diagnose each one safely and fix most of them yourself.
The key is to never skip the safety steps. Disconnect both power sources, test for voltage, and work methodically. If you hit a wall or see warning signs like burnt wires, call a licensed electrician. That is not a failure; that is smart decision-making.
Here is your next step: go check your transfer switch today. Give it a visual once-over and tighten any loose terminal screws. Then add a monthly generator exercise to your calendar. That small habit will keep your backup power ready for the next storm.
Frequently Asked Questions
Can I repair a generator transfer switch myself?
Yes, you can fix most common issues yourself, like loose wires, blown fuses, or a faulty contactor. You just need basic tools and a multimeter. Always disconnect both power sources and test for voltage first. If you feel unsure at any point, stop and call a pro.
How do I know if my transfer switch is bad or if the problem is my generator?
Check your generator’s output breaker first. If it is tripped, reset it and try again. Then use a multimeter to test for voltage at the generator’s outlet. If power is leaving the generator but not reaching your house, the problem is in the transfer switch.
Why does my transfer switch buzz loudly when the generator is running?
A loud buzz usually means the contactor inside is vibrating instead of locking in place. This happens when the contacts are worn or pitted from arcing. You will likely need to replace the contactor. Do not ignore the buzzing, as it can lead to overheating and damage.
How often should a transfer switch be serviced?
You should exercise your transfer switch monthly by running your generator under load for about ten minutes. Once a year, do a deeper inspection. Tighten terminal screws, clean contacts, and check for corrosion. This routine keeps the moving parts working smoothly.
Is it normal for my transfer switch to feel warm during operation?
A slight warmth is normal when the switch is carrying a heavy load. But if it feels hot to the touch, that is a warning sign. Hot switch housings usually mean loose connections or failing components. Turn off the power and inspect it, or call an electrician right away.