Can a Generator Transfer Switch Be Installed Inside
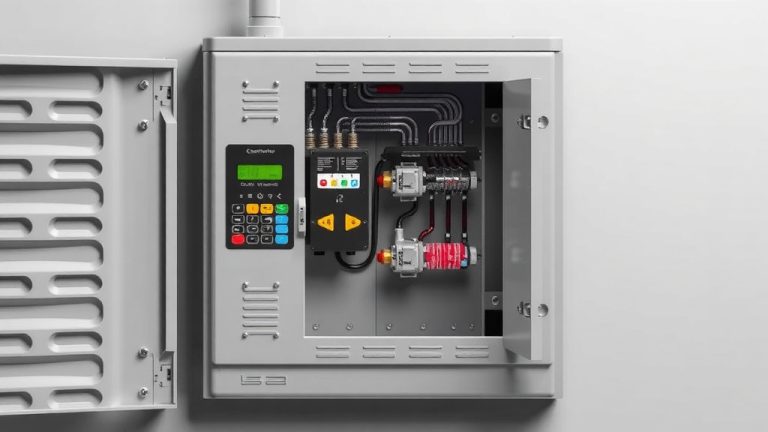
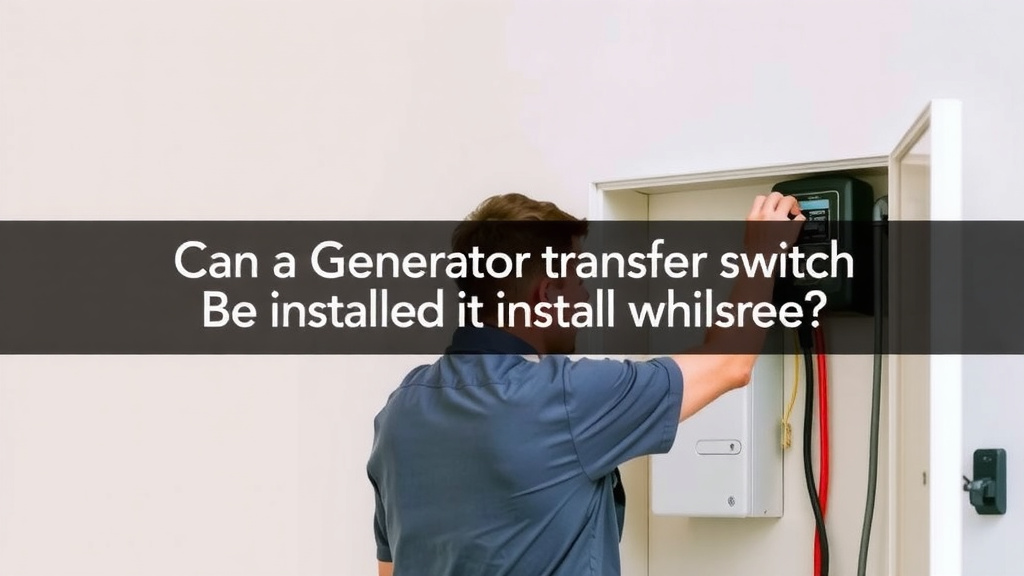
Yes, you can install a generator transfer switch inside your home, and in many cases, it’s actually the safest and most practical choice. Indoor installation protects the switch from harsh weather, keeps wiring runs shorter, and makes it easier to access during a storm. The key is choosing a properly rated indoor enclosure and following local electrical codes for clearance and ventilation.
Most portable generator setups use a manual transfer switch that mounts on an interior wall near your main electrical panel. We found that basements, utility rooms, and garages are the most common locations because they offer dry, secure spaces with easy access to your breaker box. While outdoor-rated switches can go outside, indoor units often cost less and give you a cleaner installation overall.
- Yes, indoor installation is completely legal and common for transfer switches.
- You need an indoor-rated switch, not an outdoor-rated model, for interior mounting.
- Place it near your main panel to keep wiring simple and reduce costs.
- Check your local code for clearance requirements around the switch.
- Never install it in a damp area like a crawlspace or unventilated bathroom.
Below, we’ll walk you through exactly what you need to know about mounting a transfer switch inside, including placement rules, safety tips, and the mistakes to avoid.
Installing a Generator Transfer Switch Indoors: What You Need to Know
Yes, you can mount a transfer switch on an interior wall. In fact, we found that most homeowners prefer this setup. It keeps the unit dry, clean, and easy to reach during a blackout. The real question is not if you can install it inside, but how to do it correctly.
Your local electrical code will guide the exact placement. But the general rules are simple. You need a dry location, enough clearance for the door to swing open, and a path for the wires to reach your main panel.
Why Indoor Installation Makes Sense for Most Homes
Think about where your main breaker panel lives. It is almost always indoors. Mounting the transfer switch right next to it shortens the wiring run. That saves you money on cable and reduces the chance of voltage drop.
Outdoor switches have to withstand rain, snow, and extreme heat. Indoor units do not need that heavy-duty weatherproofing. Many experts say this makes indoor-rated switches more affordable. You also avoid kneeling in the mud to flip a switch during a storm.
Common Indoor Locations That Work Well
We found that basements are the top choice for most families. They are dry, cool, and usually have exposed ceiling joists for easy wiring. A utility room or laundry room is a close second. Garages work too, but only if they are finished and climate-controlled.
Avoid bathrooms, crawlspaces, and rooms with high humidity. Moisture is the enemy of electrical components. Even a small amount of condensation can rust the contacts and cause a short circuit later.
Choosing the Right Switch for Interior Mounting
Not every transfer switch is built for indoor use. You have to check the enclosure rating before you buy. The National Electrical Code (NEC) classifies these enclosures with a NEMA rating. For indoor use, you want a NEMA 1 rating.
NEMA 1 is the basic indoor rating. It protects against dust and accidental contact with live parts. It does not protect against water. If you see a NEMA 3R rating, that is for outdoor use. It is weatherproof but often costs more than you need.
Manual vs. Automatic Transfer Switches
Most portable generator setups use a manual transfer switch. You walk over to it, flip the main breaker off, and then switch to generator power. It is simple, reliable, and costs less.
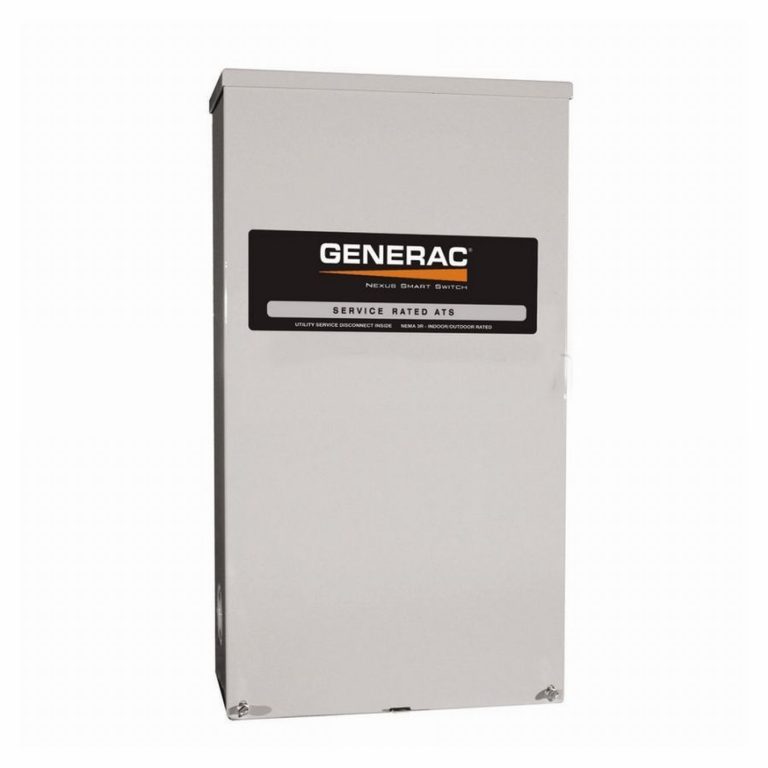
Automatic transfer switches (ATS) are for standby generators. They detect a power outage and start the generator on their own. These are usually installed outside next to the generator unit. If you have a portable generator, stick with a manual switch. It keeps the installation simpler and your budget happier.
Where to Buy a Properly Rated Indoor Switch
Big-box home improvement stores carry common models from brands like Reliance and Generac. You can also order online from electrical supply houses. Just double-check the NEMA rating on the box before you purchase.
We found that a 30-amp transfer switch with 6-10 circuits covers most homes. That lets you power your fridge, furnace, well pump, and a few lights. If you have a larger home, consider a 50-amp model with more circuit slots.
Clearance and Placement Rules You Cannot Skip
Your transfer switch needs breathing room. The National Electrical Code (NEC) requires at least 36 inches of clearance in front of the panel. That means you need a clear path to stand and operate it comfortably. This is the same rule that applies to your main breaker panel.
The switch should be mounted at a height that is easy to reach. Around 5 feet from the floor is typical. This puts the handles and breakers at a comfortable level for most adults. Do not mount it so high that you need a step stool to operate it.
Ventilation and Heat Considerations
Transfer switches generate very little heat during normal operation. They are not like generators. So you do not need special ventilation. A normal room with standard airflow is fine.
But do not mount it inside a closed cabinet or a sealed box. The switch needs some airflow to stay cool. And you need to be able to see the indicator lights and labels clearly. A utility room shelf or an exposed wall near the panel is perfect.
Fastening the Switch to the Wall
Use lag bolts or heavy-duty screws to secure the enclosure to wall studs. Do not just screw into drywall. The switch holds heavy cables inside, and you will pull on the handles during operation. A secure mounting prevents accidents and keeps the unit safe.
Many switches come with a paper template for drilling holes. Use it to mark your mounting points. Make sure the box is level before you tighten everything down. A crooked switch looks bad and can make the breakers hard to flip.
Wiring the Transfer Switch to Your Main Panel
This is where you need to be honest with yourself. Wiring a transfer switch involves working with live electrical panels. The risk of serious injury is real. Many guidelines point to hiring a licensed electrician for this part (OSHA).
If you have experience with electrical work, you can do it yourself. But you must shut off the main breaker first. You will also need to remove the knockouts on the panel and install the proper cable clamps. The transfer switch routes power from the generator into specific circuits in your home.
Why You Need an Interlock Kit or a Dedicated Panel
There are two main ways to wire a transfer switch. The first is a breaker interlock kit. This is a metal plate that slides between the main breaker and the generator breaker. It physically prevents both from being on at the same time. This is the most affordable option.
The second option is a dedicated transfer switch panel. This is a small sub-panel that feeds specific circuits you choose. You move those circuits from your main panel into the transfer switch. This is cleaner and easier to use, but it costs more.
Wiring Mistakes That Could Burn Your House Down
One common mistake is backfeeding. This means plugging a generator into a wall outlet and letting power flow backward through the circuit. This is extremely dangerous. It can electrocute utility workers and damage your electronics.
Another mistake is using the wrong wire gauge. A 30-amp circuit needs at least 10-gauge wire. A 50-amp circuit needs 6-gauge. Using thinner wire causes overheating and fires. Check the manufacturer’s manual for the exact requirements.
Step-by-Step Checklist for a Safe Indoor Installation
Before you start, print this checklist and keep it near your tools. It will keep you on track and safe.
- Confirm your NEMA rating — make sure the switch says NEMA 1 for indoor use.
- Measure your clearance — keep 36 inches of open space in front of the switch.
- Shut off the main breaker — verify it is off with a voltage tester.
- Mount the box to studs — use lag bolts, not drywall anchors.
- Run the generator cable — through a wall port or an existing knockout.
- Label every circuit — know exactly which circuits the switch controls.

Permits and Local Codes: Do Not Skip the Paperwork
Most cities and counties require an electrical permit for transfer switch installation. This is not just bureaucracy. It is a safety net. An inspector will verify that your wiring meets the current code. Many experts say this is the single best way to catch mistakes.
The cost of a permit is usually under $100. That is cheap insurance compared to the cost of a house fire. Call your local building department before you start. They will tell you exactly what forms to file and when the inspection happens.
When to Hire a Professional Electrician
If you are not 100% comfortable with electrical work, hire a pro. A licensed electrician can install a transfer switch in about half a day. The labor cost typically ranges from $200 to $500, depending on your area.
We found that the peace of mind is worth every penny. A professional will pull the permit, handle the inspection, and guarantee their work. That leaves you free to focus on picking out the right generator and getting ready for the next storm.
Questions to Ask Your Electrician Before Hiring
Ask about their experience with generator hookups specifically. Ask if the price includes the permit and inspection. Ask for a written estimate that lists all materials. A good electrician will be happy to answer these questions and show you their license number.
Indoor vs. Outdoor: Which One Is Actually Better?
The short answer is that indoor is usually better for portable generators. The switch stays clean, dry, and convenient. The wiring is shorter, so the installation costs less. And you never have to go outside in a storm to flip a switch.
Outdoor installation only makes sense if you have no available interior wall near the panel. Or if your local code requires the switch to be near the generator. Otherwise, indoor wins on almost every level.
| Factor | Indoor Installation | Outdoor Installation |
|---|---|---|
| Weather protection | Excellent (no exposure) | Requires NEMA 3R rating |
| Cost of switch | Lower (NEMA 1) | Higher (weatherproof) |
| Wiring distance | Short (next to panel) | Longer (more cable) |
| Access during storm | Convenient and dry | Must go outside |
| Code complexity | Simple clearance rules | May require extra disconnects |
Final Safety Tips Before You Flip the Switch
Never run the generator inside your house or garage. The exhaust fumes contain carbon monoxide. The CDC reports that this odorless gas kills hundreds of people every year. Always place the generator at least 20 feet from your home, with the exhaust pointing away.
Use a heavy-duty extension cord rated for the wattage of your generator. Do not use a regular indoor cord. And never plug the generator into a wall outlet. The transfer switch is the only safe way to connect it to your home’s wiring.
Take your time with the installation. Measure twice, cut once, and double-check every connection. A transfer switch is a long-term investment in your family’s comfort and safety. Getting it right the first time means years of reliable power when you need it most.
Conclusion
Installing a generator transfer switch inside your home is not only legal, it is often the smartest move you can make. You get a dry, accessible location, shorter wiring runs, and a lower-cost NEMA 1 enclosure. The key is placing it near your main panel with proper clearance and following your local permit rules.
You have two solid paths forward: tackle the job yourself with our checklist, or hire a licensed electrician for peace of mind. Either way, make sure you choose an indoor-rated switch and never skip the inspection. Start by measuring your wall space and calling your local building department. That first step gets you one step closer to dependable backup power.
Frequently Asked Questions
Can I install a transfer switch in my garage?
Yes, you can install a transfer switch in a garage, but only if it is finished and climate-controlled. Unfinished garages can have humidity swings and dust that harm electrical components. A dry, insulated garage wall works just as well as a basement or utility room.
Does a transfer switch need to be grounded separately?
No, a transfer switch does not need a separate ground rod. It uses the same grounding system as your main electrical panel. The bonding and grounding happen at the main panel, so the switch simply ties into that existing ground path.
What size transfer switch do I need for a 5000-watt generator?
For a 5000-watt portable generator, a 30-amp transfer switch is the right match. That size handles up to 7,500 watts of peak power. You will get 6 to 10 circuits, which is plenty for your refrigerator, furnace, and a few lights.
Can a homeowner install a transfer switch without a permit?
Technically, you can, but we strongly advise against it. Most local codes require an electrical permit for any work tied to your main panel. Skipping the permit means no inspection, and that leaves dangerous wiring mistakes undetected. The permit fee is usually under $100, so it is cheap insurance.
How long does it take to install a transfer switch indoors?
A DIY installation typically takes a full day if you have basic electrical skills. A licensed electrician can finish the job in about four to five hours. The biggest time factor is running the wires from the switch to your main panel and securing all the connections.