Generator Transfer Switch Installation Diagram Guide
You can absolutely install a generator transfer switch yourself if you’re comfortable with basic electrical work, but the generator transfer switch installation diagram is your best friend here. This diagram shows exactly where each wire goes, and it’s the safest way to connect a portable generator to your home’s electrical panel without backfeeding power. It’s a straightforward project for a DIYer, but you’ll want to follow the diagram step by step.
We found that most homeowners use a transfer switch to power essentials like lights, a fridge, and a sump pump during an outage. The diagram acts as your roadmap, linking the generator, the switch, and your breaker box in the correct order. Understanding this diagram helps you avoid dangerous mistakes, like connecting the generator to a dryer outlet or forgetting to shut off the main breaker. Many experts say that a few minutes of studying the diagram before you start can save you hours of troubleshooting later.
Here’s a quick rundown of what the full installation guide covers:
- The tools and materials you need before you start the hookup.
- A plain-English breakdown of what each line and symbol in the diagram means.
- The exact order of operations to connect the transfer switch to your panel.
- How to wire the generator cord into the switch inlet box safely.
- The crucial safety checks and testing steps to do before you flip the generator on.
Below, we’ll walk you through each part of the diagram and the installation process in simple terms, so you can get your power back on with confidence.
Reading a Generator Transfer Switch Installation Diagram
Before you touch a single wire, you need to understand what the diagram is telling you. We found that most homeowners get confused by the symbols at first, but they are actually simple once you break them down.
Think of the diagram like a map for electricity. It shows the path power takes from your generator, through the switch, and into your home’s circuits. The main goal is to isolate your home from the utility grid when the generator runs.
Why the Diagram Matters for Safety
This diagram is not just a suggestion. It is a safety blueprint that prevents backfeeding—a dangerous situation where electricity flows back into the power lines. This can hurt utility workers and damage your equipment.
Many experts say that following the diagram precisely is the only safe way to connect a portable generator. You are creating a bridge between two power sources, and the switch is the toll booth that only lets one source through at a time.
Decoding the Symbols and Lines
You will see a few common symbols in nearly every diagram. Here is what they mean in plain English:
- Solid lines represent the hot wires that carry electricity.
- Dashed lines often show neutral or grounding wires.
- Breaker symbols look like small switches and mark where power is interrupted.
- Terminal blocks are the connection points where wires meet.
We found that color-coding is your friend here. Most diagrams use black for hot, white for neutral, and green for ground. Match those colors to your actual wires and you are halfway done.
Tools and Materials for the Hookup
You do not need a massive toolbox for this job, but you do need the right items. We found that gathering everything before you start makes the process much smoother and safer.
Here is your shopping list before you break out the screwdriver:
- A transfer switch kit that matches your generator’s wattage.
- A generator power cord with the correct plug ends.
- A voltage meter to confirm circuits are dead.
- Wire strippers and screwdrivers.
- A flashlight for working in the dark panel area.
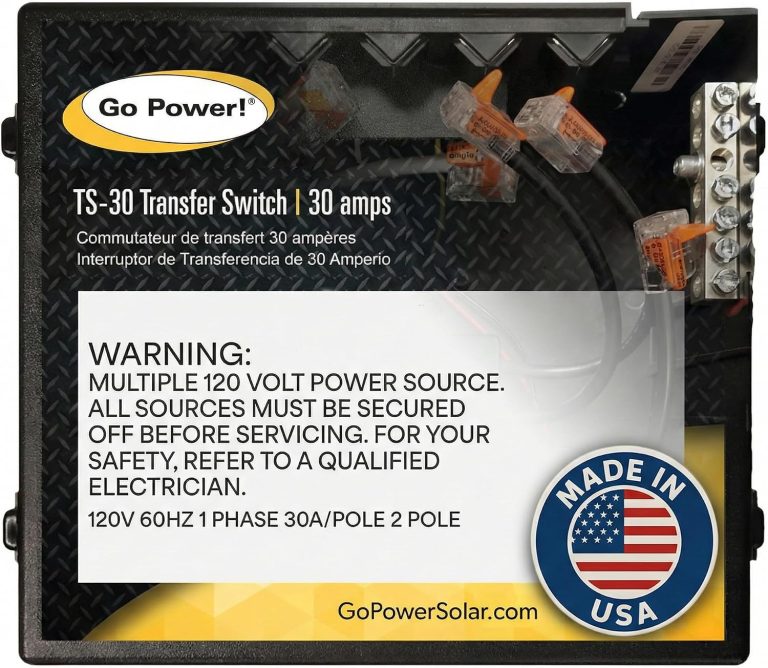
Take your time to pick the right switch size. A 30-amp switch works for most portable generators under 7,500 watts. A 50-amp switch is for larger units. Check your generator’s output rating on the sticker before buying anything.
Choosing the Right Transfer Switch Type
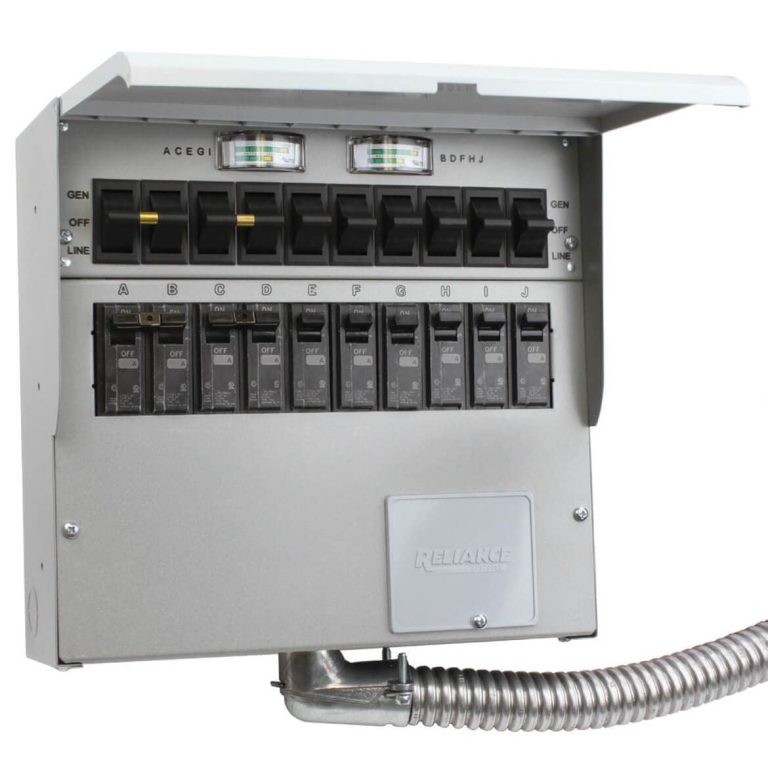
You have two main options: a manual switch or an automatic one. For portable generators, a manual switch is usually the best fit. It requires you to flip a lever or press a button when the power goes out.
Automatic switches are for permanently installed standby generators. They cost more and need professional wiring. Stick with a manual switch for a do-it-yourself project like this. It is simpler and gives you full control. For a permanently installed standby generator, our automatic transfer switch installation diagram guide walks you through the wiring step by step.
Step-by-Step Wiring Process
Now it is time to get your hands dirty. The installation diagram usually shows a clear order of operations. Follow it like a recipe, and you will not miss a step.
We recommend labeling your wires with tape as you disconnect them. It makes the reconnection phase foolproof. This is one of those small habits that saves you hours of head-scratching.
Step 1: Turn Off the Main Power
This might sound obvious, but we found that many homeowners rush this step. Flip the main breaker in your service panel to the off position. Then, use your voltage meter to test a few circuits and confirm there is no power.
Work as if every wire is live, even when you are sure it is off. That mindset keeps you safe. Wear rubber-soled shoes and keep one hand in your pocket when working near the panel to reduce the risk of shock.
Step 2: Mount the Transfer Switch Box
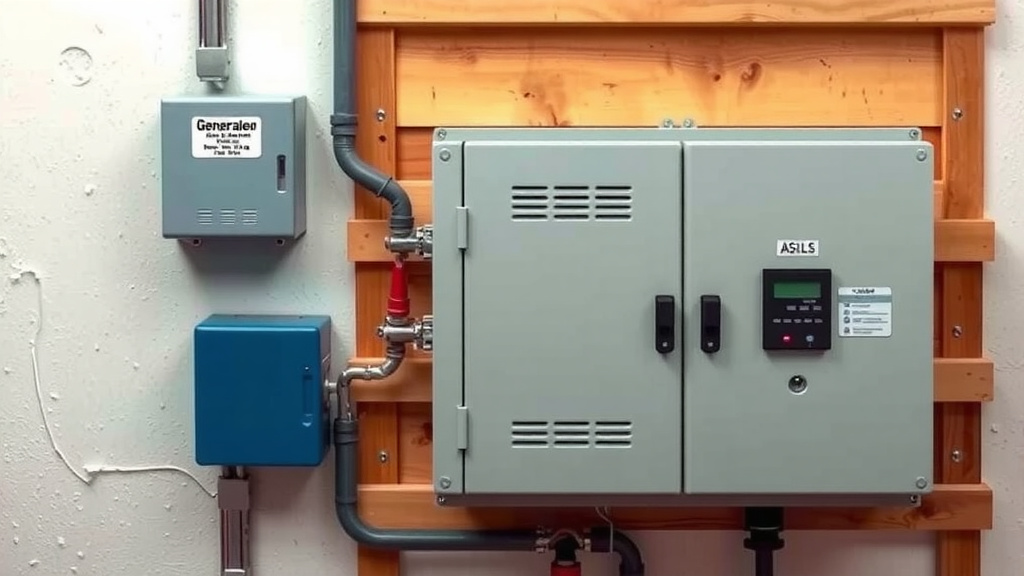
Find a spot near your main electrical panel. The transfer switch needs to be within arm’s reach of the panel, so the wires can run between them easily. We found that mounting it to a stud with the included screws is the most secure method. If you prefer an indoor setup, our guide to installing a transfer switch indoors covers clearance and placement rules.
Make sure the box is level. An uneven box can make it harder to close the cover and can put stress on the wires inside. Use a small bubble level to check your work before tightening everything down.
Positioning for Easy Access
Think about how you will use this switch during a storm. You want it at a height where you can reach the handles without stretching. Most homeowners mount it at chest level, right beside the main breaker panel.
Leave enough space around the box for the conduit to bend naturally. Forcing wires into a tight spot can damage the insulation. A little extra room now prevents problems later.
Step 3: Run the Wires Between Panels
This is where the diagram really earns its keep. You will run wires from the transfer switch to the breakers you want to power. The diagram shows exactly which breaker slot each colored wire connects to.
Use the shortest path possible between the panels. Long wire runs create more resistance and can cause voltage drops. Keep the wires neat and organized with cable ties inside the panel to avoid a mess.
Step 4: Connect the Generator Inlet Box
The inlet box is the outdoor or indoor receptacle where you plug in your generator cord. It connects directly to the transfer switch with a dedicated cable. The diagram will show you the correct terminal for each wire color.
We found that installing the inlet box outdoors, near your generator’s parking spot, is the most practical setup. It means you can run the cord through a window or wall opening without a long extension. This reduces trip hazards and voltage loss.
Securing the Generator Cord
Your generator cord connects from the generator’s outlet to the inlet box. Make sure both ends are fully seated and locked into place. A loose connection can overheat and cause a fire.
Use the locking ring on the plug to twist it into place. Do not rely on the plug’s friction alone. A solid mechanical connection is key for safe, continuous power flow.
Safety Checks and Testing Before Full Power
You are almost done, but do not flip that generator switch yet. We found that a few simple checks can catch mistakes before they cause damage. This is the difference between a smooth install and a frustrating do-over.
Walk through this checklist before you consider the job complete:
- Verify all wire connections are tight and inserted into the correct terminals.
- Check that the main breaker is still off during your initial test.
- Confirm the generator is grounded according to the manual.
- Inspect the cord for cuts, frays, or exposed copper.
- Test the transfer switch with a voltage meter before connecting the generator.
- Make sure the generator is in a dry, ventilated area away from windows.
Run through these checks twice if you are feeling unsure. It only takes two minutes and gives you serious peace of mind.
Testing the Circuits One by One
Start the generator and let it warm up for a few minutes. Then, flip the transfer switch to the generator position. One by one, turn on the breakers you wired to the switch inside your panel.
Listen for any buzzing sounds or flickering lights, which can indicate a loose connection. The National Fire Protection Association guidelines suggest testing your setup before an actual outage (NFPA). This prevents surprises when you really need the power.
Checking for Proper Voltage Output
Use your voltage meter to confirm you are getting around 120 volts at a few wall outlets powered by the generator. If the reading is significantly lower, stop the generator and check your connections.
We found that loose neutral wires are the most common cause of low voltage. Double-check those white wires at the transfer switch and panel. A simple re-tightening often fixes the issue.
Final Wiring Tips for a Clean Setup
You want this install to look as good as it works. Neat wiring is not just for looks—it makes future troubleshooting much easier. We found that taking a photo of the diagram and your finished panel helps you remember the setup later.
Label each breaker you connected to the transfer switch with a small sticker or marker. That way, you know exactly what each one controls during a blackout. It is a small touch that pays off in the dark.
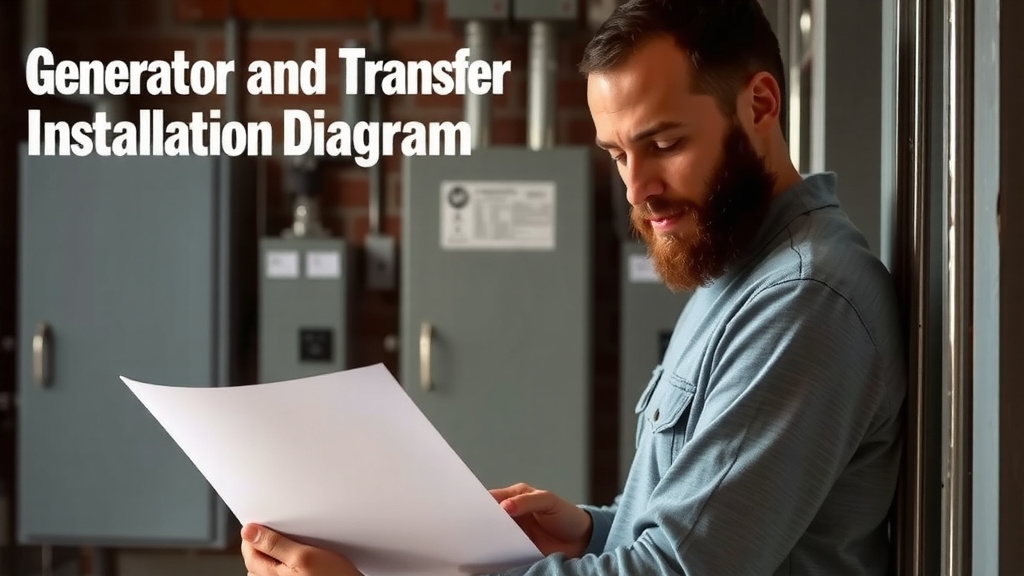
Keep your generator transfer switch installation diagram in a plastic sleeve near the panel. You will thank yourself when you need to reconnect something or if you move and need to leave instructions for the next homeowner.
Remember, this whole project is about keeping your family safe and comfortable. Taking your time with each step is the smart move. You are unlocking reliable backup power, and that is a huge win for your home.
Conclusion
You now have a full picture of how to read and follow a generator transfer switch installation diagram. You know the symbols, the right tools, and the exact order of steps to connect everything safely. The key is to work slowly, label your wires, and double-check every connection before you start the generator.
Remember that this diagram is your safety net against backfeeding, so always follow it precisely. Take a photo of your finished work and keep the manual nearby for future reference. Your next step is to gather the tools and pick a transfer switch that matches your generator’s wattage. Then, use this guide to bring backup power to your home with total confidence.
Frequently Asked Questions
Can I install a generator transfer switch without an electrician?
You can do it yourself if you have basic electrical knowledge and follow the generator transfer switch installation diagram closely. Many homeowners complete this project in a weekend. However, if you feel unsure about working inside your breaker panel, it is smart to hire a licensed electrician.
What size transfer switch do I need for my generator?
You need a switch that matches your generator’s output wattage. A 30-amp transfer switch works well for most portable generators under 7,500 watts. For larger generators, choose a 50-amp switch. Check the sticker on your generator to find its wattage rating before you buy anything.
What happens if I accidentally backfeed my generator?
Backfeeding sends electricity from your generator back into the utility power lines. This is extremely dangerous because it can electrocute utility workers repairing the lines. It can also damage your generator and home electronics. A transfer switch prevents this by physically isolating your home from the grid.
How long does a generator transfer switch installation take?
Most DIYers finish the job in two to four hours. The wiring itself is fast once you understand the diagram. Mounting the boxes and running the wires between panels takes the most time. Going slow at the start actually saves you time because you avoid mistakes.
Can I plug my generator into a dryer outlet instead of using a transfer switch?
No, this is a dangerous workaround that creates a backfeeding risk. Dryer outlets are not designed to handle the load from a portable generator safely. This method can overheat the wiring and cause a fire. Always use a proper transfer switch with a generator inlet box for safe connection.