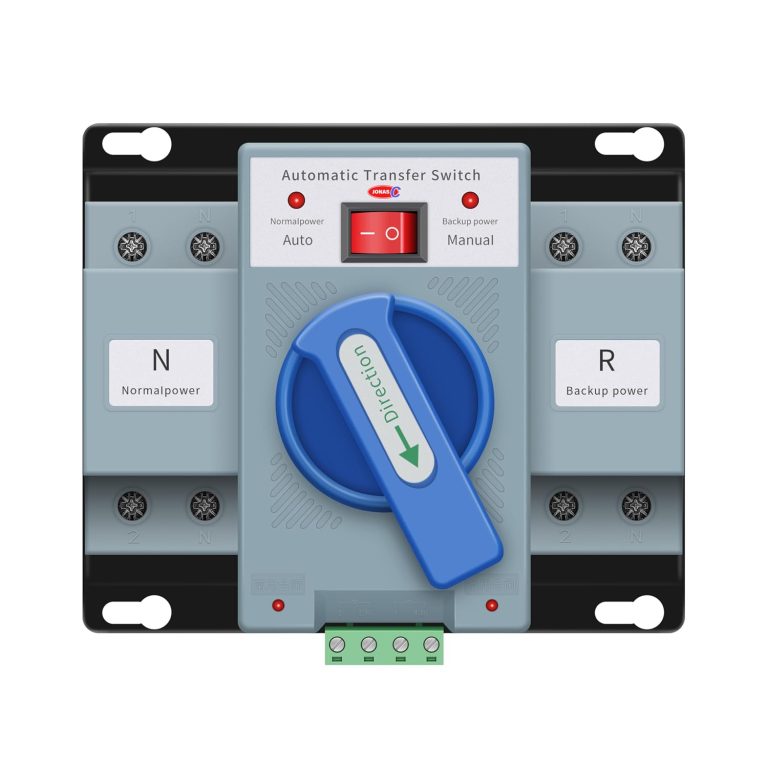
Generator Transfer Switch Installation Diagram PDF Guide
You can find a generator transfer switch installation diagram PDF by searching the manufacturer’s website for your specific model, and reading it before you buy any parts is the smartest first step you can take.
We found that these diagrams are your best roadmap for understanding how to safely connect your portable generator to your home’s electrical panel. They show you exactly where every wire goes, which keeps you from making dangerous mistakes during a power outage. You don’t need to be a master electrician to read them, but you do need to follow every line carefully.
- First, get the right manual: Always match the PDF to your exact transfer switch model number.
- Look for the “line” and “load” sections: The diagram clearly labels where power comes in and where it goes out.
- Check your local code: A diagram shows the wiring, but your city may require a permit or inspection.
- Hire a pro if unsure: If the diagram confuses you, paying an electrician is way cheaper than rewiring your panel.
- Print it out: Keep a physical copy with your generator so you have it when the power goes out.
Below, we break down exactly how to read these diagrams, what the symbols mean, and where to find the best PDFs so you’re ready for the next blackout.
How to Read a Generator Transfer Switch Wiring Diagram
You need to understand the flow of power from your generator to your home’s panel. The diagram is basically a map that points out where the generator plugs in and where the power heads to inside your breaker box.
Think of it like the back of a cereal box. You know the maze? The power starts on the left side, travels through the switch, and stops on the right side to light up your fridge and keep your heater running. We found that breaking the diagram down into two halves makes it much less scary to look at.
The “Line” Side: Where Power Comes From
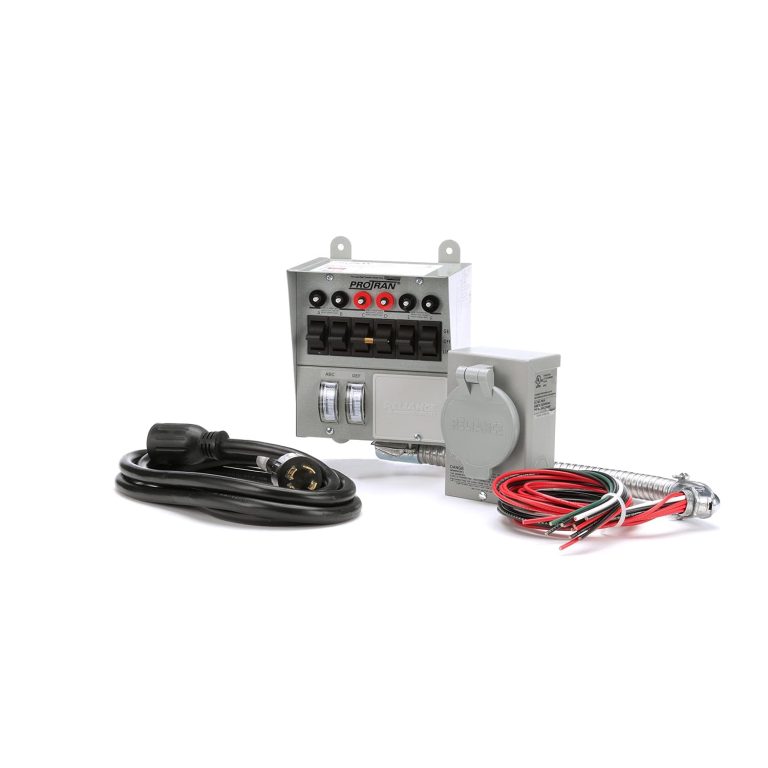
On the left side of any installation PDF, you will see the “Line” terminals. This is the inlet for power. It connects to your generator cord.
Look for the thick black and red wires labeled L1 and L2. Those carry the heavy 120-volt loads. There is also a white wire labeled Neutral, and a bare copper wire labeled Ground. The diagram shows exactly which screw each wire wraps around. If you mix these up, you could cause a short circuit, so pay close attention here.
The “Load” Side: Where Power Goes Out
On the right side, you will see the “Load” terminals. This side feeds the circuits you chose to power during an outage. It connects directly to your home’s breaker panel.
We found that most DIY mistakes happen because people swap the line and load wires. The diagram will use bold lines to show this separation. The load side is usually labeled with the words “Distribution Panel” or “House Panel.” Remember, power always flows one way through the switch. If you hook it up backward, the generator might run, but your house won’t get the electricity.
Understanding the Symbols on Your Installation Sheet
These drawings use simple symbols, not fancy electrical jargon. Once you learn the basics, you can read any brand’s manual, whether it is Generac, Reliance, or Siemens. We found that the symbols are standard across most manufacturers.
Breaker Symbols and Neutral Bars
A simple switch symbol looks like a break in a line with a small diagonal line touching it. That is your transfer switch. The neutral bar looks like a long strip with little dots on it, showing where the white wires bundle together.
Look for the ground symbol, which looks like three horizontal lines getting shorter, stacked on top of each other. This symbol represents the earth connection. This is a safety feature that sends stray electricity into the ground instead of through you. Many experts say that reading the legend at the bottom of the PDF is the fastest way to learn the symbols (National Electrical Code reference).
Reading Wire Colors and Labels
Most PDFs are in black and white to save ink, which can be annoying. However, the manuals usually label each wire with a small letter code near the line.
You will see a “B” for black, “W” for white, “G” for green, and “R” for red. If you print the PDF, use a highlighter to color these sections before you start working. This makes the job easier and helps you avoid mixing up the hot wires with the neutral wires.
Where to Find a Free PDF for Your Transfer Switch
You should never have to pay for your own owner’s manual. Every major manufacturer posts these diagrams on their support page. We found that searching the model number, which is printed on a sticker on the side of the switch box, is the most reliable method.
If you bought your switch used, check the manufacturer’s website first. They usually have a section called “Support,” “Manuals,” or “Resources.” Enter the model number, and the download link should pop right up.
Searching by Manufacturer
It is easy to find diagrams if you know who made the unit. Here are some quick tips we found helpful when searching online:
- Check the physical sticker: Look for a white or silver sticker on the main box for the model code.
- Use the exact model string: Type the full number with dashes (like 6853A) into your search bar.
- Look for the PDF icon: Only click links that show a .pdf extension for the most accurate results.
- Compare page numbers: The manual should be over 10 pages long. If it’s a one-pager, it might be a quick reference sheet, not the full install guide.
When the Online PDF is Missing
Sometimes, you might have an old switch that the company no longer lists. Do not panic. Try using the Wayback Machine to look at old versions of the manufacturer’s website. Many small forums for electricians also post scans of older manuals for free.
If you cannot find it, call the manufacturer’s customer service line. They usually have a customer rep who can email the PDF directly to you. It takes about five minutes, and you get the exact diagram from the source.
Common Installation Mistakes Shown in Diagrams
Every year, people make the same wiring mistakes during blackouts. The diagram helps you avoid these errors, but only if you know where to look. We found that the most common mistakes are visible in the fine print of the PDF.
The Danger of Backfeeding
The biggest mistake is backfeeding. This happens when you plug a generator into a wall outlet instead of using the transfer switch. The diagram shows the “Interlock” or “Breaker” handle that prevents this from happening.
Never plug your generator into a dryer outlet or a regular wall socket. The installation diagram will show a heavy-duty inlet box for a reason. Backfeeding can send electricity down the power lines and hurt a utility worker fixing the grid. It is dangerous and illegal in most places.
Mixing Up Amperage Ratings
Your switch has a rating, like 30-amp or 50-amp. The diagram will specify which wire gauge you need, like 10-gauge or 6-gauge wire. If you use a smaller wire than what the diagram shows, it can overheat and melt.
Check the generator’s output too. If the diagram says the switch is for 50 amps, but your generator only puts out 30 amps, that is fine. However, never put a 50-amp generator into a 30-amp switch. The breaker on the switch will constantly trip.
Decoding the Wiring Sequence Step by Step
Let’s walk through the actual steps you will see in the diagram. This is the logical order to follow when you are holding the screwdriver. It helps to read the PDF from top to bottom, just like a book.
Step 1: Mount the transfer switch box next to your main panel. The diagram will show clearance dimensions so you have room to open the door.
Step 2: Run the wires from the inlet box to the switch. The diagram will show a conduit path between them.
Step 3: Connect the generator cord to the inlet. Then, connect the transfer switch to the “Line” and “Load” terminals.
Step 4: Turn off the main breaker and the generator breaker before you test it.
Visualizing the Neutral and Ground Connections
This is where the diagram can get tricky for beginners. The neutral (white) and ground (green) wires seem the same, but they are very different. The neutral carries current back to the generator. The ground is an emergency path.
The diagram will show the neutral wires routed through a specific bus bar. It will show the ground wires clamped to a separate ground bar. Many portable generators have a floating neutral, which means the generator’s own neutral is not connected to its frame. Your transfer switch kit usually comes with a jumper wire to handle this. The PDF will explicitly show you whether to install the jumper or leave it out.
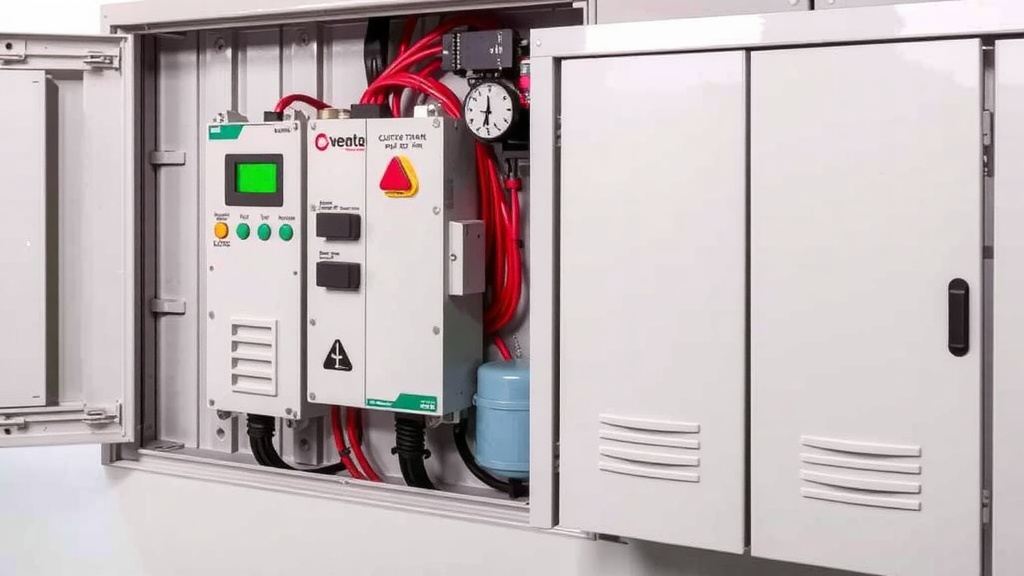
Installation Checklist Before You Power Up
Before you flip any switches, do a quick review of the diagram. We found that going through this checklist prevents 90% of the issues that cause generators to fail when you need them most.
- Verify the model number: Confirm the manual matches the switch in front of you.
- Inspect wire gauges: Make sure the wire size fits the breaker rating in the diagram.
- Torque the screws: Tighten terminal screws to the specification listed in the PDF.
- Check the neutral jumper: Install the jumper if the diagram indicates a bonding issue.
- Remove all paper tags: Take off the wire labels used for shipping before closing the box.
- Double-check the interlock kit: Slide the main breaker plate to confirm it blocks the other breakers.
How to Use the Diagram to Pull a Permit
Many cities require a permit for this kind of work. Your local building inspector will want to see the installation diagram during the rough-in inspection. Keep the PDF in the transfer switch box for them to review.
The inspector is essentially checking that your work matches the engineered design. If you followed the diagram exactly, you should pass easily. If you skipped a step or used a different wire size than the drawing shows, they will likely fail the inspection and ask you to fix it.
We recommend leaving the PDF inside the box even after the inspection. It serves as a great reference for you or a future homeowner when you need to troubleshoot the system later.
When to Call a Professional Instead of DIY
We are all for DIY projects. But we found that wiring an electrical panel is not the place to “wing it.” If the diagram looks like another language to you, trust your gut and make the call.
Research and found that electrical work causes a large number of residential fires each year when done improperly. The cost of hiring a licensed electrician is often around a few hundred dollars. That seems like a lot until you compare it to the cost of rewiring a house or replacing damaged equipment.
If you don’t feel confident handling a live panel, or if you are unsure why the diagram shows a specific connection, stop working. Put the tools down and get a professional opinion. It is the fastest and safest route to a working backup power setup.
Conclusion
You now have the knowledge to read your installation diagram like a pro. The key is to match the PDF to your exact model, respect the line and load sides, and double-check your work before you power up. Don’t skip the permit step either, even if it feels like a hassle. Your local inspector is there to keep you safe.
Your next step is simple. Go grab your transfer switch or your old manual, find that model number, and download the matching PDF today. Print it, keep it with your generator, and you’ll be ready to stay warm and safe when the next storm hits.
Frequently Asked Questions
Can I install a generator transfer switch myself?
Yes, you can, but only if you are comfortable working inside your main electrical panel. The diagram gives you the roadmap, but local codes usually require a permit and inspection. If you are unsure about any step, call a licensed electrician for a safer route. If you’re weighing DIY installation, our comparison of automatic vs. manual transfer switches clarifies the tradeoffs.
Do I need a transfer switch if I just want to run a few appliances?
Yes, you absolutely do. Plugging a generator directly into a wall outlet is dangerous and illegal. A transfer switch is the only safe way to connect your generator to your home’s wiring. It protects you, your appliances, and utility workers from serious harm.
What size transfer switch do I need for my generator?
You match the switch size to your generator’s output wattage, not your whole home’s needs. A 30-amp switch works well for a 7,000-watt generator. A 50-amp switch is better for larger units over 12,000 watts. Check your generator’s specs to pick the right one.
Can I use one transfer switch for both solar and generator power?
Most standard units are not designed for that setup. You need a special interlock or a dedicated manual transfer switch that can handle two power sources. Mixing solar and generator power without the right equipment can cause serious damage. Talk to an electrician about your specific setup.
What happens if I wire my transfer switch backwards?
Wiring the line and load sides backward is a common DIY mistake. Your generator will run, but the power won’t reach your panel. In some cases, it can create a dangerous backfeed condition. Always follow the diagram’s labels carefully from the start.