How to Install a Generator Transfer Switch at Home
Installing a residential generator transfer switch is the only safe, legal way to power your home circuits with a portable generator. The simplest approach is to hire a licensed electrician, but if you are comfortable with electrical work, you can do it yourself. This device prevents dangerous backfeeding that could electrocute utility workers and start house fires.
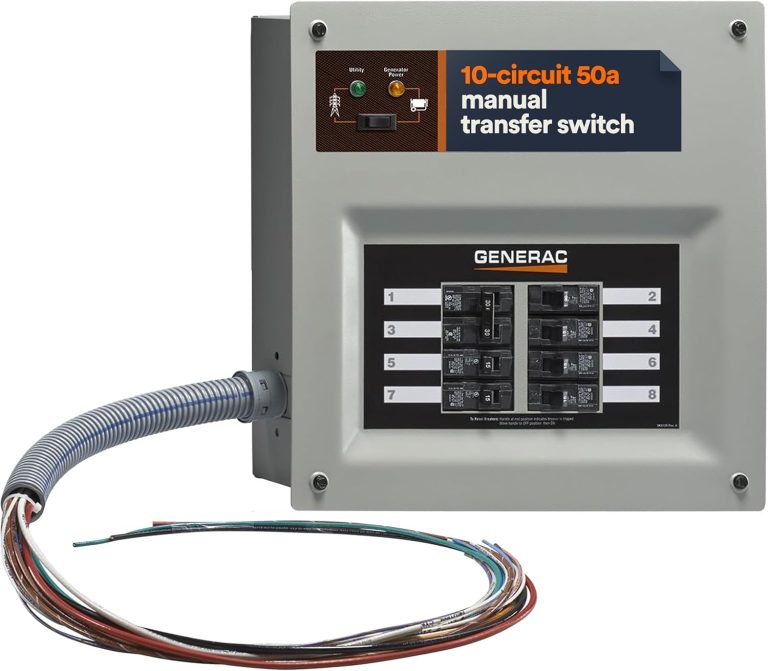
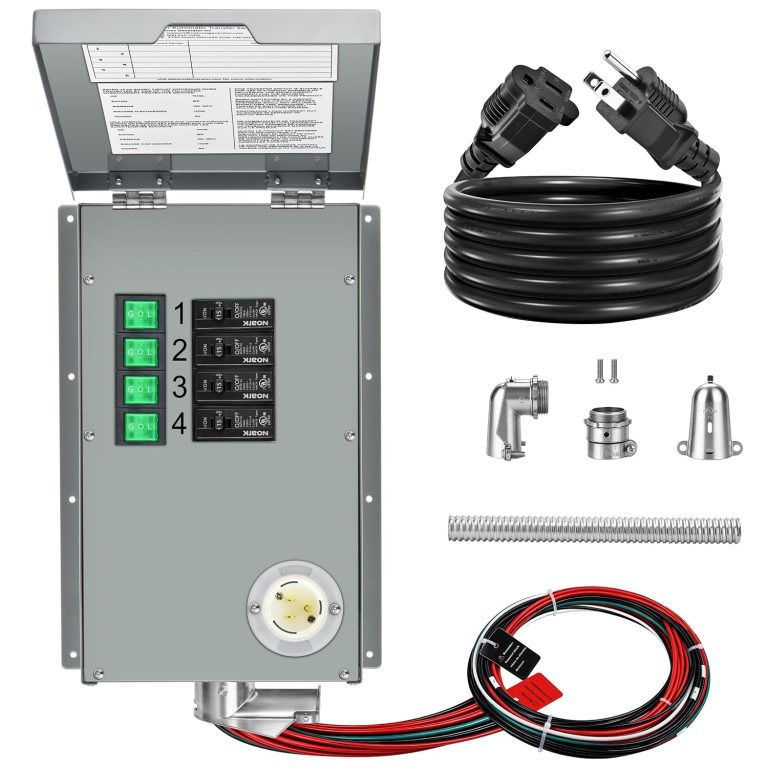
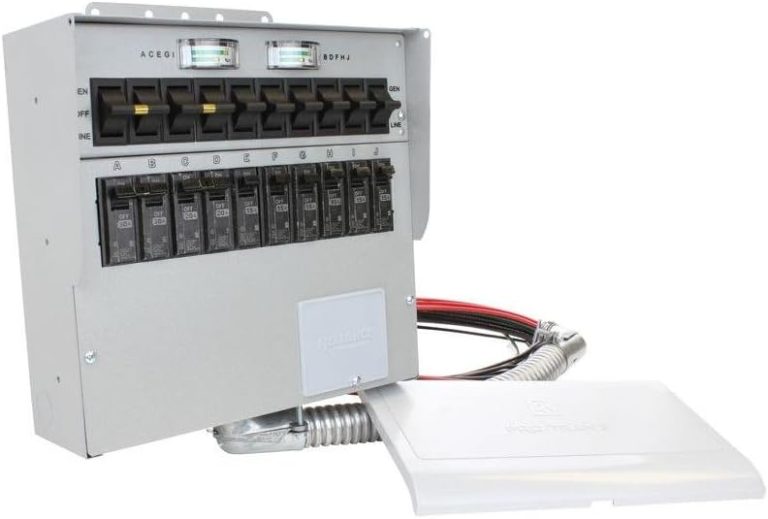
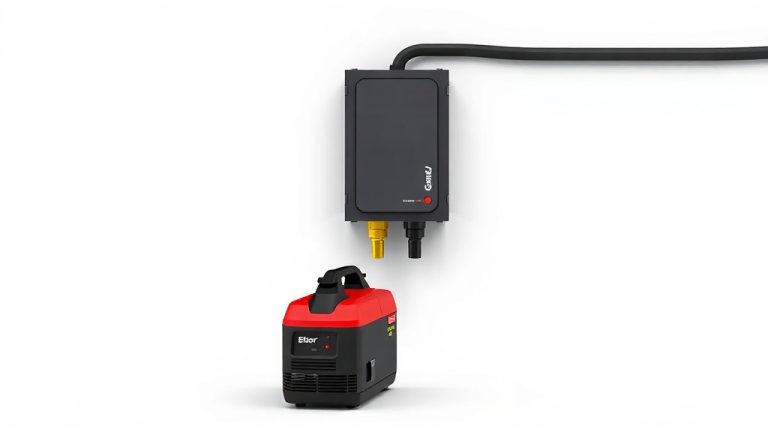
We found that a transfer switch acts as your home’s power traffic cop. It safely switches your electrical load between utility power and your backup generator. This installation involves mounting the switch box, running a heavy-duty cable, and wiring it into your main electrical panel. Many homeowners choose a 6-circuit transfer switch because it is affordable and covers essential appliances like your fridge, furnace, and lights.
- Hiring a pro: Costs between $500 and $1,500 including parts and labor, and it is the safest route for most people.
- DIY possibility: A manual transfer switch is a straightforward project if you have basic wiring knowledge, but it requires a permit in most areas.
- Critical safety step: You must disconnect the main breaker before touching any wires inside the panel to avoid fatal shocks.
- Key tools needed: You will need a voltage tester, screwdrivers, wire strippers, and a drill to mount the box.
- Code requirement: Your local electrical inspector will likely need to approve the finished work before you can use it.
Below, we walk you through the exact installation process step by step. We will cover the tools you need, the wiring diagrams, and the common mistakes to avoid, so you can decide if this is a weekend project for you or a job for a pro.
Installing a Residential Generator Transfer Switch Yourself
You can absolutely install a generator transfer switch in your home. We found that most handy homeowners with basic electrical knowledge can finish this project in a weekend. The key is preparation, patience, and a healthy respect for the power sitting in your breaker box.
This guide walks you through the entire process from start to finish. We will cover planning, wiring, mounting, and the final inspection so you can keep your lights on when the grid goes down.
Why You Should Not Skip the Transfer Switch
Plugging a generator directly into a wall outlet is dangerous. It can backfeed power through the transformer and shock a utility line worker. It can also melt your extension cord and start a fire. A transfer switch physically separates your generator power from the grid.
Think of it like a drawbridge. When the generator is running, the bridge is up, blocking utility power. When the grid is live, the bridge is down, blocking generator power. This simple mechanical interlock keeps everyone safe.
Manual vs. Automatic Transfer Switches
Manual switches require you to walk outside and start the generator yourself. Then you flip switches inside the house to power selected circuits. These are affordable and reliable, and they work well for portable generators.
Automatic switches cost more but they sense a power outage and start your standby generator on their own. We found that most DIY installs use a manual switch because it is simpler to wire and budget-friendly. The process we describe below focuses on a manual unit.
Planning Your Transfer Switch Installation
Good planning prevents mistakes. Before you buy anything, you need to know your generator’s wattage and which circuits you want to power. This determines the switch size and the number of circuits you can support.
We found that a 6-circuit switch is the sweet spot for most homes. It handles a refrigerator, a furnace, a well pump, lights, and a few outlets. That covers the essentials without breaking your bank account.
Choosing the Right Transfer Switch Size
Your transfer switch must match your generator’s output. A 5,000-watt generator works with a 30-amp switch. A 7,500-watt generator needs a 50-amp switch. Check your generator’s nameplate for the exact rating.
Many experts say you should never oversize the switch beyond your generator’s capacity. If you do, you risk overloading the generator when you flip too many breakers. Keep the switch rating equal to or slightly less than the generator’s maximum output.
Selecting Circuits for the Transfer Switch
Walk through your home and list every appliance you cannot live without during an outage. Common picks include:
- Refrigerator and freezer
- Furnace or boiler circulator pump
- Well pump or sump pump
- Living room lights and TV
- Bedroom outlets for phone chargers
- Microwave or coffee maker
Add up the wattage of these items. Compare that number to your generator’s rated output. If your list exceeds the generator capacity, drop the least critical items. We found that running the fridge and furnace alone consumes about 1,800 watts, leaving plenty of headroom for lights.
Tools and Materials You Will Need
You do not need a professional toolbox to complete this job. But you do need the right safety gear and a few specific tools. Gather everything before you start to avoid trips to the hardware store mid-project.
Here is the complete list we recommend for a smooth installation:
- Manual transfer switch kit (includes the box, breakers, and cable)
- Voltage tester (non-contact pen style works best)
- Flathead and Phillips screwdrivers
- Wire strippers and wire cutters
- Drill with a 1-inch spade bit for cable entry
- Fish tape to pull wires through conduit
- Safety glasses and insulated gloves
You may also need a conduit whip if your local code requires protected cable runs. Check with your building department before you buy parts. They can tell you exactly what is required in your area.
Step-by-Step Transfer Switch Wiring Process
Now we get to the actual work. We found that a methodical approach keeps this project safe and manageable. Work slowly, double-check every connection, and never rush around live electricity.
Start by turning off the main breaker. Then verify with your voltage tester that no power is present at the panel. Even with the main off, the utility feed lugs at the top of the panel are still live. Do not touch those.
Mounting the Transfer Switch Box
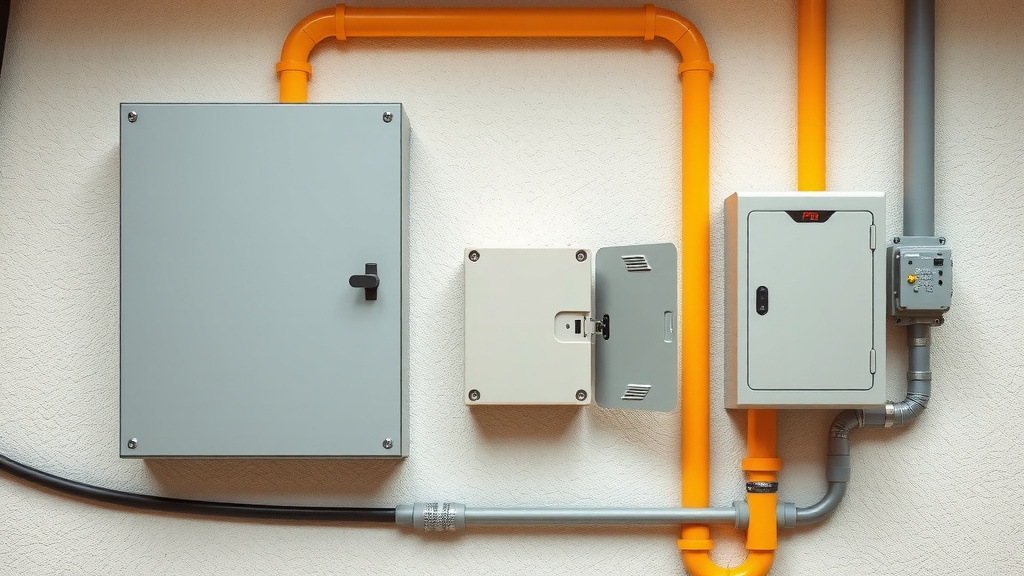
Choose a location on the wall next to your main electrical panel. The transfer switch should be within arm’s reach of the panel so the wiring is short and neat. Mount the box using the screws provided, making sure it is level.
Many experts say the switch should be at least 3 feet off the floor. This keeps it out of reach of small children and pets. It also makes it easier to read the circuit labels when you are in a hurry during an outage.
Running the Generator Cable
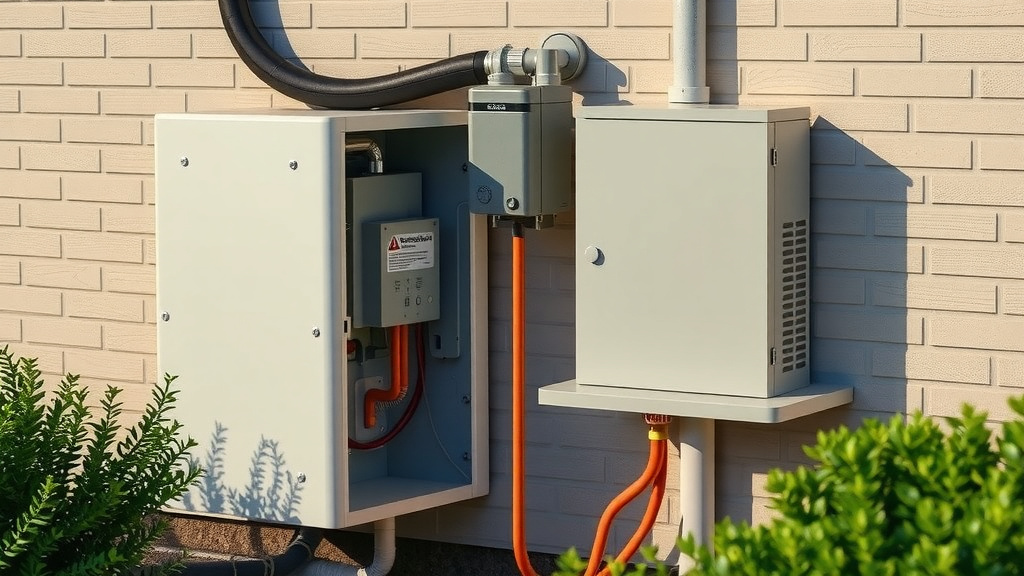
Your transfer switch kit comes with a heavy-duty cable. This cable connects the switch to an inlet box on the outside of your house. You will need to drill a hole through the exterior wall for this cable.
Measure carefully before drilling. You want the hole to line up with the knockout on the transfer switch. Use a spade bit to drill from inside to outside at a slight downward angle. This prevents water from seeping in.
Pull the cable through the hole and into the transfer switch enclosure. Leave about 12 inches of slack inside the box for easy wiring. Seal the exterior hole with silicone caulk to keep pests and moisture out.
Wiring the Transfer Switch to Your Panel
This is the most technical part of the installation. Inside the transfer switch, you will find a set of wires that need to connect to your main panel. The colors are standard: black (hot), red (hot), white (neutral), and green (ground).
Run each wire from the transfer switch into the main panel through a knockout. Connect the green ground wire to the panel’s ground bar. Connect the white neutral wire to the neutral bar. Then connect the black and red wires to the lugs specified in your switch’s manual.
We found that labeling each wire with tape helps avoid confusion. Write down which circuit goes where as you work. This saves you from guessing later when you are flipping breakers in the dark.
Moving Selected Circuits to the Transfer Switch
Now you need to move the breakers for your chosen circuits from the main panel to the transfer switch. This is done by disconnecting the circuit wires from their original breakers and reconnecting them to the breakers inside the transfer switch.
Turn off each individual breaker before touching its wires. Remove the wire from the breaker screw terminal. Then route that same wire into the transfer switch enclosure and connect it to the corresponding breaker there.
This step requires patience. We found that working on one circuit at a time minimizes errors. Complete one circuit fully before moving to the next. This way you always know which wires belong to which breaker.
Electrical Code Requirements and Permits
Most local jurisdictions require a permit for a transfer switch installation. This is not a suggestion; it is the law in nearly every state. The permit process exists to protect you and your family from faulty wiring.
Call your local building department before you start. Ask what inspections are required and what documentation they need. Many offices allow you to apply online and schedule the inspection at your convenience.
What the Inspector Will Check
We found that inspectors look for three main things: proper grounding, correct wire sizes, and secure connections. They also verify that the transfer switch is listed by a recognized testing laboratory like UL.
Expect the inspector to open both the main panel and the transfer switch. They will check that the neutral and ground wires are separated correctly. They will also confirm that the generator inlet is wired to the transfer switch, not the main panel.
If you are not comfortable with the inspection process, hiring a licensed electrician is a reasonable choice. The permit and inspection requirement is a strong reason many homeowners choose professional installation.
Common Mistakes to Avoid During Installation
DIY electrical projects fail when people skip steps or rush through details. We found that the most common errors are simple to avoid once you know what they are. Learn from other people’s mistakes so you do not repeat them.
- Forgetting to turn off the main breaker before starting work
- Using a transfer switch rated for more watts than your generator produces
- Mixing up the neutral and ground wires inside the panel
- Overtightening breaker screws and stripping the threads
- Failing to secure the generator cable with a strain relief connector
- Skipping the permit and inspection to save time
Each of these mistakes can cause damage to your equipment or create a safety hazard. Take your time and double-check every connection against the wiring diagram in your manual. One extra minute of checking beats an hour of troubleshooting later.
Testing Your Transfer Switch Installation
Before you declare victory, you must test the system. Start with the main breaker off and the transfer switch set to generator power. Plug in a small appliance like a lamp to verify the circuit works.
Now start your generator outside and let it warm up for a few minutes. Plug the generator cord into the inlet box. Walk back inside and flip the transfer switch to the generator position. The lamp should light up instantly.
Verifying Each Circuit One at a Time
Test every circuit you moved to the transfer switch. Flip each breaker on and confirm the connected appliance receives power. We found that this step often reveals loose connections that need tightening.
If a circuit does not work, turn off the transfer switch immediately. Check the wire connection at both the breaker and the appliance. Tighten any loose screws and test again. Do not move on until all circuits pass.
Safe Shutdown Procedure
When you finish testing, shut everything down in the correct order. Turn off the generator first. Then flip the transfer switch back to utility power. Finally, turn the main breaker back on.
This order prevents the generator from sending power into the panel while the main is on. It also protects your appliances from voltage spikes. Write this sequence on a label and stick it near the transfer switch for quick reference.
Final Installation Checklist Before Inspection
Use this checklist to review your work before calling the inspector. It covers the most important safety and quality points. We found that going through this list catches 90 percent of common inspection failures.
- Main breaker is off and verified with a voltage tester
- Transfer switch is mounted securely and level
- All wire connections are tight and color-coded correctly
- Generator cable has a strain relief connector at both ends
- Exterior hole is sealed with weatherproof caulk
- Permit is posted and inspection is scheduled
When the inspector arrives, be present to answer questions. Have your transfer switch manual and generator specs ready to show them. Most inspections take less than 30 minutes if your work is clean and organized.
Conclusion
Installing a generator transfer switch is a smart weekend project for handy homeowners. You save money and gain real peace of mind when the power goes out. The key is matching your switch to your generator, picking the right circuits, and following local code rules.
You must respect the electricity in your panel. Turn off the main breaker and test for voltage before touching anything. Work one circuit at a time and label everything clearly. When you finish, schedule that inspection and test every circuit before you rely on it.
If any step feels beyond your comfort zone, call a licensed electrician. That is a smart choice, not a failure. Your family’s safety is worth the cost. Start by checking your local permit requirements today, and you will be ready for the next outage.
Frequently Asked Questions
Can I install a generator transfer switch myself?
Yes, you can install a manual transfer switch yourself if you have basic wiring skills. You need to follow your local electrical code and pull a permit before starting. The project takes most homeowners a full weekend to complete.
How much does it cost to install a generator transfer switch?
A DIY installation costs between $200 and $500 for the switch kit and materials. Hiring a licensed electrician typically runs $500 to $1,500 including parts and labor. The price depends on your panel type and how complex the wiring is.
What size generator do I need for a 6-circuit transfer switch?
A 5,000 to 7,500-watt generator works well with a 6-circuit transfer switch. You should match your generator’s output to the switch rating, which is usually 30 or 50 amps. Check your generator’s nameplate to confirm the exact wattage before buying.
Do I really need a permit for a transfer switch installation?
Yes, nearly every local building department requires a permit for transfer switch work. The permit ensures an inspector verifies your wiring is safe and up to code. Skipping this step can void your homeowner’s insurance and create serious safety risks.
What is the difference between a transfer switch and an interlock kit?
A transfer switch is a separate box that physically reroutes power to selected circuits. An interlock kit is a metal plate that prevents the main breaker and generator breaker from being on at the same time. Both are safe, but a transfer switch is often easier to use during an outage.