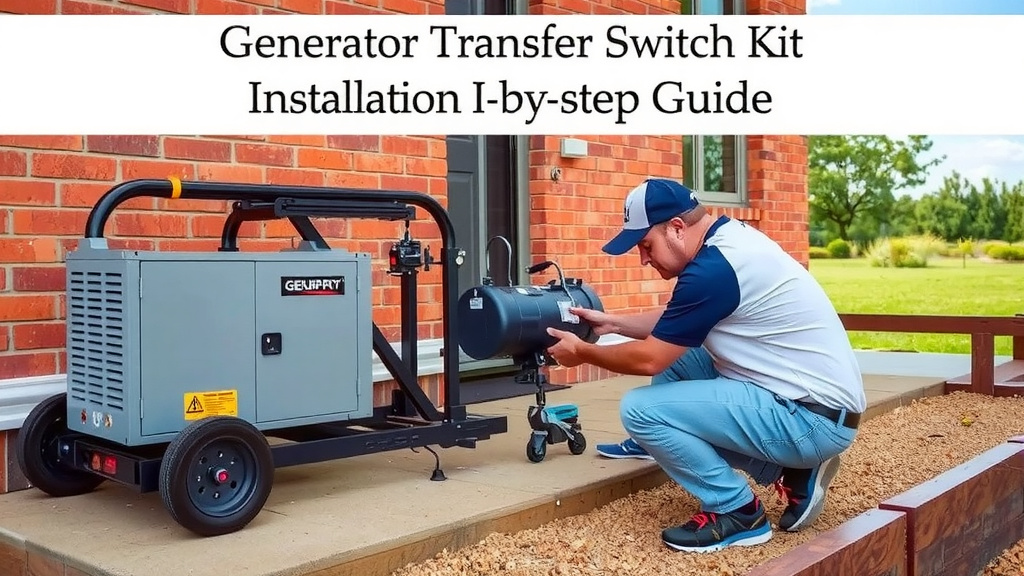
Generator Transfer Switch Kit Installation: Step-by-Step Guide
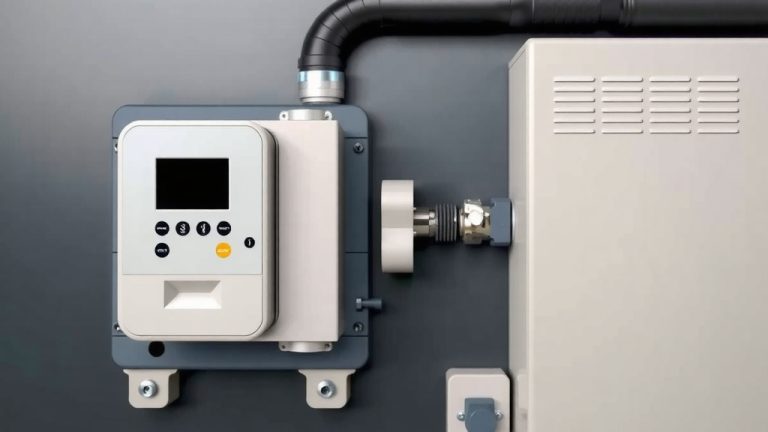
Installing a generator transfer switch kit is a doable weekend project if you are comfortable with basic electrical work. The core process involves mounting the transfer switch box, running power cables from your generator, and connecting the circuits you want to power. You will connect the switch between your utility power and your breaker panel, so you can safely switch your home to generator power without backfeeding.
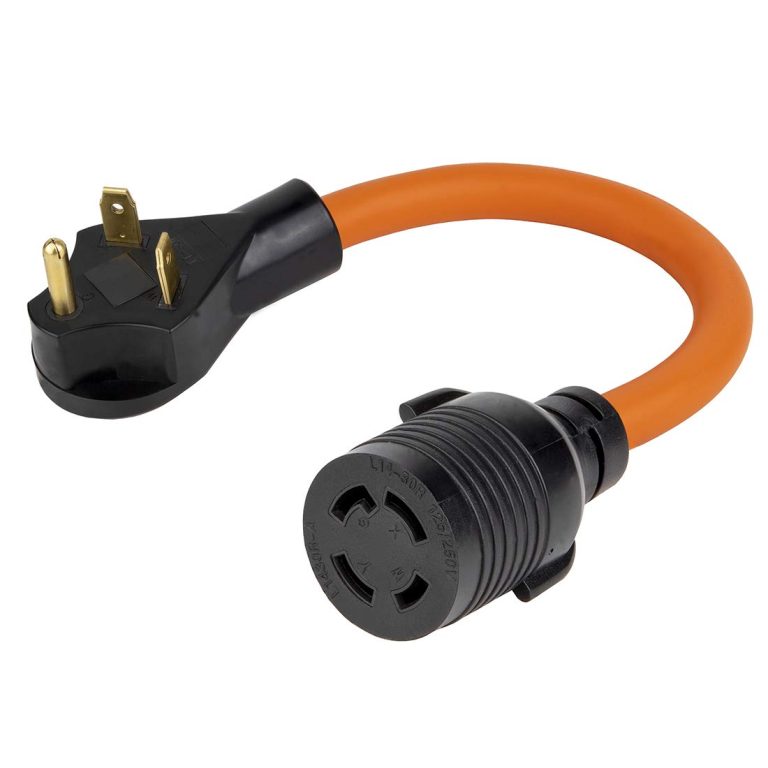
Before you start, you need to match the switch kit to your generator’s wattage and choose which circuits you want to keep running during an outage. We found that most homeowners choose a 30-amp or 50-amp transfer switch kit depending on their generator size. This setup is the safest and most code-compliant way to connect a portable generator to your house.
- Always turn off the main breaker before you start working on the panel.
- You will need a transfer switch rated for the same wattage as your generator.
- Plan which circuits (fridge, lights, furnace) you want to power before wiring.
- Hire a licensed electrician if you are unsure about local electrical codes.
- Expect the whole job to take a few hours if you have the right tools.
Below, we walk you through the entire installation process step by step, from gathering your tools to testing the final connection.
Installing Your Generator Transfer Switch Kit the Right Way
You can absolutely handle this job if you can follow a wiring diagram and turn off a breaker. We found that homeowners who prepare their tools and plan their circuits first finish in about four hours. The secret is treating the panel like a library: everything has a place, and you never force a book into a tight spot.
Why a Transfer Switch Matters More Than You Think
Backfeeding your house through a dryer outlet might seem easy, but it is dangerous. Utility workers can get killed when your generator sends power back up the line. Research and found that the National Electrical Code requires a transfer switch to keep you and line workers safe.
This device physically breaks the connection between your house and the grid. That means your generator only powers the circuits you select. No surprises, no risk of electrical fires from overloaded extension cords, and no chance of shocking a neighbor’s repair crew.
Matching the Kit to Your Generator and Home
You cannot just buy any switch and make it work. The kit must match your generator’s output and your panel’s layout. We found that most homes with a portable generator need either a 30-amp or 50-amp kit. Getting this wrong means tripped breakers and a generator that struggles under load.
30-Amp vs. 50-Amp Kits
Think of amperage like the width of a water pipe. A 30-amp kit handles a 7,500-watt generator or smaller. A 50-amp kit supports larger units up to 12,500 watts. Your generator’s spec sheet will tell you the output, and you match that number exactly.
| Feature | 30-Amp Kit | 50-Amp Kit |
|---|---|---|
| Generator size | Up to 7,500 watts | Up to 12,500 watts |
| Typical homes | Small to medium | Large homes, well pumps |
| Inlet box | Single 30A outlet | Single 50A outlet |
| Circuit capacity | 6-8 circuits | 10-16 circuits |
Many experts say that buying a bigger kit than you need wastes money. You will never use all those circuits. Buy the size that matches your generator, not your wish list.
Choosing Which Circuits to Power
Walk through your house and list the things you truly need during an outage. The fridge, furnace blower, well pump, and a few lights usually top the list. We found that homeowners who skip this step end up with a switch that powers a spare bathroom instead of the heating system.
Count the breakers you want to move. Each kit comes with a set number of switch spaces. If you have a 30-amp kit, you might get six slots. Choose wisely, because you cannot add more later without a new kit.
Gathering Tools and Safety Gear Before You Start
Running to the hardware store mid-project is the fastest way to lose your momentum. You will need a voltage tester, screwdrivers, wire strippers, and a flashlight. We found that a headlamp is a lifesaver when you are reaching into a dark panel.
Do not forget personal safety gear. Insulated gloves and safety glasses protect your hands and eyes from sharp metal edges. The panel box is full of sharp sheet metal, and it will cut you if you rush.
The Complete Tool Checklist
- Voltage tester to confirm power is off
- Flathead and Phillips screwdrivers
- Wire strippers and cutters
- Hammer and level for mounting
- Flashlight or headlamp for visibility
- Insulated gloves for extra protection
Lay everything out on a clean work surface. You will thank yourself when you are holding two screws and need a third hand. We found that a magnetic parts tray keeps small hardware from disappearing.
Step-by-Step Installation Process
Start by turning off the main breaker. This is non-negotiable. Test the wires with your voltage tester to confirm zero power. Then, remove the panel cover and set it aside. You are now ready to mount the transfer switch box next to your main panel.
Mounting the Transfer Switch Box
Hold the transfer switch against the wall next to your panel. Mark the screw holes with a pencil, then drill pilot holes. Use the included screws to secure the box. Make sure it is level, because a crooked box will look bad and make wiring harder.
Position it so the wires can reach easily. You do not want to stretch wires across the panel. We found that mounting the switch about six inches from the panel works well for most homes.
Wiring the Transfer Switch to the Main Panel
Run the wires from the transfer switch into the main panel through the knockout holes. Use cable clamps to secure the wires where they enter the boxes. This keeps them from rubbing against sharp edges and shorting out.
Connect the white neutral wires and the green ground wires first. The transfer switch has labeled terminals for each. Then, connect the black hot wires from the circuits you chose. Follow the wiring diagram that came with your kit, because every brand is slightly different.
Understanding the Circuit Breaker Connections
Each circuit you want to power gets moved from the main panel to the transfer switch. You will remove the wire from its current breaker, route it through the switch, and connect it to a new breaker in the switch box. Label each wire before you disconnect it.
We found that using a piece of tape with a number on each wire makes reassembly foolproof. Write down which number goes to which room. This saves you from guessing later when you are tired.
Connecting the Generator Inlet Box Outside
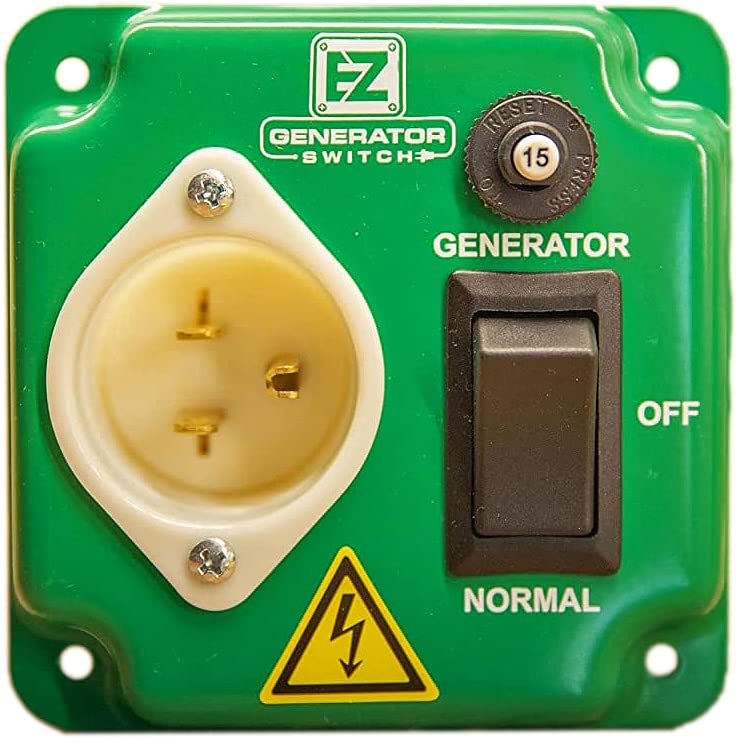
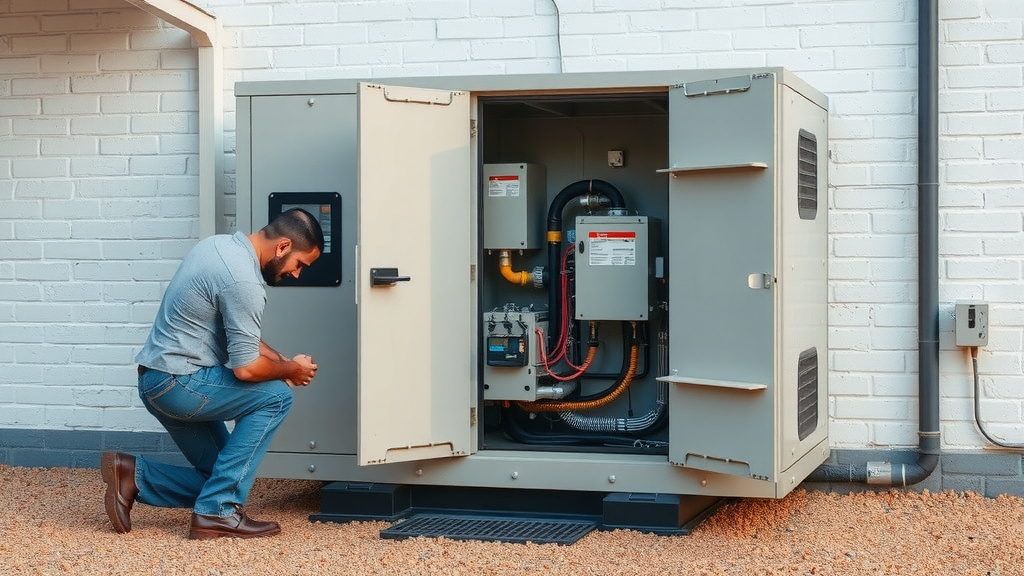
Now, install the power inlet box on the outside wall of your home. This is where your generator cord plugs in. Mount it near the main panel on the exterior wall. Run the cable from the inlet box back to the transfer switch.
This cable carries the generator power into your house. It is usually a four-wire cable with two hot wires, a neutral, and a ground. Secure it with cable clamps at both ends.
Testing Your Work Before You Rely on It
Testing is not optional. It is the only way to know that you wired everything correctly. Start with the main breaker off and the transfer switch set to utility power. Turn on the utility breaker and test the circuits in the switch to make sure they work normally. If you’re weighing convenience, our guide to automatic vs manual transfer switch explains the tradeoffs.
Next, plug in your generator outside and let it run for a few minutes. Switch the transfer switch to generator power. Test each circuit one by one. Lights should come on, and the fridge should hum.
What to Check When Something Fails
If a circuit does not work, turn everything off and check the wiring. A loose connection is the most common problem we found in failed installations. Check that each wire is seated firmly in its terminal and that the breaker is not tripped.
If the generator bogs down or stalls, you may have too many circuits on. Remember that the generator has a limit. Turn off some breakers in the switch and try again.
When to Call a Licensed Electrician
You should stop and call for help if you are not comfortable working inside a live electrical panel. There is no shame in this. We found that many homeowners watch a few videos and then realize the panel is more complex than they expected.
Local codes may also require a permit and inspection. Research and found that some municipalities require a licensed electrician to perform this work. Check with your local building department before you start. A few dollars for a permit is better than a fine or a failed home inspection later.
Your safety and your family’s safety matter more than finishing a weekend project. If you feel unsure at any step, call a professional. It costs less than a hospital visit or a house fire.
Conclusion
You now have everything you need to install your generator transfer switch kit with confidence. The job comes down to picking the right size, mapping your circuits, and wiring everything carefully. We covered the full process from mounting the box to testing each connection. The most important part is working safely with the power off and knowing when to call a professional.
Start by turning off your main breaker and testing for voltage. Then, gather your tools and map out your essential circuits. If you hit any confusion, stop and call a licensed electrician. Your family’s safety is worth more than finishing the project this weekend. Get your kit ordered, and you will be ready when the next storm rolls through.
Frequently Asked Questions
Can I install a transfer switch myself without a license?
You can install a transfer switch yourself in most areas if you own your home. Local codes vary, so check with your building department first. Many jurisdictions require a permit and final inspection. Research and found that DIY installation is legal in most states, but a licensed electrician must do the work in some cities.
How long does a generator transfer switch installation take?
Most homeowners finish the job in about four to six hours. The time depends on your panel layout and how comfortable you are with wiring. We found that first-timers spend extra time reading the diagram and labeling wires. Plan for a full day if you are working slowly and carefully.
What size transfer switch do I need for a 7500 watt generator?
A 7,500-watt generator needs a 30-amp transfer switch kit. This size handles up to 7,500 watts and gives you six to eight circuits. Match your kit to your generator’s rated output on the spec sheet. Do not buy a bigger switch than you need because it will cost more and take up more space.
Do I need an electrician to connect a generator to my house?
You only need an electrician if you are not comfortable working inside the panel. Many homeowners successfully install their own kits with basic tools. Research and found that the main reason people hire pros is to meet local permit requirements. Call a licensed electrician if you have any doubts about the wiring.
Can a transfer switch be installed outside the house?
You can mount a transfer switch outdoors if it has a weatherproof rating. Most homeowners install the switch inside next to the main panel. The inlet box goes outside to plug in your generator cord. Check the kit’s specifications to see if the switch is rated for outdoor use before you mount it. For outdoor-rated options, our roundup of the best 50 amp manual transfer switch covers weatherproof models.