How to Install a Generator Transfer Switch Video Guide
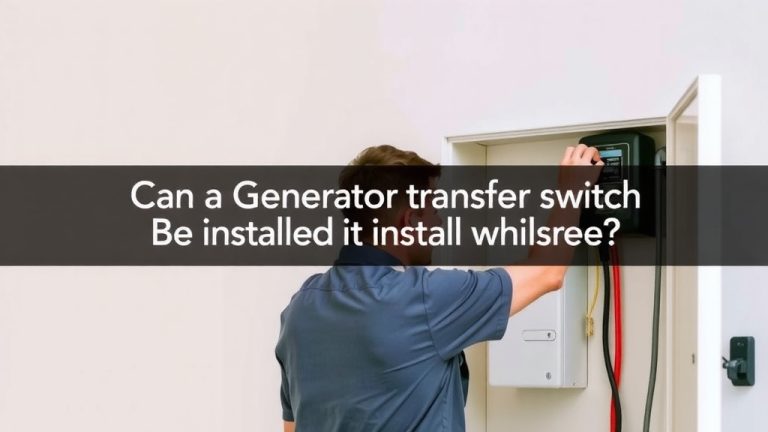
The fastest way to learn a generator transfer switch installation is to watch a step-by-step video while you follow along with the manual. We found that seeing the exact wiring connections makes the process much clearer than reading instructions alone. You can absolutely do this yourself if you are comfortable with basic electrical work.
Many homeowners choose to install their own transfer switch to save money and avoid long wait times for electricians. A video guide helps you see the correct order of operations, from mounting the panel to connecting the generator cord. We’ve watched several of these videos and broken down the key steps you need to know before you start.
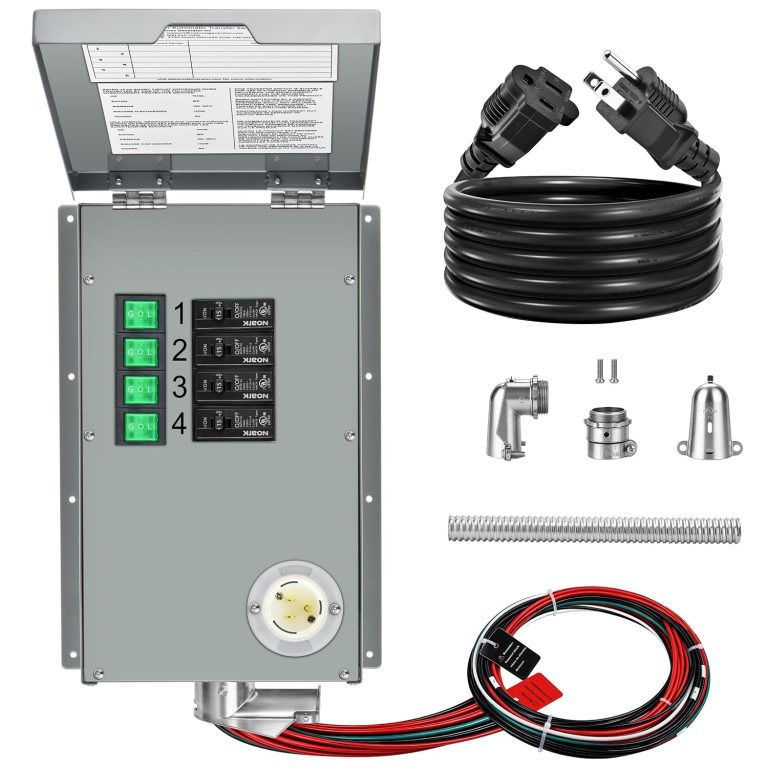
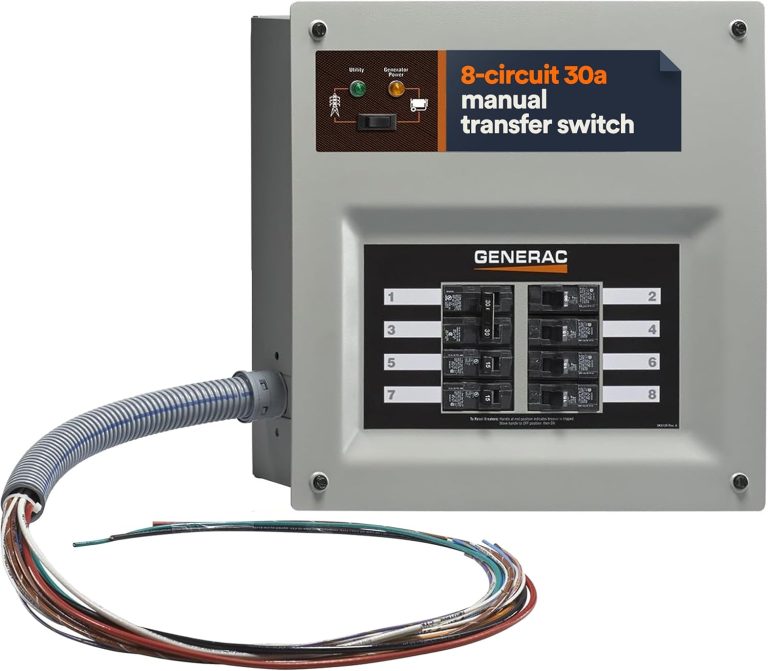
- What it is: A transfer switch safely connects your generator to your home’s electrical panel.
- Why you need it: It prevents dangerous backfeeding and protects utility workers.
- Key steps: Turn off the main breaker, mount the switch, connect the wires, and test the system.
- Safety first: Always disconnect power before touching any wires. Call a pro if you feel unsure.
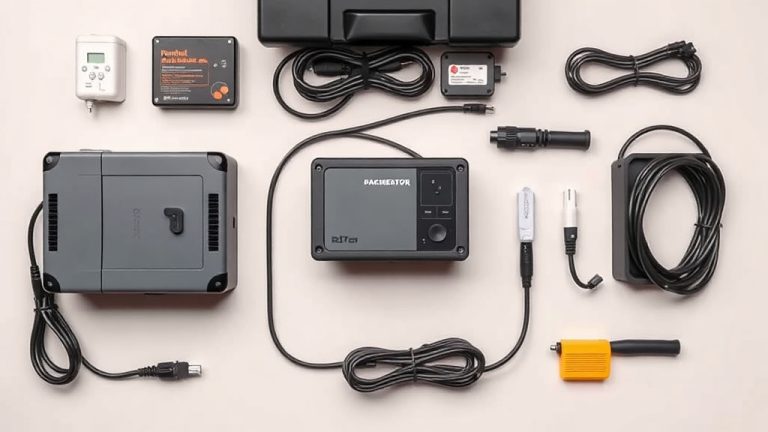
- Tools needed: You’ll need a screwdriver, wire strippers, and a voltage tester.
Below, we walk you through exactly what to look for in a good installation video and what you can expect during each phase of the job.
What a Transfer Switch Installation Video Actually Shows You
You might think a video just shows someone twisting wires together. In reality, a good installation video walks you through the entire process in a logical order. It covers safety checks, panel mounting, wire routing, and final testing. We found that most quality videos range from 15 to 30 minutes long. That is enough time to show every detail without rushing.
You get to see the exact tools in action. You also see how much force to use on connections. This is something a manual simply cannot convey. You watch the process at your own pace. You can pause, rewind, and replay tricky parts as many times as you need. That is the real advantage of learning this way.
Why Visual Learning Works Better for Electrical Projects
Your brain processes images much faster than text. When you watch someone connect a neutral wire to a bus bar, the concept clicks instantly. You see the color coding and the physical layout. This beats reading a paragraph about the same task any day. Many experts say that hands-on learners benefit most from video tutorials.
You also pick up on small habits. You notice how a pro strips a wire to the perfect length. You see how they torque a lug to prevent overheating. These tiny details matter for a safe and reliable installation. A good video teaches you those habits without you making the mistakes yourself.
Common Mistakes You Can Avoid by Watching First
Most DIY errors happen because people skip the visual step. They read instructions and think they understand. Then they wire something backward or strip too much insulation. Watching a video prevents these errors. You see the finished product before you start. You know what the end goal looks like.
You also learn what not to do. Some videos show common errors on purpose. This helps you spot them in your own work. You will learn to double-check your connections. You will also learn to verify that the generator breaker is off before you plug anything in.
Choosing the Right Installation Video for Your Setup
Not every video fits your specific situation. You need to match the video to your generator type and transfer switch model. A video for a 30-amp switch will not help if you have a 50-amp system. You also need to consider whether you have a portable generator or a standby unit. The installation process is different for each.
We found that the best videos clearly state their equipment in the title. They also list the tools at the start. This saves you from watching 10 minutes before realizing it is the wrong setup. Take time to read the video description. Look for your switch model number and generator wattage. That simple step will save you a lot of confusion. If you’re still choosing a switch, our roundup of the best generator transfer switch models can help you narrow it down.
Key Features to Look For in a Quality Tutorial
- Clear audio and close-up camera angles for terminal connections
- An on-screen parts list before any work begins
- A live demonstration of testing with a voltage meter
- Safety callouts that appear at critical moments
- A full walkthrough of the owner’s manual for reference
You want a video that feels like a friend guiding you. Not a corporate training video. Look for someone who explains why they do each step. That context helps you make smart decisions if you hit an unexpected problem. The best videos are honest about challenges they encounter. They show you how to fix mistakes, not just how to avoid them.
Step-by-Step Breakdown of the Installation Process
Every installation follows a similar path. Once you see the pattern, you will feel much more confident. The process starts with preparation and ends with a safe test run. Here is what you can expect from start to finish.
Phase 1: Preparing Your Work Area and Tools
Before you touch any wires, you need a clean workspace. Clear the area around your electrical panel. Make sure you have good lighting. Gather all your tools in one spot. You do not want to hunt for a screwdriver while holding a live wire. A little organization goes a long way.
You also need to check your local electrical codes. Many areas require a permit for this work. We found that calling your local building department is a smart move. They can tell you if you need an inspection. This takes five minutes and prevents major headaches later. It is also the law in many places.
Phase 2: Turning Off Power and Verifying It Is Dead
This is the most critical step in the entire process. You must turn off the main breaker before you do anything else. Then you use a voltage tester to confirm there is no power. We cannot stress this enough. Test every wire you plan to touch. Test it twice if you need to. Your safety depends on this single step.
Many guidelines point to this as the non-negotiable first step (OSHA). You should also wear insulated gloves and safety glasses. Even with the power off, metal edges can cut you. The transfer switch panel is heavy. Be careful when lifting it into place. Do not rush this phase.
Phase 3: Mounting the Transfer Switch Panel
Choose a spot next to your main electrical panel. The transfer switch needs to be within reach of the generator cord. It also needs to be in a dry, accessible location. Use a level to mark your mounting holes. Drill pilot holes and secure the panel with the included screws. Make sure it is firmly attached to the wall studs.
We found that mounting the panel first makes wiring much easier. You can see where everything goes. You also avoid working with heavy equipment while holding wires. Take your time here. A crooked panel will bother you every time you look at it.
Phase 4: Running Wires Between the Panels
This is where the video really earns its keep. You will run conduit between the transfer switch and your main panel. Then you pull individual wires through the conduit. Each wire has a specific color and purpose. You will see the black hot wires, the white neutral wires, and the green or bare ground wires.
Pay close attention to the wire gauge. Your transfer switch manual specifies the correct size. Using the wrong gauge can cause overheating. It can even start a fire. The video will show you how to strip the wires to the right length. It also shows you how to bend them neatly inside the box.
Understanding the Neutral and Ground Connections
This is the part that confuses most DIYers. The neutral and ground wires serve different purposes. The neutral carries current back to the source. The ground is a safety path for faults. They must remain separate in the transfer switch. Connecting them together is a serious violation of electrical codes.
Watch how the video handles these connections. You will see the neutral wires go on one side of the bar. The grounds go on the other side. Keep them organized. Use wire nuts or terminal lugs as shown. This is where a small mistake can cause big problems. Follow the video exactly.
Phase 5: Connecting the Generator Cord and Breakers
Once the switch is wired, you need to connect the generator cord. This cord plugs into the transfer switch on one end. The other end plugs into your generator. The video will show you how to lock the cord in place. This prevents accidental disconnection during operation.
You also need to install the breakers in your main panel. These breakers feed power to the circuits you want to run. Common choices include the refrigerator, furnace, and well pump. The video will show you how to move these circuits to the transfer switch. You will need to turn off each breaker before moving the wires. For larger setups, our guide to the best 50 amp generator transfer switch kit covers pre-wired options that simplify this step.
Testing Your Installation Safely After Watching
Testing is not optional. You must verify that everything works before you rely on it. A video will walk you through the testing sequence. You start with the generator off. You check the voltage at the transfer switch. Then you start the generator and check the output again. Finally, you test each connected circuit one at a time.
We found that testing each circuit individually is the best method. This way, you identify problems quickly. If one circuit fails, you know exactly where to look. It also prevents overloading the generator. You learn which appliances you can run together. This knowledge is gold during a real power outage.
What to Do If Something Goes Wrong
Do not panic. Most issues are simple to fix. A breaker that trips usually means a short circuit or overload. A hum from the generator often means the load is too high. The video will show you common troubleshooting steps. You might need to tighten a loose connection. You might have wired a circuit to the wrong breaker.
If you feel stuck, call a licensed electrician. There is no shame in asking for help. A professional can diagnose the issue quickly. They will also verify your work is code-compliant. This gives you peace of mind for years to come.
Safety Checks and Electrical Codes You Should Know
Your installation must meet local building codes. These codes exist to protect you and your family. The National Electrical Code (NEC) is the baseline for most areas. Your local jurisdiction might have additional rules. We found that researching these before you start saves time and money.
One of the most important rules is the mechanical interlock requirement. This prevents the main breaker and the generator breaker from being on at the same time. It is a physical barrier. It stops dangerous backfeeding. Backfeeding sends power up the utility lines. This can kill a lineman working on the poles. The transfer switch automatically prevents this, but you must understand why it matters.
Permit Requirements and Inspection Tips
Most municipalities require a permit for adding a transfer switch. The permit fee is usually small. It covers an inspection by a qualified official. The inspector will check your work for code violations. They will look at wire sizes, connections, and grounding. Pass the inspection and you are golden.
We recommend scheduling the inspection before you cover anything up. Leave the panels open and accessible. The inspector needs to see all your connections. They might ask questions about your process. Be honest and show them your work. A friendly conversation goes a long way.
Tools and Materials Checklist for Your Project
Get everything ready before you start. Running to the hardware store mid-project is frustrating. Here is a quick checklist of what you will need. This matches what you see in most professional videos.
- Voltage tester to confirm the power is off
- Screwdriver set with flathead and Phillips bits
- Wire strippers for clean insulation removal
- Torque wrench to tighten lugs to spec
- Conduit and fittings for running wires safely
- Safety glasses and insulated gloves for personal protection
You might also need a drill with a hole saw for the conduit. A fish tape helps pull wires through tight spaces. A level ensures your panel is straight. A flashlight helps you see into dark corners of the panel. Lay everything out on a table before you begin. This simple step keeps you organized.
Comparing DIY Installation vs Hiring a Professional
You have options here. DIY saves money but takes time and effort. Hiring a pro costs more but guarantees a code-compliant job. Let us break down the differences so you can decide.
| Factor | DIY Installation | Professional Install |
|---|---|---|
| Cost | Parts only, usually $200-$500 | Parts plus labor, usually $500-$1500 |
| Time | 4-8 hours for a beginner | 2-3 hours with an experienced tech |
| Permit handling | You call and schedule | They handle everything |
| Warranty | No labor warranty | Usually includes a workmanship warranty |
| Risk of errors | Higher if you rush | Low, they do this daily |
We found that most homeowners with basic electrical experience handle this project fine. If you have ever replaced an outlet or installed a light fixture, you can do this. Just take your time and follow the video closely. If you have never touched a wire in your life, hire a pro. It is worth the money for your safety.
Signs You Should Hire a Pro Instead
Some situations are not DIY-friendly. If your panel is old or full, you might need an upgrade. That is a complex job. If you have aluminum wiring, leave
Conclusion
Watching a generator transfer switch installation video before you start is the smartest move you can make. You now know the exact phases of the job, the tools you need, and the safety rules you cannot skip. You also know how to spot a quality tutorial that matches your specific generator and panel setup.
We want you to feel confident, not rushed. Take your time, watch the video twice if you need to, and keep your manual close by. Your hard work pays off with a safe, reliable backup power source. Start by gathering your tools and watching a tutorial for your exact switch model today. That first step makes everything else easier.
Frequently Asked Questions
How long does it take to install a generator transfer switch?
Most homeowners finish the job in four to eight hours on their first attempt. Watching a complete video tutorial first can cut that time significantly. You save time by avoiding common mistakes and knowing exactly where every wire goes.
Can I install a transfer switch myself without an electrician?
Yes, you can do this yourself if you have basic electrical experience. You should be comfortable working inside your main breaker panel. If you have never replaced an outlet or light switch, we recommend hiring a licensed electrician.
What size transfer switch do I need for my generator?
Your transfer switch size must match your generator’s wattage output. A 30-amp switch works for most portable generators up to 7,500 watts. A 50-amp switch is for larger generators or whole-house standby units. Check your generator’s manual for the exact rating.
Is it cheaper to install a transfer switch myself?
DIY installation saves you roughly $300 to $1,000 in labor costs. You only pay for the switch, conduit, wire, and small parts. That is usually between $200 and $500 total. We found this is one of the most cost-effective home electrical projects you can tackle.
Do I need a permit to install a generator transfer switch?
Most cities and counties require a permit for this type of electrical work. The permit fee is usually less than $100. You will also need to schedule an inspection after the work is done. Call your local building department before you start to confirm the requirements.