DIY Generator Transfer Switch Installation Guide
Yes, you can install a do it yourself transfer switch for generator, but only if you understand electrical basics and follow local codes. This is one of the most important safety upgrades for your home. Without it, you risk dangerous backfeeding that can injure utility workers or damage your electronics.
We found that a manual transfer switch is the best choice for most DIYers. It is safer and more affordable than an automatic unit. The key is picking the right size and wattage for your generator. You also need to know where your main breaker is and how to wire the new switch to it safely.
- You need a transfer switch rated for your generator’s wattage (usually 30 or 50 amps).
- You must connect it between the utility meter and your main breaker panel.
- Always shut off the main breaker before you start any wiring work.
- Follow your local electrical code and get a permit if required.
- If you have any doubt, hire a licensed electrician to double-check your work.
Below, we walk you through the entire process step by step. We will cover the tools, the wiring setup, and the common mistakes to avoid. Let’s get you powered up safely.
Installing a DIY Transfer Switch for Your Generator
You can save hundreds of dollars by wiring a transfer switch yourself. We found that most homeowners with basic electrical knowledge can finish this in a weekend. The payoff is huge: safe backup power without paying an electrician’s hourly rate.
Many experts say that a manual transfer switch is the smartest DIY project for emergency preparedness. It is simpler than it looks, and the safety benefits are massive for your family.
The Core Safety Rule You Cannot Ignore
Backfeeding is the biggest danger when you connect a generator to your home. If you plug a generator into a wall outlet without a transfer switch, electricity flows backward through your wiring. This can electrocute a lineman working to restore power after a storm.
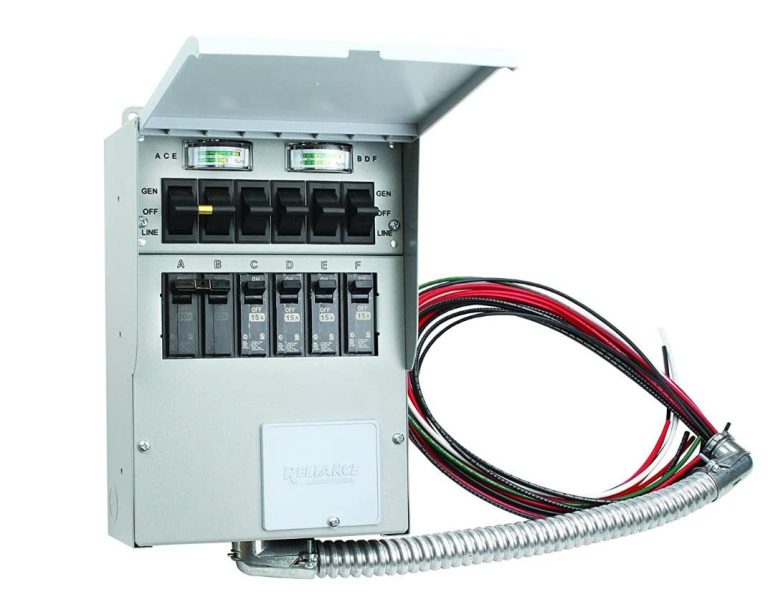
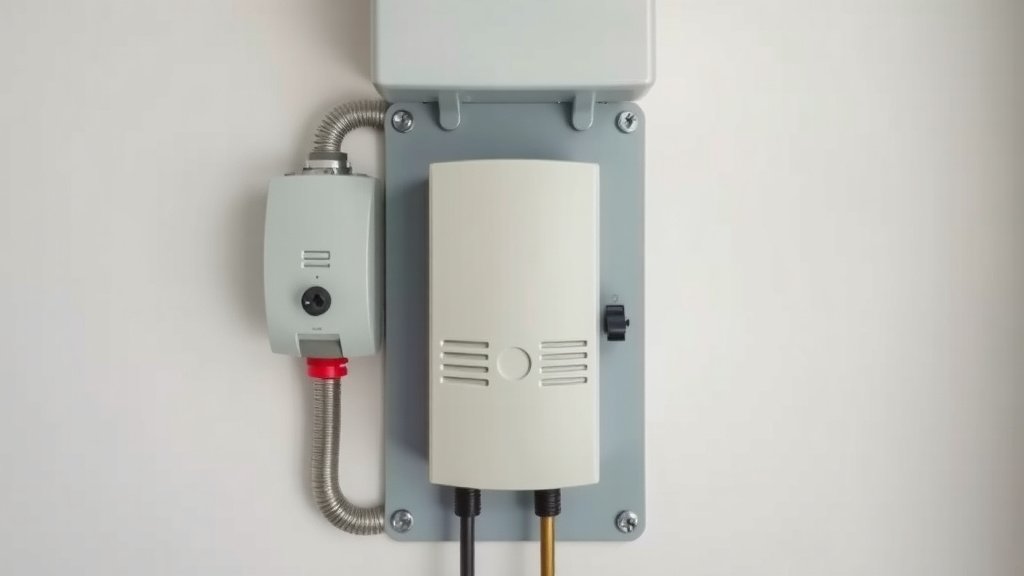
The transfer switch acts like a traffic cop. It physically separates your generator from the utility grid. When you flip it to “Generator,” your home runs on your power only. When you flip it to “Line,” the grid powers your home again.
Planning Your Transfer Switch Setup
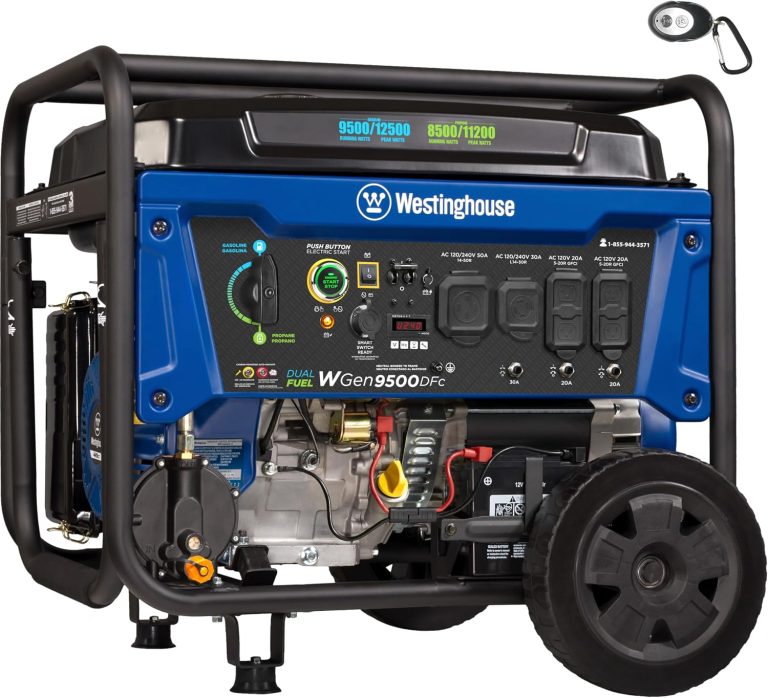
Before you buy anything, you need to know your generator’s power output. Look at the nameplate on your generator. The wattage rating tells you what size transfer switch you need. A 5,000-watt generator needs a 30-amp switch. A 7,500-watt or larger unit needs a 50-amp switch.
We found that choosing a switch that is too small is the most common mistake beginners make. It causes tripped breakers and overheating. Always round up to the next size if you are between ratings.
Choosing the Right Location
Your transfer switch must be mounted near your main electrical panel. The wires between them need to be short and direct. Measure the distance from the floor to your panel. Then find a clean, flat wall space beside it for the transfer switch box.
Indoor locations are best. Avoid damp basements or outdoor walls unless the switch is rated for wet locations. Keep at least 30 inches of clearance in front of the switch. That gives you room to work safely.
Tools and Materials You Will Need
Gather everything before you start. Running to the hardware store mid-project wastes time. Here is the full list we recommend:
- Manual transfer switch kit (includes the box and breakers)
- Heavy-duty electrical cable (sized to match your breaker)
- Wire strippers and a voltage tester
- Screwdrivers (flathead and Phillips)
- Cable clamps and conduit fittings
- Safety glasses and insulated gloves
- A flashlight or work light
Step-by-Step Wiring Process
This process is straightforward, but you must work methodically. Take your time. There is no rush when dealing with electricity. We break it down into simple stages so you can follow along easily.
Step One: Shut Off Power Completely
Flip the main breaker to the OFF position. Then turn off every individual circuit breaker in your panel. Now use your voltage tester to confirm no power is flowing. Touch the tester leads to the main lugs and each breaker terminal. No lights on your tester means you are safe to proceed. Many experts say that checking twice is smart when lives are on the line.
Post a note on the panel warning others not to turn it back on. If you have a family member who might flip switches, tell them personally about your project.
Step Two: Mount the Transfer Switch
Hold the transfer switch box against the wall at the height you planned. Mark the screw holes with a pencil. Drill pilot holes and attach the box with the included screws. Make sure it is level and firmly mounted. A loose box will wiggle when you flip switches, which is annoying later.
We found that mounting the box before wiring saves headaches. You can measure cable lengths more accurately when everything is fixed in place.
Step Three: Run the Cables
Route the generator power cable from the transfer switch to your main panel. Use cable clamps where the wire enters each box. Leave about 12 inches of extra wire inside each box. That slack helps you make connections easily. If the run is long, use conduit to protect the cable from damage.
Label both ends of the cable so you remember which wire goes where. This simple step prevents confusion later in the process.
Step Four: Connect the Wires
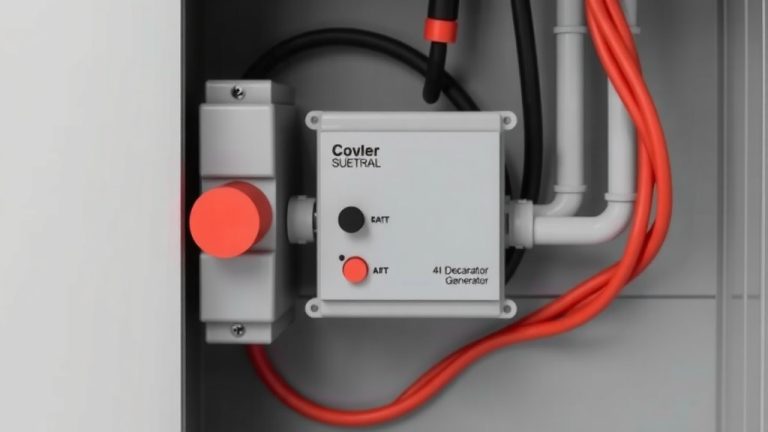
Inside the transfer switch, you will see terminals marked LINE and GENERATOR. Connect the utility wires to the LINE terminals. Connect the generator wires to the GENERATOR terminals. Match the colors: black to black, white to white, green to ground. Tighten each screw firmly.
Now move to your main panel. Connect the other end of the cable to the transfer switch breaker. This is a special breaker that interlocks with your main breaker. It ensures that both cannot be ON at the same time. This mechanical interlock is your final safety net.
Step Five: Test Before You Depend on It
Close the cover on your main panel. Leave the transfer switch cover open for now. Turn your main breaker back ON. Flip the LINE breaker in the transfer switch to ON. Use a multimeter to check that voltage reaches the outlets connected to the switch.
Then shut off the main breaker and start your generator. Let it warm up for a few minutes. Plug it into the generator inlet box and flip the GENERATOR breaker on. Check the same outlets again. If voltage reads correctly, your installation works.
Step Six: Get Your Work Inspected
Most counties require a permit and inspection for transfer switch installations. Research and found that skipping this step can void your home insurance. Call your local building department and schedule an inspection. The inspector will verify your work is up to code. Their approval gives you peace of mind.
Keep the permit paperwork in a safe place. You will need it if you ever sell your home.
Common Mistakes to Avoid
Even experienced DIYers make errors on this project. We collected the most frequent mistakes from online forums and electrician advice. Avoid these and your installation will be solid.
- Using a transfer switch rated lower than your generator output
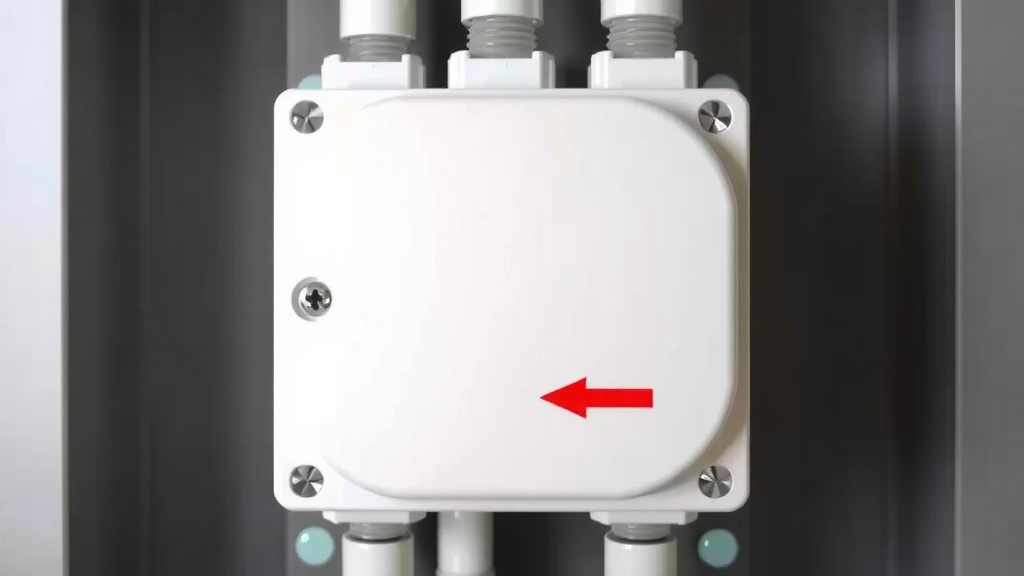
- Forgetting to install a generator inlet box outside
- Connecting the wires in the wrong order (phase vs. neutral)
- Failing to use cable clamps where wires enter boxes
- Skipping the mechanical interlock kit in the main panel
- Testing without a voltage tester first
Cost Comparison: DIY vs. Hiring a Pro
Money is often the reason people attempt this project themselves. We found that hiring an electrician typically costs between 500 and 1,500 dollars. Doing it yourself costs about 200 to 400 dollars for materials. That is a significant savings for about four hours of your time.
| Item | DIY Cost | Electrician Cost |
|---|---|---|
| Transfer switch kit | 150 to 250 | 150 to 250 |
| Cable and conduit | 50 to 100 | 50 to 100 |
| Permit fee | 50 to 150 | 50 to 150 |
| Labor | 0 | 300 to 800 |
| Total | 250 to 500 | 550 to 1,300 |
That table shows the difference clearly. You can save a good chunk of money. The catch is that you must be confident with your skills. If wiring a light switch feels stressful, this project is too much for you.
When to Call a Professional Anyway
We found that some situations just are not DIY-friendly. If your main panel is old or has no space for a new breaker, you need an electrician. They can install a sub-panel or upgrade your service. If your home has aluminum wiring, stop immediately. That requires special handling and connectors that are not standard.
Also, if you live in an area with strict zoning rules, you might be forced to use a licensed pro. Check with your local building department before purchasing parts. They will tell you exactly what is allowed.
Final Safety Checklist Before You Start
Run through this list one more time. It is your pre-flight check, like a pilot does before takeoff. Complete all of these and you are good to go.
- Generator wattage matches your transfer switch rating
- Permit obtained from your local building department
- All power is off and verified with a voltage tester
- Mechanical interlock installed to prevent backfeeding
- Ground wire connected at both the switch and the panel
- Generator inlet box installed outside with a weatherproof cover
You have done your homework. You understand the risks. Now you can safely wire your transfer switch and keep your family powered during the next outage. The sense of accomplishment is real, and so are the savings.
Conclusion
You now have everything you need to install a do it yourself transfer switch for generator safely. We walked you through the planning, the wiring steps, and the common pitfalls to avoid. The biggest takeaways are simple: match your switch to your generator wattage, always use a mechanical interlock, and never skip the permit inspection.
Take your time with this project. There is no reward for rushing electrical work. If you hit a step that feels unclear, stop and re-read the instructions. And if anything feels wrong, call a licensed electrician. A small fee is worth protecting your home and your family.
Your next step is to pull a permit and gather your parts this week. Then you can start the install when you have a full day to focus. You have the knowledge. You can do this.
Frequently Asked Questions
Is it legal to install a transfer switch yourself?
Yes, in most areas it is legal for a homeowner to do their own electrical work. You still need to pull a permit and schedule an inspection with your local building department. Research and found that some cities require a licensed electrician even for homeowner projects, so call your local office first.
What size generator do I need for a 30-amp transfer switch?
A 30-amp transfer switch handles up to 7,200 watts of continuous power. Your generator should be rated between 5,000 and 7,000 watts to match well. If your generator is larger than that, you need a 50-amp switch instead. Check your generator’s nameplate for the exact wattage.
Can I run my whole house on a manual transfer switch?
No, a standard manual transfer switch only powers selected circuits, not your entire home. You choose which circuits you want to connect, like your fridge, furnace, and lights. For whole-home coverage, you would need a much larger generator and a bigger switch rated for your full electrical load.
What is the difference between a transfer switch and an interlock kit?
A transfer switch is a separate box with its own breakers that feeds power to selected circuits. An interlock kit is a metal plate that fits over your main panel and physically prevents your main breaker and generator breaker from being ON at the same time. Both prevent backfeeding, but a transfer switch is often easier for beginners to wire.
Do I need a licensed electrician to inspect my DIY work?
You need a building inspector, not necessarily a licensed electrician. The inspector comes from your local city or county and verifies your installation matches the electrical code. Research and found that passing inspection protects your home insurance policy. It also gives you confidence that your work is safe.