Generator Transfer Switch Installation: Step-by-Step Guide
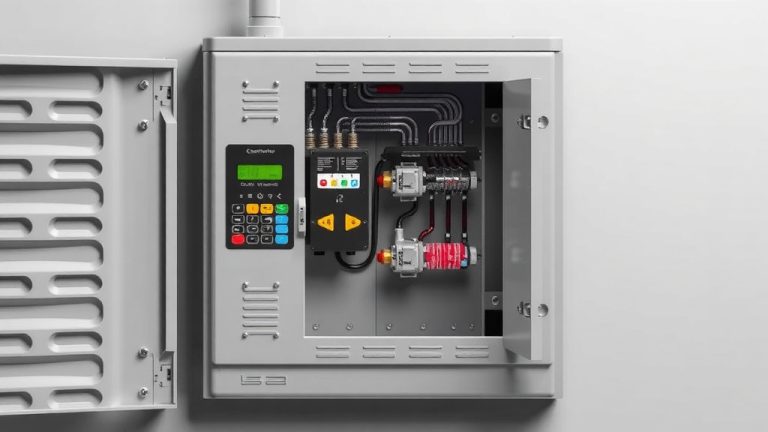
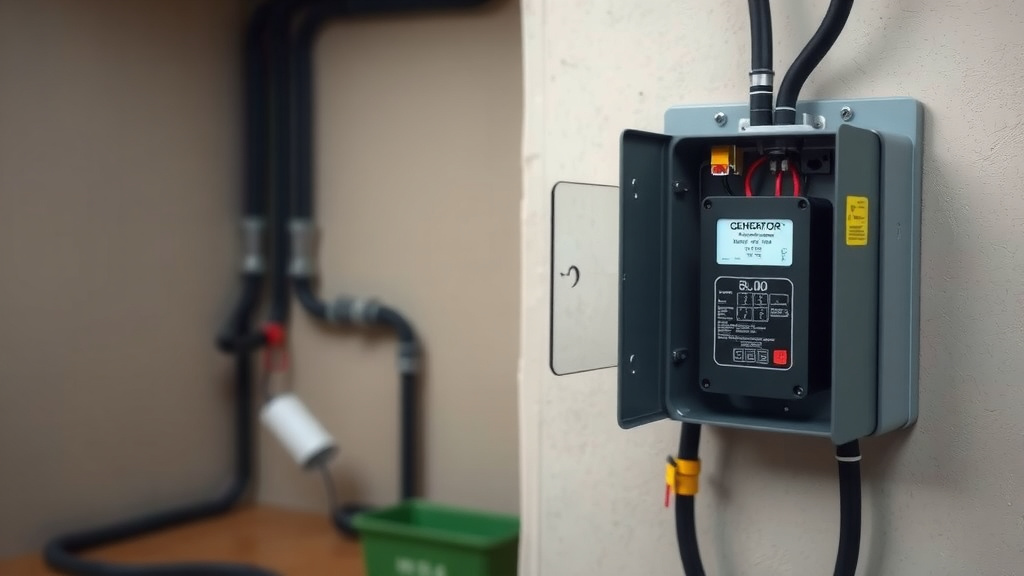
The safest way to install a generator transfer switch is to hire a licensed electrician, but if you are comfortable with basic wiring and your local codes allow it, you can do it yourself by connecting the switch to your main breaker panel and following the manufacturer’s manual step by step. A transfer switch is a mandatory safety device that prevents your generator from back-feeding power into the grid, which can electrocute utility workers and damage your electronics. We found that most DIYers can complete a basic installation in a weekend with the right tools and careful planning.
This guide covers the tools you will need, the difference between manual and automatic switches, and the wiring process for a typical 120/240-volt setup. We also researched common code requirements and safety pitfalls so you can avoid costly mistakes and pass inspection the first time. Whether you are powering a few essentials or your whole house, getting this installation right matters more than the generator itself.
- Do not skip the transfer switch: It is the only legal and safe way to connect a portable generator to your home.
- Match your switch to your power needs: Count the circuits you want to run and choose a switch with enough amps (usually 30 or 50).
- Turn off the main breaker first: Always disconnect power from the utility before touching any wiring.
- Use the correct wire gauge: 10-gauge wire for 30-amp systems and 6-gauge for 50-amp systems is the standard rule.
- Get a permit and inspection: Most municipalities require one, and it protects your home insurance and family.
Below, we break down the entire installation process into clear, simple steps so you can wire your transfer switch with confidence. Let’s walk through exactly how this works from the first screw to the final test.
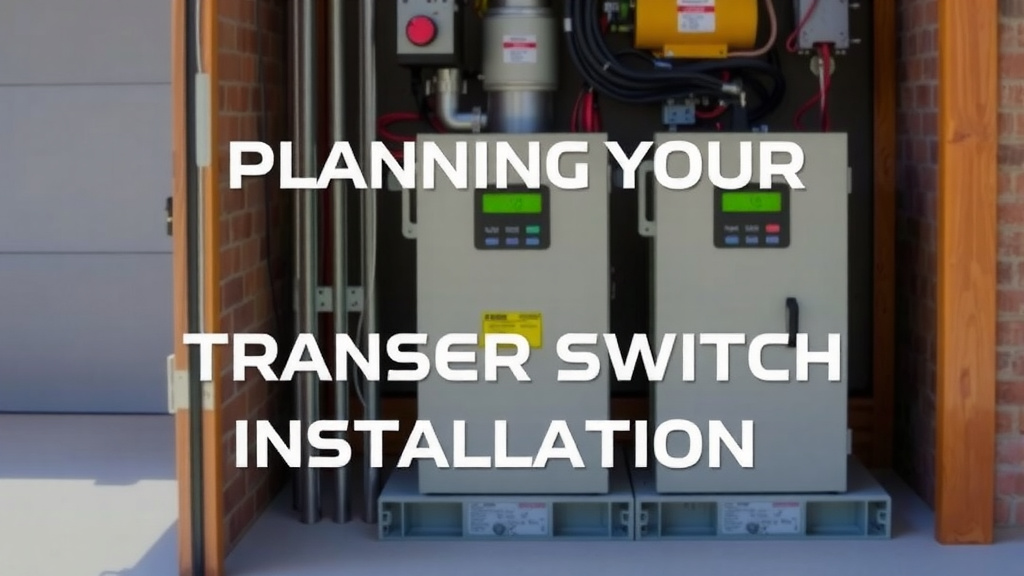
Planning Your Generator Transfer Switch Installation
Before you buy anything, stop and think about what you actually need. We found that most people either overspend on a huge switch or undersize their setup and trip breakers all night. You want a switch that matches the circuits you plan to power, not the size of your generator alone.
Start by listing the essentials. Your fridge, well pump, furnace blower, and a few lights usually top the list. Add up the wattage for those items. Then match that number to a 30-amp or 50-amp transfer switch. A 30-amp switch handles about 7,500 watts. A 50-amp switch handles about 12,500 watts. That covers most homes comfortably.
Manual vs. Automatic Transfer Switches
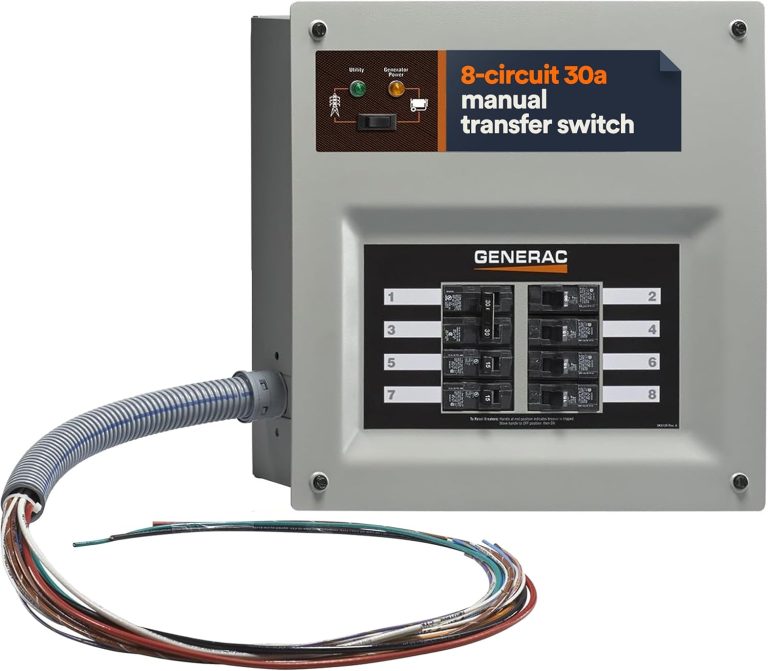
You have two main choices here. Manual switches require you to walk outside, plug in the generator, and flip breakers by hand. Automatic switches sense a power outage and start your standby generator on their own. They cost more but require zero effort when the lights go out.
Many experts say that for most homeowners, a manual switch is the smarter buy. You save money and keep full control over which circuits run. Automatic switches make sense only if you travel a lot or need medical equipment to stay powered without you being home.
We found that manual switches also make troubleshooting easier. If something trips, you know exactly where to look. Plus, you can upgrade later without tearing out the whole system.
Key Differences at a Glance
Think of it like a stick shift versus an automatic car. Both get you where you need to go. One just requires a little more attention from you.
| Feature | Manual Switch | Automatic Switch |
|---|---|---|
| Cost | Lower upfront | Higher upfront |
| Operation | Flip breakers by hand | Starts on its own |
| Best for | Weekend outages | Frequent or long outages |
| Installation | Simpler wiring | Needs more connections |
Tools and Materials for the Job
You do not need a van full of specialty gear. Most of what you will use is probably already in your garage. We found that having the right screwdrivers and wire strippers makes the biggest difference in how smoothly the job goes.
Here is your basic shopping list. Gather everything before you start so you are not running to the hardware store mid-project. That break in focus is where mistakes happen. For a complete package with inlet and cord, check our roundup of the best generator transfer switch kits.
- Voltage tester to confirm power is off
- Screwdrivers (flathead and Phillips)
- Wire strippers and cutters
- Needle-nose pliers for tight spots
- Flashlight or work light
- Safety glasses and insulated gloves
You also need the transfer switch itself, the right gauge wire, and cable connectors. For a 30-amp system, use 10-gauge wire. For 50-amp, go with 6-gauge. Using the wrong size wire can cause overheating and create a fire hazard. Do not guess on this one.
Choosing the Right Wire Gauge
Wire gauge matters more than most DIYers think. Too thin and the wire heats up under load. Too thick and it is a pain to bend and connect. Stick with the standard sizes we mentioned and you will be fine.
Many local codes also require a specific type of wire, usually THHN or NM-B. Check with your building department before you buy. Getting this wrong means a failed inspection and redoing part of the job.
Checking Local Codes and Getting a Permit
Nobody loves paperwork. But skipping the permit can cost you big later. We found that most municipalities require a permit for transfer switch installation. It usually costs less than a hundred dollars and takes ten minutes to get.
The permit protects you. It means an inspector will check your work and catch anything dangerous. That is a good thing. Your home insurance may also require proof of a passed inspection before they cover generator-related claims.
Call your local building department before you start. Ask about their specific requirements and any fees. Some areas have restrictions on where the switch can be mounted or how far it can be from the panel. Knowing this upfront saves you from moving everything later.
Why Inspections Matter
An inspection is not a test you pass or fail. It is a safety check. The inspector looks for loose connections, proper grounding, and correct wire sizes. They catch small mistakes before they become big problems.
We found that most first-time installs pass inspection easily when you follow the manufacturer’s manual closely. The manual is your best friend here. It has specific instructions for your exact model, which generic guides cannot cover.
Step-by-Step Wiring Process
Now we get to the hands-on part. This process works for most standard 120/240-volt setups. Always read your specific manual first. The steps are similar across brands, but small details vary.
The whole process takes most DIYers a weekend. Plan to spend the first few hours just on prep and safety checks. Rushing this part is how accidents happen.
Turn Off the Power and Verify
First, turn off the main breaker. Then shut off the generator breaker if you have one installed. You want zero power flowing through the panel while you work.
Use your voltage tester to double-check that the panel is dead. Touch the tester to the main lugs and each breaker terminal. If the tester lights up or beeps, stop. Something is still live. Do not touch anything until you figure out why.
This step is non-negotiable. Many experts say that most electrical injuries happen during the “quick check” phase. Take the extra minute to verify with a tester. It is the difference between a project and an emergency room visit.
Mount the Transfer Switch
Pick a spot next to your main panel. The transfer switch needs to be close enough that the wires reach without stretching. Most people mount it directly beside the panel, about chest height so the breakers are easy to reach.
Mark your mounting holes and drill pilot holes. Use the screws that came with the switch. Make sure it is level and firmly attached. A wobbly switch is annoying and can stress the wires over time.
Connect the Wires from the Main Panel
This is where you bring power from the main panel into the transfer switch. You will run wires from the specific circuits you want to back up. Each circuit gets its own wire from the panel breaker to the switch.
Start by turning off the individual breakers for the circuits you are moving. Then remove the wires from those breakers. Route them into the transfer switch and connect them to the matching terminals. Label everything clearly. You will thank yourself later when you are troubleshooting.
Take your time here. Loose connections cause arcing and heat buildup. Tighten every screw until the wire will not pull out, then give it one more quarter turn.
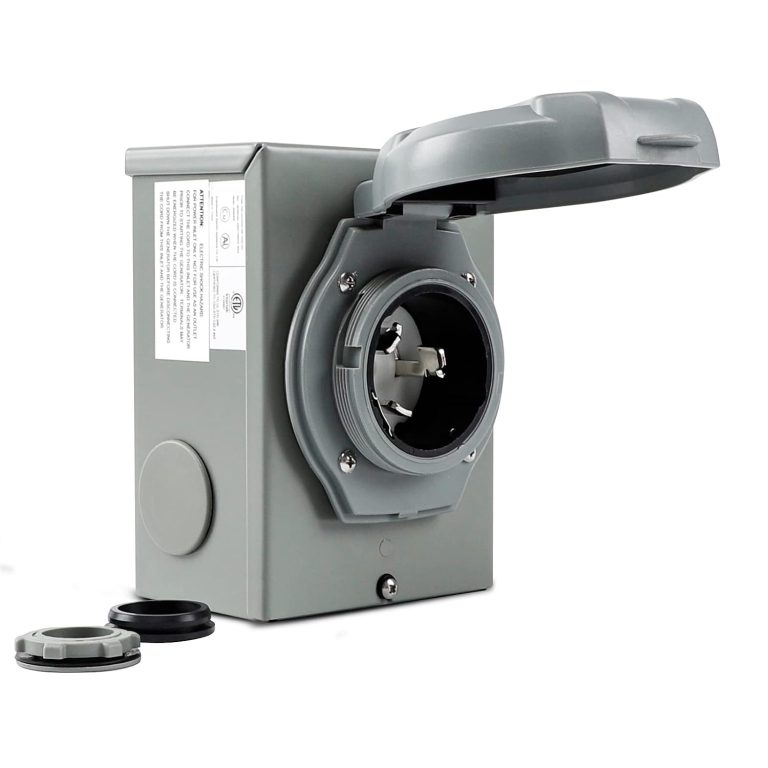
Wire the Generator Inlet Box
The inlet box is what your generator plugs into on the outside of your house. Mount it on an exterior wall near where you will park the generator. It needs to be close enough that your generator cord reaches without stretching.
Run the cable from the inlet box to the transfer switch. Connect the wires following the manufacturer’s diagram. This is not the time to improvise. The wiring order matters for safety and function.
Double-check that the ground wire is connected properly. A missing ground is one of the most common issues inspectors find. It is also one of the most dangerous because it leaves you unprotected from electrical faults.
Connect the Generator Breaker in the Switch
Inside the transfer switch, you will find a dedicated breaker for the generator input. Connect the wires from the inlet box to this breaker. This is what safely isolates your generator from the utility power.
When you flip this breaker, it disconnects the utility and connects the generator. That is the whole job of the transfer switch. It makes it physically impossible for power to back-feed into the grid. That protects utility workers and your own equipment.
Testing Your Installation Before You Rely on It
You are almost done. But do not skip the testing phase. We found that testing catches mistakes that would otherwise leave you in the dark during a real outage. It takes twenty minutes and saves you from learning the hard way.
Start with the main breaker off and the generator disconnected. Flip the transfer switch to the generator position. Nothing should happen. That is correct. There is no power to test with yet.
Run the Generator and Check Each Circuit
Now start your generator and let it warm up. Plug the generator cord into the inlet box. Flip the generator breaker on the transfer switch. Then turn on the individual breakers one at a time.
Walk around and test each outlet and appliance. A fridge should hum to life. Lights should come on without flickering. If anything runs weak or not at all, you have a wiring issue to fix.
Turn everything off and repeat the test a second time. Consistency matters. If the first test worked but the second did not, you have a loose connection somewhere. Tighten all terminals and retest.
Final Safety Checklist Before You Call It Done
Once your tests pass, do a final walkthrough. We found that a simple checklist keeps you from missing the small stuff. Go through this list one last time before you schedule your inspection.
- All wire connections are tight and secure
- No bare copper is exposed at any terminal
- The transfer switch cover is closed and latched
- Your generator runs the selected circuits without issues
- You have your permit paperwork ready for inspection
- You know how to switch between generator and utility power
One more thing. Show your family how to use the switch. Write simple instructions and tape them to the wall next to the panel. When the power goes out at night, you want everyone to know what to do.
Your transfer switch is now installed, tested, and ready. That is a solid weekend of work that protects your home and family. And you did it yourself.
Conclusion
You now have the full picture for installing a generator transfer switch. The key is preparation. Match your switch to your actual power needs, pull the right permit, and follow the manufacturer’s wiring diagram exactly. Those steps prevent the dangerous back-feed that puts lives and your home at risk.
We found that the DIY route is absolutely doable for a careful homeowner. But the testing phase is where you earn your confidence. Do not skip the final walkthrough. Verify every circuit runs cleanly before you rely on it during a storm.
Your next step is simple. Call your local building department to confirm the permit requirements in your area. Then gather your tools and get started. Your family will be glad you did when the lights go out.
Frequently Asked Questions
Can I install a transfer switch myself, or do I need an electrician?
You can install it yourself if you are comfortable working inside a live panel and your local codes allow homeowner installations. Many municipalities permit it, but they will require an inspection. If you have any doubt about your wiring skills, hire a licensed electrician. It is safer to pay for help than to risk a serious electrical mistake.
What size transfer switch do I need for my house?
You need to match the switch to the circuits you plan to power, not the size of your whole house. A 30-amp switch handles about 7,500 watts, which covers a fridge, lights, and a few essentials. A 50-amp switch handles about 12,500 watts for larger loads like a well pump or AC unit. Add up your must-run wattage first, then pick the size that fits.
How long does a generator transfer switch installation take?
Most DIYers finish a basic installation over a weekend. You will spend several hours on prep, mounting, and wiring, plus extra time for testing. If you are not experienced with electrical work, plan for a full two days. Rushing the job is how loose connections and safety mistakes happen.
Do I really need a permit for a transfer switch?
Most municipalities require one, and it is a small price for peace of mind. The permit gets your work inspected by a professional who catches dangerous mistakes. It also protects your home insurance coverage. Call your local building department before you start to ask about their specific rules and fees.
What happens if I plug my generator in without a transfer switch?
You risk back-feeding electricity into the utility grid. That can electrocute a lineman working on the power lines and destroy your generator and home electronics. It is also illegal in most areas. A transfer switch physically prevents this by isolating your generator from the grid. There is no safe shortcut around it.