Generator Transfer Switch Installation Tips for 2026
To install a generator transfer switch safely, you must disconnect the main power first and follow your local electrical codes exactly. The core rule is simple: never plug a generator directly into a wall outlet, because that can send power back into the grid and kill a lineman. A transfer switch is the only safe way to connect a portable generator to your home’s wiring.
We found that most homeowners can handle this project with careful planning and the right tools. However, this is not a job where you guess your way through it. Knowing your generator’s wattage and choosing the correct switch size are the first steps to a safe and legal setup. The process also involves picking the right location and wiring the circuits you absolutely need during an outage.
- Turn off the main breaker before touching any wiring to prevent electrocution.
- Match the switch amperage to your generator’s output (e.g., 30-amp or 50-amp).
- Pick a location close to your generator, but keep it protected from weather.
- Choose which circuits to power—stick to essentials like the fridge and lights.
- Always get a permit and schedule an inspection to stay code-compliant.
Below, we break down the step-by-step process and the crucial safety checks you need to know before you start connecting wires. Let’s walk through exactly how this works so you can power your home with confidence.
Planning Your Transfer Switch Installation the Right Way
Before you grab a screwdriver, you need a solid plan. We found that most failed installations happen because people skip the planning stage. A transfer switch is not a one-size-fits-all gadget. You must match it to your generator and your home’s electrical panel.
Start by checking the nameplate on your generator. It tells you the running watts and the voltage. This number decides the size of the transfer switch you need. If you pick a switch that is too small, you will trip breakers constantly. If you pick one that is too large, you waste money and create a safety hazard.
Understanding Your Generator’s Power Output
Your generator produces either 120-volt or 240-volt power. Most portable units output 120 volts. Larger models, often called “whole-house” units, output both. You need to know this before buying anything.
We found that a 30-amp switch works for most portable generators up to 7,500 watts. A 50-amp switch handles bigger loads, usually above 10,000 watts. Check your generator’s manual if you are unsure. The manual lists the exact amperage rating.
Here is a simple way to think about it: the switch is the gatekeeper. It can only let through as much power as it is rated for. Overload it, and you risk melting wires or starting a fire.
Reading the Specs Like a Pro
Look for two numbers on your generator: starting watts and running watts. Starting watts are higher because motors need a boost to spin up. Running watts are what the generator produces steadily. Use the running watts to size your switch.
Many experts say to add a 20% buffer to your total load. This keeps the generator from working at full capacity all the time. A generator that runs at 80% load lasts longer and stays quieter.
Choosing the Correct Transfer Switch Size
You now know your generator’s wattage. The next step is matching that to the right transfer switch. We found that this is where homeowners get confused most often. The switch size is measured in amps, not watts.
The math is easy. Divide your generator’s running watts by your home’s voltage (120 or 240). That gives you the amps. For example, a 5,000-watt generator at 120 volts pulls about 41 amps. That means you need a 50-amp switch.
Most people, though, do not need to power the whole house. You only need a few circuits during an outage. That is why a 30-amp switch with 6 to 8 circuits is usually enough.
Manual vs. Automatic Transfer Switches
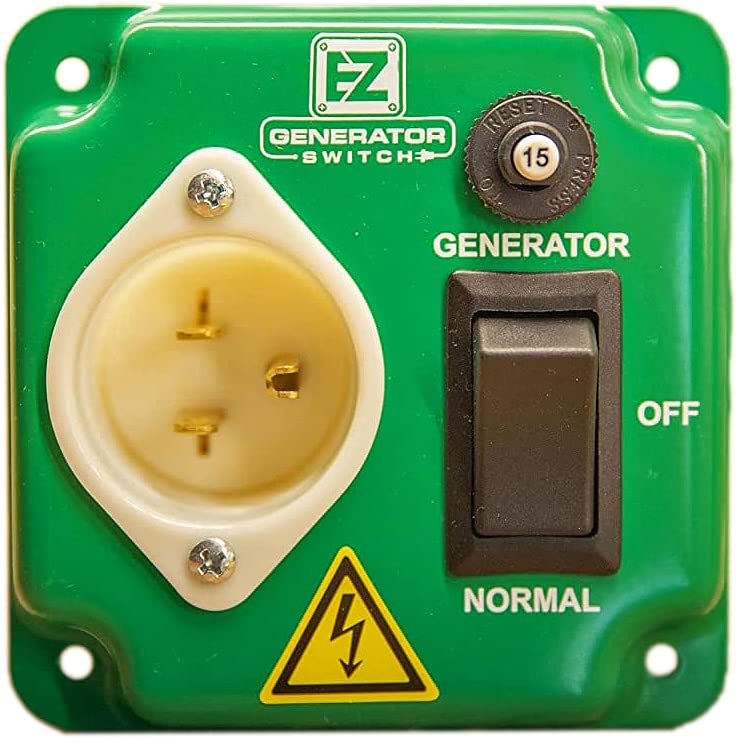
You have two main options: manual and automatic. A manual switch requires you to walk outside and flip a handle. An automatic switch starts the generator and transfers power by itself.
Automatic switches are much more expensive. They also require a generator with an electric starter. If you have a small portable generator, a manual switch is your best bet. It is simpler, cheaper, and easier to install.
We recommend a manual switch for most DIYers. It gives you full control and removes the risk of the generator starting unexpectedly. Plus, the wiring is straightforward compared to an automatic system.
Counting the Circuits You Need
Make a list of the things you cannot live without during a power outage. The fridge, the furnace, and a few lights are the basics. Add a sump pump if you have one. Maybe a space heater or a window AC unit.
Add up the watts for each item. Keep the total below your generator’s running watts. This list tells you how many circuits your transfer switch needs. Most 30-amp switches come with 6, 8, or 10 circuit slots.
Picking the Perfect Location for the Switch
Location matters more than you think. The transfer switch must be close to your main electrical panel. You also need a path for the generator cord to reach the switch. We found that most people install the switch right next to the panel.
The National Electrical Code (NEC) requires the switch to be within sight of the panel. That means you cannot hide it in a closet. It must be easy to find and access in the dark.
Keep the switch away from water sources. Do not install it near a sink, a washing machine, or an outdoor spigot. Moisture and electricity do not mix. The switch should also be in a spot where you can reach the handle without stretching.
Measuring the Distance and Cable Run
Your generator will sit outside, likely on a patio or in the driveway. The cord runs from the generator to the transfer switch. You need to measure this distance carefully.
Longer cable runs require thicker wire. If the distance is over 100 feet, you may need a heavier gauge cord. This is not just a performance issue; it is a safety issue. Thin wire over a long distance can overheat.
We found that keeping the generator within 25 to 50 feet of the switch is ideal. This keeps the cord manageable and reduces voltage drop. Voltage drop makes your appliances run slower and less efficiently.
Protecting the Switch from Weather
Your transfer switch is a metal box with electrical connections inside. It must stay dry. If it is outdoors, it needs a weatherproof enclosure. If it is indoors, it still needs to be in a clean, dry area.
Many experts say to install the switch on an interior wall. This keeps it away from temperature swings and condensation. A garage wall works well, as long as the garage does not flood.
Turning Off the Power Safely
This is the most critical step in the entire process. You must turn off the main breaker before touching any wires. We cannot stress this enough. Working on a live panel can kill you instantly.
Go to your main breaker and flip it to the “Off” position. This cuts power to the entire house. Use a voltage tester to confirm there is no power flowing. The tester should beep or light up when it detects electricity. If it stays silent, you are safe to proceed.
Do not rely on the breaker label. Breakers fail. Use a non-contact voltage tester on the wires you plan to touch. Test it on a live circuit first to make sure the tester itself works.
Why You Need a Permit and Inspection
You might be tempted to skip the permit. That is a mistake. Your local building department requires a permit for electrical work. We found that getting one is easy and cheap, usually under $50.
The permit triggers an inspection. An inspector will check your work to ensure it meets code. This protects you and your family. If you sell your house later, an unpermitted electrical modification can kill the sale.
Many experts say that a proper installation is not just about doing the work. It is about doing it legally. The permit also protects your insurance coverage. If a fire happens and the inspector finds unpermitted wiring, your claim may be denied.
Gathering the Right Tools Before You Start
You do not need a truck full of fancy tools. But you need the basics. Here is what we found works best for a clean installation:
- Non-contact voltage tester to confirm power is off
- Screwdrivers in various sizes, both flat and Phillips
- Wire strippers for clean, precise wire ends
- Needle-nose pliers for reaching tight spots
- A flashlight or headlamp for dark corners of the panel
- Safety glasses to protect your eyes from debris
You also need the manufacturer’s manual for your transfer switch. Read it fully before starting. The manual includes a wiring diagram specific to your model. Follow that diagram exactly.
Wiring the Transfer Switch Step by Step
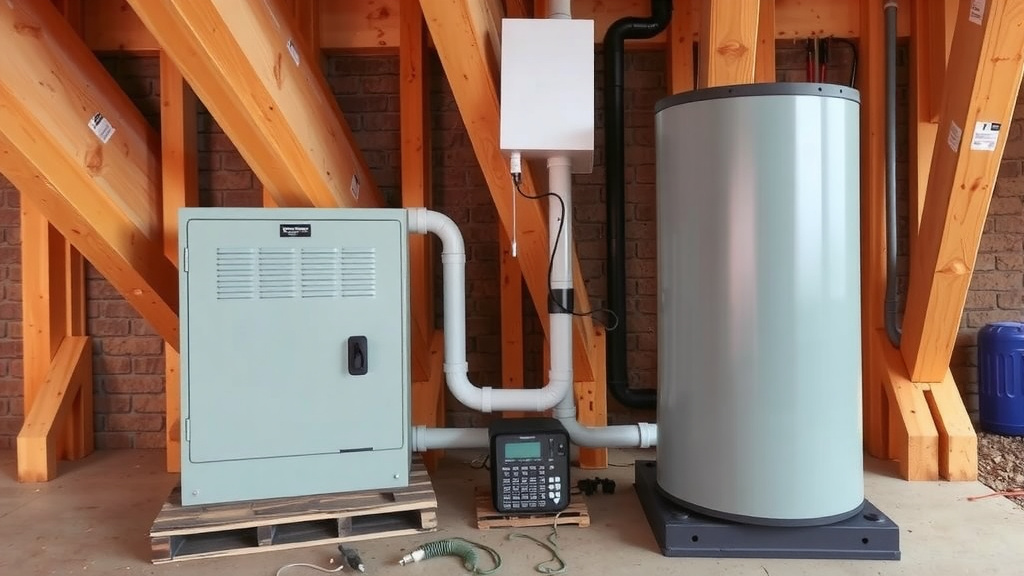
Now comes the actual work. The process involves connecting the transfer switch to your main panel and then connecting your chosen circuits. This is precise work, so take your time. For a visual walkthrough, our automatic transfer switch installation diagram guide breaks down each wiring step.
First, remove the cover from your main panel. You will see the main breaker and a row of smaller breakers. Each smaller breaker controls a circuit in your home. Identify which breakers feed the circuits on your list.
Turn off each of those breakers. Then, disconnect the wires from those breakers. You will route those wires into the transfer switch instead. This is how the switch takes control of those circuits.
Connecting the Switch to the Main Panel
Your transfer switch comes with a heavy cable. This cable connects to the main panel’s lugs. These lugs are where the main power enters your panel. You will connect the switch’s wires to these lugs.
This is a permanent connection. It does not pass through a breaker. The transfer switch sits between the main power and your selected circuits. When you flip the switch, it decides which power source feeds those circuits.
We found that following the color-coding is crucial. Black wires connect to brass terminals. White wires connect to silver terminals. Green or bare wires connect to the grounding bar. Mix these up, and you create a serious shock hazard.
Mounting the Circuits into the Switch
Each circuit you want to power gets a dedicated slot in the transfer switch. Remove the wires from their original breakers. Insert them into the transfer switch according to the diagram.
There are two rows of slots: one for the generator power and one for the utility power. The generator side connects to your generator cord. The utility side connects to the original breaker. This setup ensures that both power sources cannot feed a circuit at the same time.
This interlock system is the genius of the transfer switch. It physically prevents backfeeding. You literally cannot have both power sources connected at once. That is why it is the only legal way to connect a generator.
Testing Your Installation Before an Outage
You are done with the wiring. Before you put the cover back on, test everything. This is your chance to catch mistakes. Do not skip this step. We found that a simple test can save you from a dark and cold night later.
Turn the main breaker back on. Then, turn on each circuit that is now connected to the transfer switch. Make sure everything works normally. This confirms that the utility power side is wired correctly.
Now, test the generator side. Plug in your generator and let it warm up. Turn off the main breaker. Flip the transfer switch to the generator position. Turn on the generator’s breaker. Your selected circuits should now have power.
Listening for Unusual Sounds or Smells
Your generator should run smoothly. Your transfer switch should be silent. If you hear buzzing or humming from the switch, turn everything off immediately. That noise indicates a loose connection.
A burning smell is another red flag. It means wires are overheating. Turn off the generator and the main breaker. Call a licensed electrician to inspect your work.
These checks take about ten minutes. They are the difference between a safe installation and a dangerous one. Never assume everything is fine just because the lights turn on.
Creating a Monthly Test Routine
Your transfer switch is a mechanical device. It needs to move freely to work. Flip the switch back and forth once a month. This keeps the contacts clean and the mechanism lubricated.
Run your generator under load for 20 minutes each month. This burns off moisture in the engine and keeps the battery charged. A generator that sits for months may not start when you need it most.
Staying Safe with Carbon Monoxide
Your generator produces carbon monoxide, a colorless and odorless gas. It is deadly. The CDC warns that hundreds of people die each year from generator-related CO poisoning. Do not become a statistic.
Always run your generator outdoors. Place it at least 20 feet from your house. Point the exhaust away from windows and doors. Never run it in a garage, even with the door open.
We found that installing a battery-operated CO alarm in your home is a smart investment. It costs about $25 and could save your life. Place one near your bedrooms and one near the generator’s entry point.
Keeping the Cord Out of the Way
The cord from your generator to the transfer switch runs across your yard. It is a trip hazard. It can also be damaged by lawn mowers or vehicles.
Use a cord cover or a ramp to protect it. Keep it off the ground as much as possible. Do not run it under doors or through windows where the weight of the door can crush the insulation.
A damaged cord can short out and shock someone. Inspect the cord before every use. Look for cuts
Conclusion
You now have the full picture for a safe and legal generator transfer switch installation. The big takeaways are simple: match the switch to your generator’s wattage, pick a dry location near your panel, and always disconnect the main power before you touch a wire. We found that careful planning and a permit go a long way toward protecting your home and your family.
Do not skip the testing phase. Flip that switch, run the generator, and confirm every circuit works before you actually need it. If you feel unsure at any point, call a licensed electrician. A small fee now beats a dangerous mistake later. Start by checking your local building department for permit requirements.
Frequently Asked Questions
Can I install a transfer switch myself or do I need an electrician?
You can install a manual transfer switch yourself if you are comfortable working inside an electrical panel. Many homeowners do this successfully with careful planning. If you have any doubt about the wiring, hire a licensed electrician. Your safety matters more than saving money.
What is the difference between a transfer switch and an interlock kit?
A transfer switch is a separate box that controls specific circuits. An interlock kit is a metal plate that fits over your existing breaker panel. Both prevent backfeeding. We found that an interlock kit is cheaper, but a transfer switch gives you more control over which circuits get power.
Do I need a permit to install a generator transfer switch?
Yes, most local building departments require a permit for any electrical work that connects to your home’s wiring. The permit is usually inexpensive and triggers a safety inspection. Skipping the permit can void your insurance coverage and cause problems when you sell your home.
Can a transfer switch be installed outside?
Yes, you can install a transfer switch outdoors, but it must be in a weatherproof enclosure. You also need to check the NEC clearance requirements. We found that installing the switch on an interior wall is easier and keeps the wiring protected from moisture and temperature swings.
What size generator do I need to run a 30-amp transfer switch?
A 30-amp transfer switch at 120 volts can handle up to 3,600 watts of continuous power. You need a generator that produces at least that much. Most portable generators between 4,000 and 7,500 watts pair well with a 30-amp switch. Always check your generator’s running watts, not just the starting watts.