Generator Transfer Switch Installation Guide for Homeowners
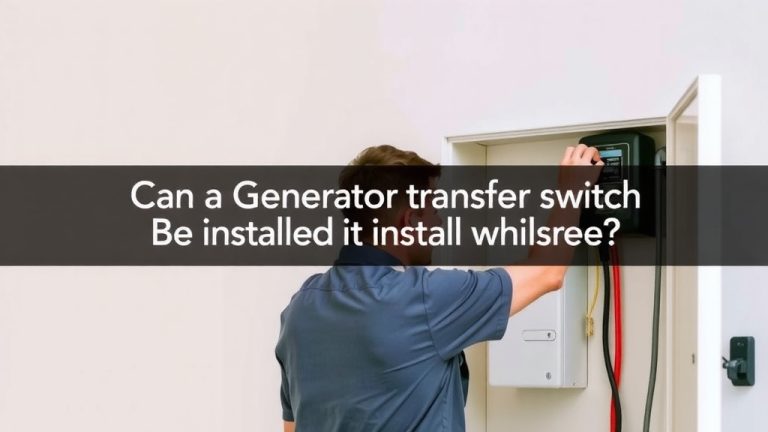
The safest way to install a generator transfer switch is to hire a licensed electrician. But if you’re handy and comfortable with your home’s electrical panel, you can do it yourself with careful planning and strict safety steps. Installing a transfer switch connects your generator directly to your home’s circuits, so you never need extension cords and you avoid dangerous backfeeding. This guide walks you through the core steps, the tools you need, and the safety rules you must follow.
Before you buy anything, know this: the transfer switch must match your generator’s wattage and your chosen circuits. We found that most homeowners pick a 6-10 circuit manual transfer switch, which powers the essentials like your fridge, furnace, and lights. Never plug a generator into a wall outlet to power your home—that’s illegal and deadly serious. A transfer switch is the only safe, code-compliant solution for connecting a portable generator to your house.
- Safety first: Turn off the main breaker before touching any wiring.
- Pick the right switch: Match it to your generator’s wattage and the circuits you need.
- Mount the box: Place it next to your electrical panel for easy wiring.
- Connect the circuits: Move the breakers you want to power into the transfer switch.
- Test everything: Run the generator and check each circuit before relying on it.
Below, we break down the entire installation process step by step, including tools, wiring tips, and the common mistakes to avoid. Let’s walk through exactly how to get your home powered up safely.
Installing Your Generator Transfer Switch Safely
You’ll start by turning off the main power and removing the panel cover. Then you mount the transfer switch box beside the panel, run the heavy wires, and move the breakers you want to power. The whole job usually takes a patient weekend afternoon. Let’s make sure you have everything lined up first.
What You Need Before You Start
Gathering your tools ahead of time keeps the work smooth. You do not want to pause mid-job to hunt for a screwdriver. We found that having a clear workspace and every tool within arm’s reach cuts your installation time in half.
- Voltage tester (non-contact pen style works great)
- Flathead and Phillips screwdrivers
- Wire strippers and cutters
- Needle-nose pliers
- Hammer and level (for mounting the box)
- Flashlight or work light
You’ll also grab the transfer switch kit itself and the correct gauge wire. The switch usually comes with a wiring diagram, but you’ll need your own wire to connect the new breakers. Check your generator’s plug type, so you can match the power inlet box you’ll install outside.
Never skip the voltage tester. Even with the main breaker off, some parts of the panel stay live. A quick check on every wire before you touch it is a habit that keeps you safe.
Choosing the Right Switch and Circuits
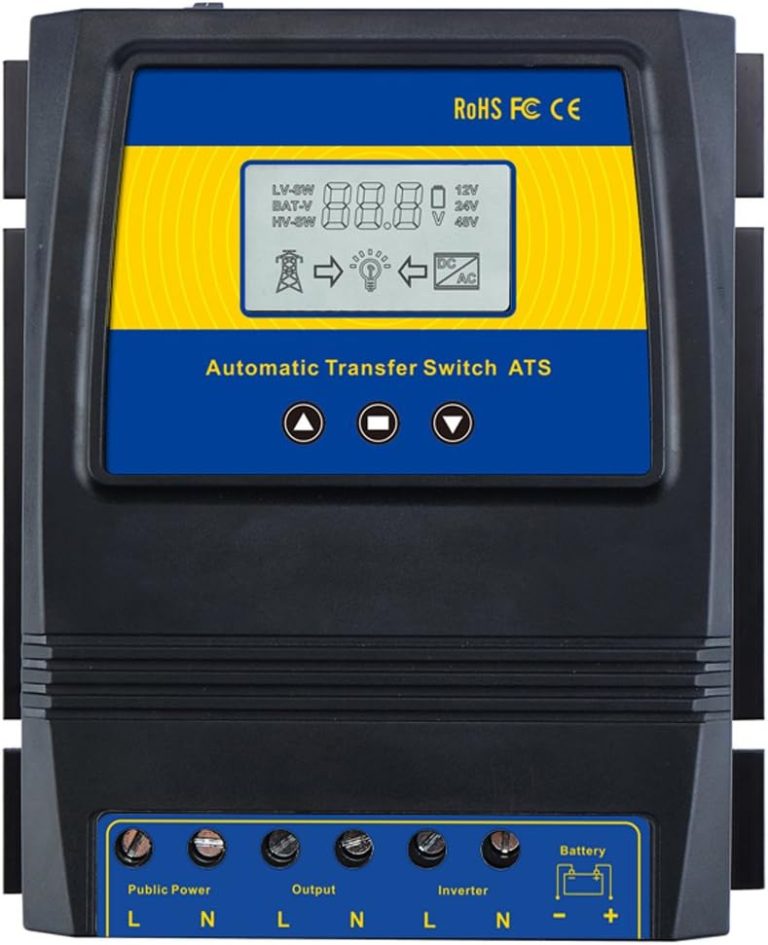
Your transfer switch must match your generator’s wattage. If you own a 5,000-watt generator, you need a switch rated for at least that. Many experts say that picking which circuits to power is the smartest planning step you can do (National Electrical Code guidelines).
Think about what you truly need during an outage. Most homeowners pick the fridge, the furnace blower, the well pump, and a few lights. We found that a 6-circuit switch works well for most homes, but a 10-circuit switch gives you more breathing room for a microwave or a TV.
| Switch Size | Best For | Example Circuits |
|---|---|---|
| 6-circuit | Small homes and apartments | Fridge, furnace, lights, sump pump |
| 10-circuit | Average suburban homes | Fridge, furnace, well, microwave, outlets, lights |
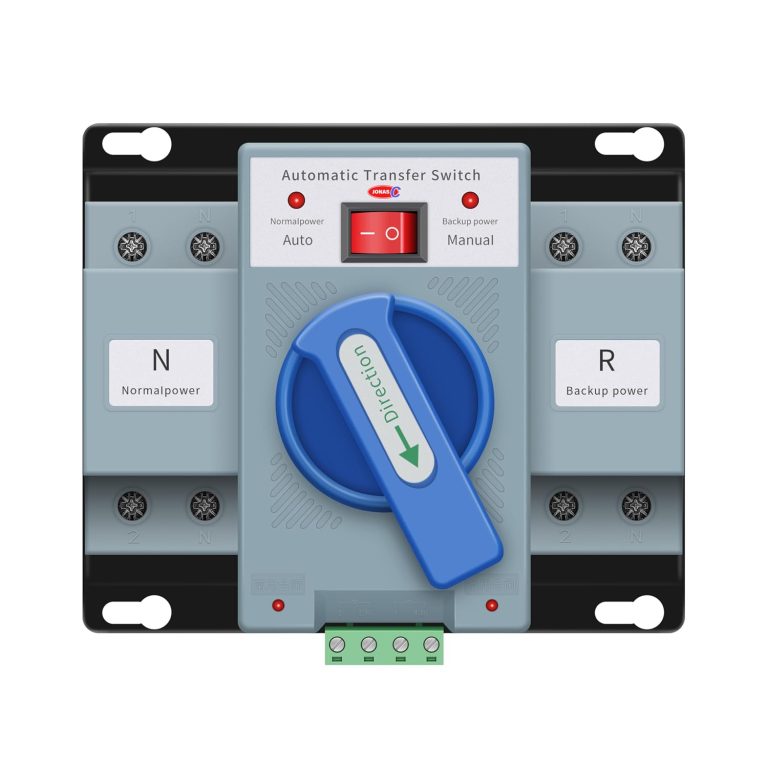
| Manual vs. Automatic | Portable vs. standby generators | Manual for portables, automatic for permanent units |
Take a walk around your house and list every appliance you can’t live without. That list becomes your circuit plan. You’ll thank yourself later when the power’s out and you’re cozy and warm instead of guessing.
Step 1: Kill the Power Completely
Flip the main breaker to the OFF position. Then flip off every individual breaker too. This is the only way to ensure zero power flows into the panel. We found that locking the panel cover with a small padlock is a clever trick to stop anyone from accidentally flipping it back on.
Use your voltage tester on the main service wires entering the panel. They should read zero. If they don’t, call an electrician immediately. Do not proceed if you see any voltage on those wires.
Removing the Panel Cover
Unscrew the cover and set it aside carefully. Keep the screws in a small cup so they don’t roll away. Look inside the panel and remind yourself that every wire has a job. Take a photo with your phone to help you remember where each wire goes.
You’ll notice the spaces where breakers are installed. The transfer switch connects to these same bus bars. It’s a tight fit, but totally manageable with patience.
Step 2: Mount the Transfer Switch Box
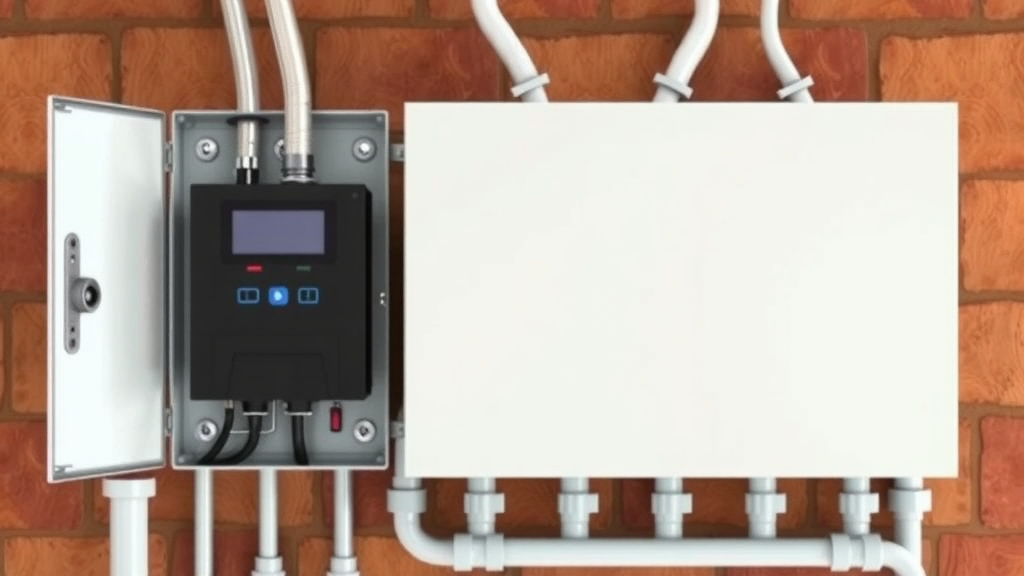
Place the empty transfer switch box right next to your main panel. You want it close enough that the wires can reach without stretching. Use your level to ensure the box sits straight. A crooked box makes the wiring harder later.
Mark the mounting holes with a pencil, then drill pilot holes. Screw the box into the wall studs securely. The box should feel rock solid when you’re done. A wobbly box is a recipe for loose connections down the road.
Leave at least 12 inches of working space in front of the box. Electrical codes require this clearance, and it makes your job way easier. You don’t want to be twisted like a pretzel while handling hot wires.
Step 3: Run the Wires from the Generator Inlet
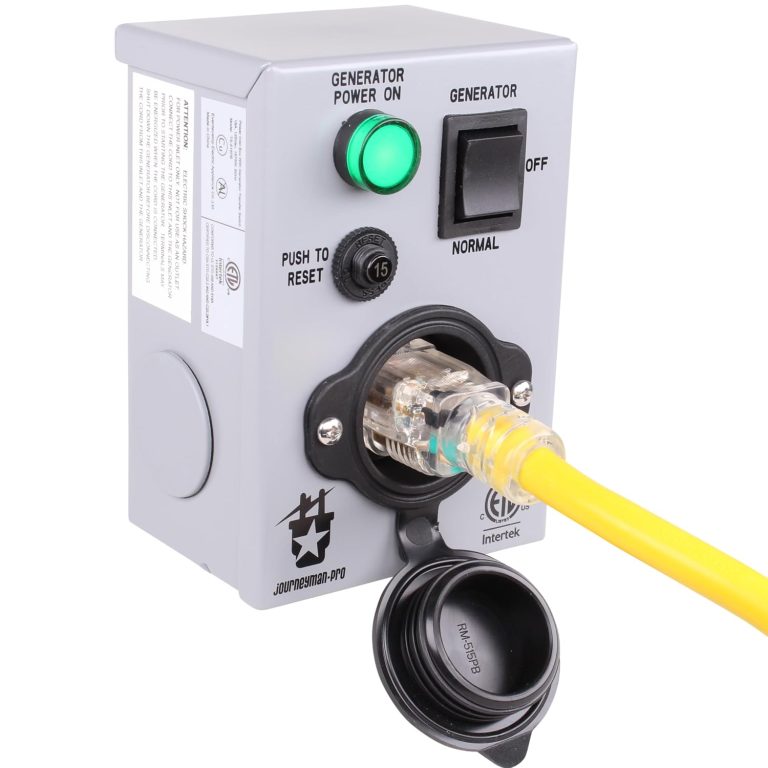
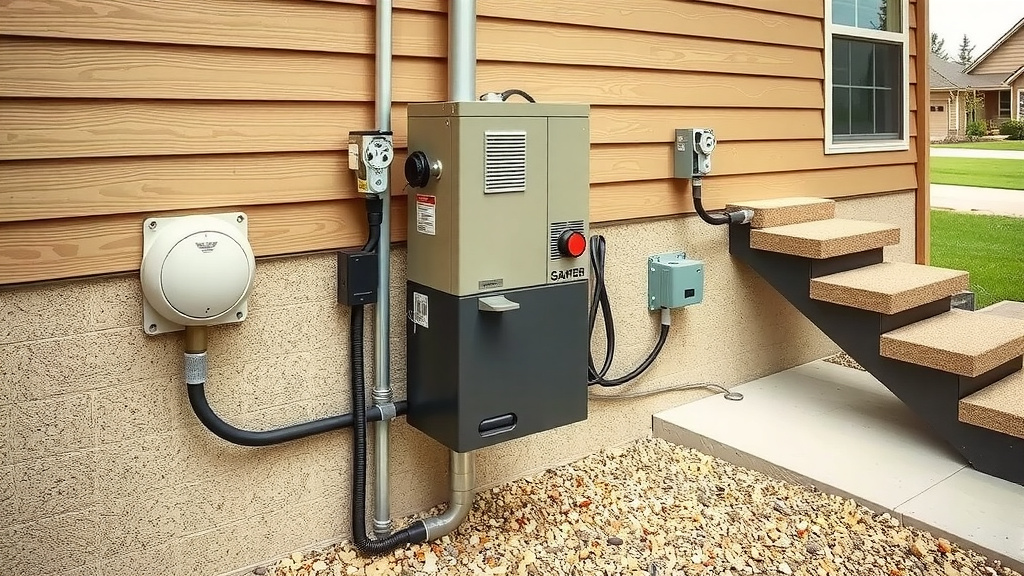
The power inlet box goes on the outside wall of your home. This is where you’ll plug in your generator cord. Run the heavy gauge wire from that inlet box to your transfer switch inside. This is the main power path for the generator.
Drill a hole through the wall for the wire, then fish it down to the switch location. We found that using a fish tape tool makes this step much less frustrating. It’s a flexible steel ribbon that guides the wire through tight spaces.
Keep the wire neat and organized. Leave some extra length at both ends so you have room to work. Tugging on a short wire while trying to connect it is no fun at all.
Connecting the Inlet Box Wiring
Inside the inlet box, you’ll connect the black, white, and green wires. Black goes to the brass terminal, white to the silver, and green to the grounding screw. Tighten each screw firmly. Loose connections heat up and cause dangerous failures.
Double-check your work by gently pulling on each wire. A good connection doesn’t budge. This same pattern repeats at the transfer switch end, where the generator feed terminals live.
Step 4: Move Your Chosen Breakers
This is the heart of the whole installation. You’re essentially relocating the circuits you selected from the main panel into the transfer switch. Each circuit has a hot wire that you’ll disconnect from its current breaker and reconnect to a new breaker inside the switch.
Start with one circuit at a time. Label each wire with a small piece of tape before you disconnect anything. This tiny habit saves you from confusion and prevents wiring the wrong appliance to the wrong breaker.
- Turn off the individual breaker for the circuit you’re moving.
- Unscrew the hot wire from that breaker.
- Pull the breaker out of the panel slot.
- Install the new breaker from your transfer switch kit into that slot.
- Connect the wire to the new breaker in the transfer switch.
Repeat this for every circuit on your list. It’s repetitive but straightforward work. We found that taking a short break between circuits keeps your focus sharp and reduces mistakes.
Grounding and Neutral Wires
The white neutral wires and bare copper grounds stay in the main panel, but they need special attention. The transfer switch has a neutral bus bar where you’ll land the white wires for your chosen circuits. The ground wires connect to a separate grounding bar.
Check your transfer switch’s manual to see if it includes these buses or if you run wires to the panel’s existing bars. Some switches are “load center” style with their own neutral and ground. Others are simpler and just pass through.
Never mix neutrals and grounds on the same bar. It creates a safety hazard and violates electrical code. Keep them separate and you’ll pass any inspection.
Step 5: Wire the Generator Feed
Now you connect the heavy wires from the inlet box to the transfer switch’s generator input terminals. These are clearly marked in the switch. The breaker in the switch for this feed stays off until you’re ready to test.
Use the torque specs from your switch’s manual. Most breakers and lugs require a specific tightness. We found that using a torque screwdriver, if you have one, prevents overtightening and stripping the threads.
Zip-tie the wires neatly inside the transfer switch. Loose wires look messy and can rub against sharp edges. Good wire management also makes future maintenance a breeze.
Step 6: Connect the Generator Cord to the Inlet
Outside, plug the generator cord into the inlet box. This is the same cord you’ll use during an outage. Attach the other end to your generator’s outlet. Make sure the generator is off before you plug anything in.
The inlet box should have a cover that closes snugly when not in use. This keeps rain and critters out. We found that adding a small dab of dielectric grease on the prongs prevents corrosion and keeps the connection clean.
Step 7: Test Every Circuit One by One
Here’s the rewarding part. Start your generator and let it warm up for a minute. Then throw the main breaker on the transfer switch to the generator position. You’ve just transferred your home to generator power. If you’re considering an upgrade later, our comparison of automatic vs manual transfer switch explains the tradeoffs.
Flip on one circuit breaker in the transfer switch at a time. Use a plug-in lamp or a known-good appliance to verify each outlet works. Check the fridge lights, the furnace fan, and the sump pump. We found that having a small list helps you stay organized.
If any circuit doesn’t work, turn everything off and inspect your connections. A loose wire is the most common culprit. After you verify all circuits, shut down the generator and flip the switch back to utility power.
Common Mistakes You’ll Want to Avoid
Backfeeding is the biggest mistake you can make. That means plugging a generator into a regular wall outlet and letting power flow backward through your panel. Many guidelines point to backfeeding as a leading cause of line-worker deaths (National Fire Protection Association). It also creates a fire risk inside your walls. Never do it.
Using the wrong wire gauge is another common slip. Thin wire overheats under load. Check your switch’s manual for the minimum gauge required. The distance between the inlet and the switch also matters. Longer runs need thicker wire.
Another mistake we see is choosing a switch too small for your needs. A 6-circuit switch only powers six breakers. If you later want to add an air conditioner or an EV charger, you’ll be stuck. Plan a little bigger than you think you need.
Final Safety Checklist Before You Call It Done
You’re almost there. Take a final walkthrough to make sure everything is buttoned up. A few minutes of checking now prevents headaches later. This checklist covers the essentials we’ve seen fail in rushed installations.
- All breakers are in the OFF position before closing the panel.
- Panel cover is screwed back on snugly, no exposed wires.
- Inlet box cover closes tightly and seals out moisture.
- Generator is off and unplugged from the inlet.
- Transfer switch’s selector lever points to the “Line” or utility position.
- You’ve tested that utility power works after switching back.
Now you can relax. You’ve built a safe connection between your generator and your home. When the next storm rolls through, you’ll be ready with the flick of a switch. And you did it the right way, with code-compliant gear and a whole lot of patience.
Conclusion
You’ve now got the full picture for installing a generator transfer switch the safe way. The key is taking your time, turning off the power, and double-checking every connection. Research and found that most DIY mistakes come from rushing or skipping the voltage test. You planned your circuits, matched your switch to your generator, and wired everything with care. That’s a solid weekend of work that pays off big during the next outage. For a visual reference, our automatic transfer switch installation diagram guide walks through the wiring step by step.
Your next step is simple. Go through the final safety checklist one more time before you close the panel. Then, run a full test with your generator. When the power goes out, you’ll be ready to flip the switch and keep your home running without a second thought. Great job getting it done right.
Frequently Asked Questions
Do I need a permit to install a generator transfer switch?
Most cities and counties require an electrical permit for this type of work. You’ll usually need an inspection after the job is done. Check with your local building department before you start. Skipping the permit can cause problems with your home insurance later.
Can I install a transfer switch myself or must I hire an electrician?
You can install it yourself if you’re comfortable working inside your electrical panel. However, some states and local codes require a licensed electrician to do the work. We recommend checking your local rules first. When in doubt, hire a pro to at least inspect your finished work.
What size generator do I need for a 6-circuit transfer switch?
A 5,000 to 7,500-watt generator works well for most 6-circuit setups. That size handles a fridge, furnace, lights, and a sump pump. If you want to run a well pump or a microwave, go bigger. Match your generator’s wattage to the total load on your chosen circuits.
How long does it take to install a generator transfer switch?
Most homeowners finish the job in four to six hours. That includes mounting the box, running wires, and testing every circuit. If you’re new to electrical work, plan for a full day. Having a helper for fishing wires can cut the time in half.
What happens if I plug my generator into a wall outlet instead of using a transfer switch?
That’s called backfeeding, and it’s extremely dangerous. It can send electricity back through the utility lines and injure a line worker. It also creates a serious fire hazard inside your walls. Research and found that backfeeding causes injuries every year. A transfer switch is the only safe way to connect your generator to your home.