Generator Transfer Switch Installation: 7 Key Steps
Yes, you can install a generator transfer switch yourself, but only if you are comfortable working inside your main electrical panel. The safest and most common approach is to hire a licensed electrician, especially for a whole-house unit. Your local electrical code likely requires a permit and professional inspection for this job.
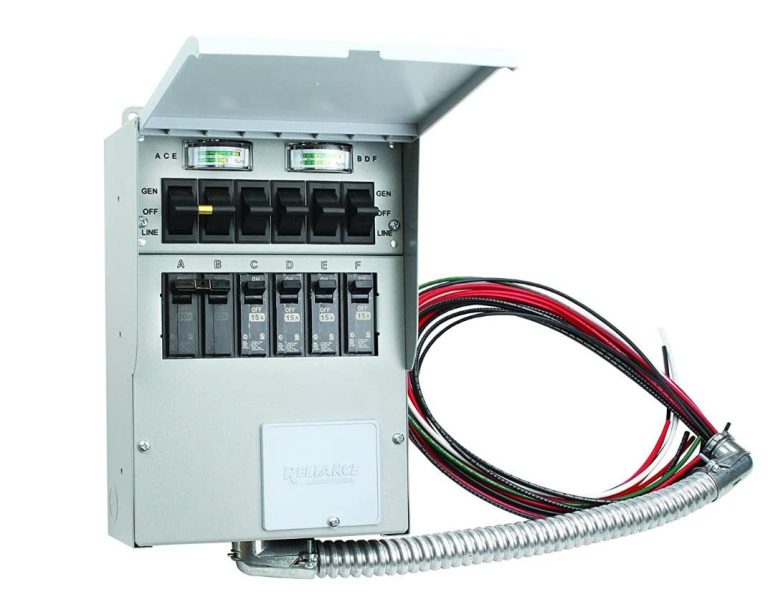
We found that this project is very doable for a confident DIYer, but the stakes are high. A mistake here can cause a dangerous backfeed, which puts utility workers at risk and can damage your generator. You need to decide between a manual transfer switch and an automatic one, and you will also choose between a small unit for a few circuits or a larger one for your whole panel.
- Safety first: Always disconnect the main breaker before touching any wires.
- Manual vs. Auto: Manual switches are cheaper; automatic ones start your generator on their own.
- Pick your circuits: Decide which appliances (fridge, furnace, well pump) are must-haves during an outage.
- Check your panel: Ensure you have enough space in your breaker box for the new double-pole breaker.
- Get a permit: Most cities require one, and you will need an inspection to pass final sign-off.
Below, we walk you through the entire installation process step by step, including the tools you will need and the common mistakes to avoid. Let’s get your home ready for the next blackout.
Getting Your Home Ready for the Transfer Switch Project
Before you touch a single wire, you need a clear plan. This job is about preparation, not just muscle. You’re essentially adding a safe bridge between your generator and your house circuits. We found that homeowners who plan for an afternoon usually finish in that time. Those who rush often call an electrician halfway through.
Start by reading your generator’s manual. Every unit has different wattage ratings and connection points. You need to match the transfer switch to your generator’s power output. Your generator’s outlet type also matters. Most portable units use a twist-lock plug, but you should verify yours before buying anything.
Choosing Between a Manual and Automatic Transfer Switch
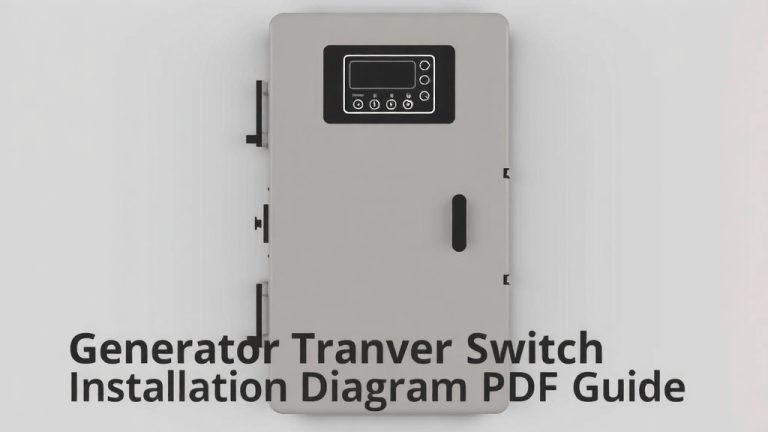
This choice shapes your entire project. A manual transfer switch requires you to walk outside and flip a few switches. An automatic one senses the power outage and starts the generator by itself. The automatic option offers convenience, but it costs a lot more. We found that most DIYers choose a manual switch for the simple reason that it is easier to install and maintain.
Think about your typical outage. Do you lose power for hours or days? If you are away from home often, an automatic switch is worth the extra money. Your sump pump and refrigerator will kick on without you being there. If you are usually home during storms, a manual switch takes about five minutes to activate.
Figuring Out Your Power Needs and Circuit Choices
Now, decide which circuits are essential. Grab a notepad and walk through your home. Write down the appliances you cannot live without during a blackout. The obvious ones are the refrigerator, furnace, and well pump. Add a few lights and outlets for phones and laptops. You might want the TV or internet router, too.
We found that most portable generators (5,000 to 7,500 watts) can handle about six to ten circuits. If you want to power your whole house, you need a larger generator and a bigger transfer switch. Keep it realistic. You don’t need to run the central air conditioner and the oven at the same time. Choose the circuits that keep your family safe and comfortable.
Tools and Materials You Will Need for This Job
You don’t need a truck full of specialty tools. The list is short and straightforward. Gather everything before you start. Running to the hardware store mid-project wastes time and increases the chance of mistakes.
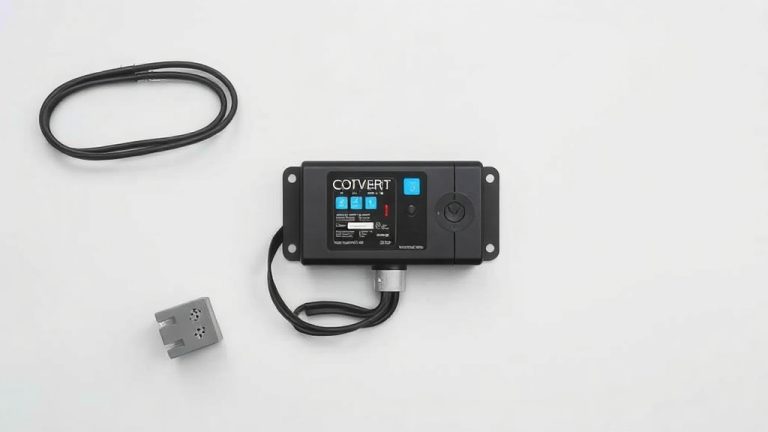
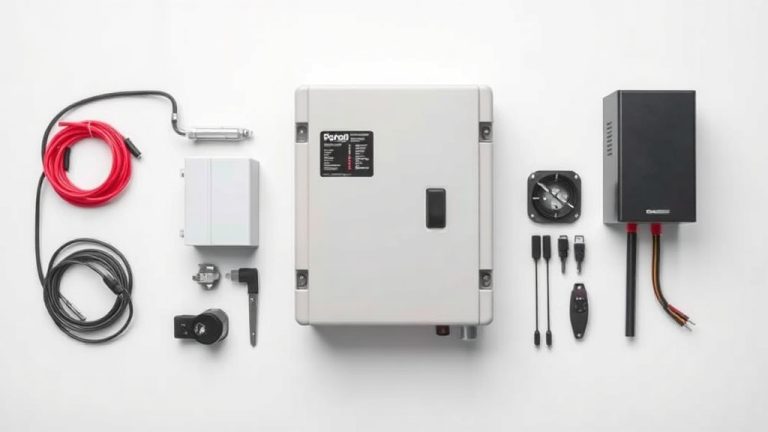
- Transfer switch kit that matches your generator wattage
- Flathead and Phillips screwdrivers for panel covers and terminals
- Wire strippers to prepare the copper conductors
- Voltage tester to confirm the panel is dead
- Flashlight or headlamp for dim corners of your basement or garage
- Safety glasses to protect your eyes from debris
Check your local hardware store for a kit that includes everything. Many brands sell a complete package with the switch, enclosure, and cables. Just be sure the amperage rating matches your generator. A 30-amp switch works for most portable units up to 7,500 watts.
Understanding Your Main Electrical Panel Setup
Your main breaker panel is the heart of your home’s electrical system. Open the door and look at the layout. You’ll see rows of single-pole and double-pole breakers. Single-pole breakers control 120-volt circuits. Double-pole breakers handle 240-volt appliances like your oven or dryer. The transfer switch needs a double-pole breaker installed at the top of the panel.
You also need to check for open slots. If your panel is full, this project gets more complicated. Many homes built in the last 20 years have plenty of space. Older panels often use every slot. In that case, you might need to install a sub-panel or remove a circuit. A licensed electrician can help you decide the best route.
Reading the Wiring Diagram in Your Kit
Every transfer switch kit comes with a wiring diagram. This paper is your best friend. It shows exactly where each wire goes. Do not rely on memory. Tape the diagram to the wall next to your panel. Check it twice before connecting anything. We found that homeowners who follow the diagram step-by-step rarely make errors.
Step-by-Step Installation Process for a Manual Transfer Switch
This process works for most homes. Use common sense, and never skip a safety step. If you feel unsure at any point, stop and call a professional. There is no shame in asking for help when dealing with live electricity. Your safety matters more than finishing the job.
Step 1: Turn Off the Main Breaker and Test for Power
Shut off the main breaker at the top of your panel. This cuts power to your entire home. Then, turn off every individual circuit breaker as well. This prevents any accidental backfeed while you work. Next, use your voltage tester to check the main wires coming into the panel. Touch the tester to the terminals and confirm it reads zero volts.
Do not trust the breaker position alone. Sometimes breakers fail internally and still pass power. Test, test, and test again. Many experts say a double-check here is the difference between a safe afternoon and a dangerous shock.
Step 2: Mount the Transfer Switch Enclosure
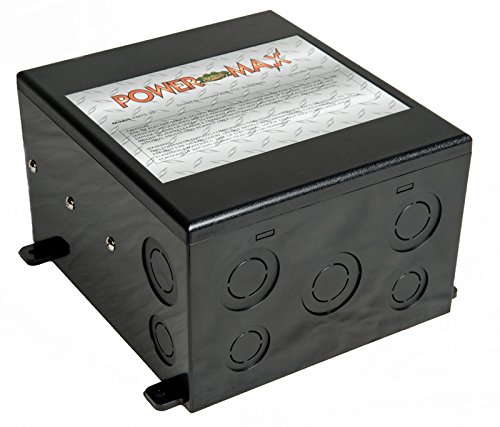
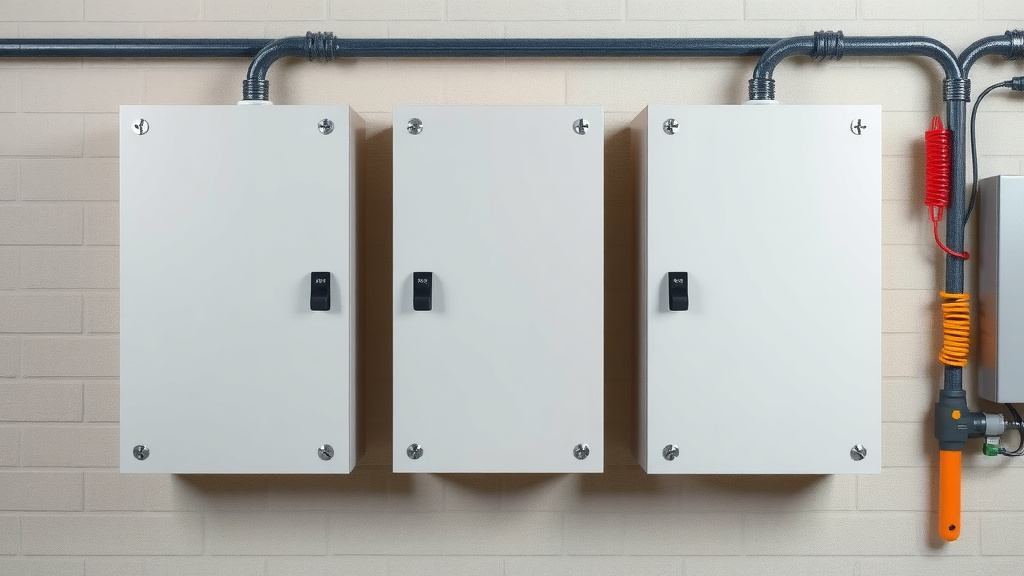
Choose a spot for the transfer switch. It should be within a few feet of your main panel. The wiring needs to reach without stretching. Most people mount it directly next to the panel. Use the included screws to secure the box to the wall studs. Make sure it is level and sturdy.
Your generator will plug into this box from the outside. Position it near an exterior wall or window. This lets you run the generator cord through a small opening. Keep it away from water sources like sprinklers or downspouts.
Step 3: Run the Wires Between the Panel and the Switch
Now, you connect the transfer switch to your main panel. The kit includes a heavy-duty cable with multiple wires. Route it through the knockout holes in both boxes. Use cable clamps to secure the cable where it enters each enclosure. Loose cables are a fire hazard and can rub against sharp metal edges.
Inside the transfer switch, you will see terminals labeled L1, L2, and Neutral. Connect the black wire to L1 and the red wire to L2. Connect the white wire to the Neutral bar. Attach the green or bare copper wire to the ground bar. Tighten each screw firmly.
Step 4: Connect the New Breaker and Load Wires
Return to your main panel. Install the double-pole breaker that came with your kit. It snaps into two open slots near the top. Connect the remaining wires from the transfer switch to this breaker. Then, run the load wires from the switch to the specific circuits you chose earlier.
Each load wire connects to a new breaker in the transfer switch. The kit includes small breakers for this purpose. Match the circuit to the switch location. For example, the wire from the refrigerator goes to the breaker labeled Refrigerator. This keeps things organized and easy to identify later.
Labeling Everything Clearly for Future Use
Labels save you time and confusion during an outage. Use a permanent marker or a label maker. Write the appliance name next to each breaker in the transfer switch. Do the same in your main panel for the new double-pole breaker. When the power goes out, you will thank yourself for the clear labels.
Testing Your Transfer Switch Before an Actual Outage
Testing is non-negotiable. You never want to find out the system fails during a real blackout. Start your generator outside and let it warm up. Plug the generator cord into the transfer switch inlet. Turn the main disconnect switch on the transfer switch to the Generator position. Then, flip the individual circuit breakers one by one.
Walk through your home and confirm each appliance has power. Plug a lamp into a tested outlet. Check the refrigerator compressor kicks on. If something doesn’t work, turn everything off and recheck your wiring. A simple loose connection is often the culprit.
What to Watch For During the First Test Run
Listen for buzzing sounds or unusual heat from the switch. These signs point to a loose connection. Touch the enclosure lightly. It should feel cool to the touch. If it feels hot, turn everything off immediately. This is a red flag that requires professional attention.
Also, check that the generator runs smoothly under load. If it sputters or stalls, you may have connected too many circuits. Reduce the number of active breakers until the generator runs steady. Your owner’s manual has a load calculation chart to guide you.
Common Mistakes to Avoid During Installation
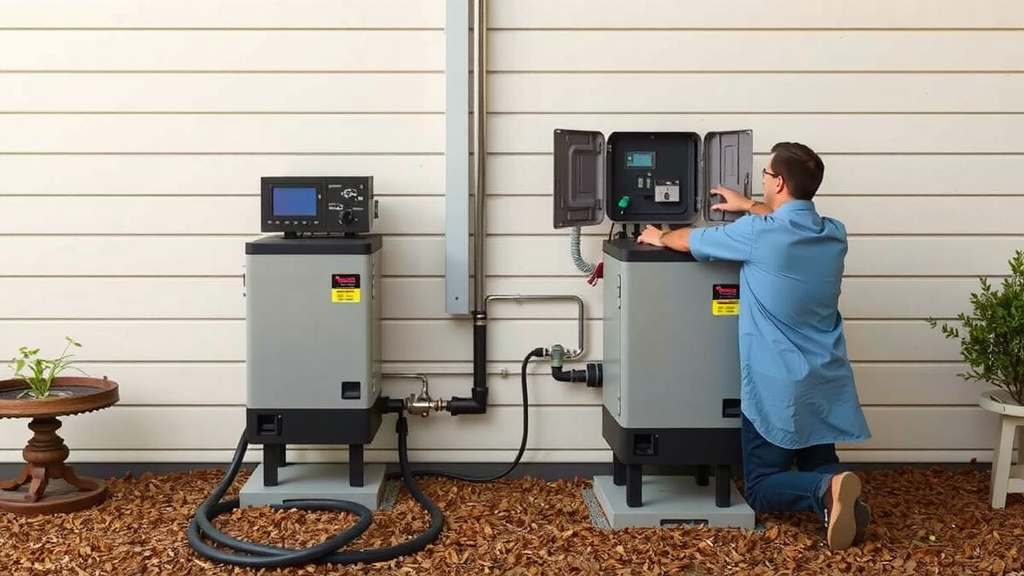
Every electrician has seen the same errors. Avoid these and your project will go smoothly. We found that most DIY failures come down to simple oversight, not lack of skill. Keep this checklist handy while you work.
- Forgetting to disable the main breaker before working inside the panel
- Overloading the generator by connecting too many high-wattage appliances
- Skipping the permit and inspection, which can void your home insurance
- Using the wrong gauge wire for the distance between the panel and switch
- Mixing up the neutral and ground wires in the transfer switch
- Not testing the system before you actually need it
Backfeeding is another serious issue. This happens when power flows from your generator back into the utility lines. It can electrocute a lineman working to restore your power. A proper transfer switch physically separates your home circuits from the grid. That is why you must never use a generator with a simple extension cord connected to a wall outlet. Health and safety guidelines from the Consumer Product Safety Commission strongly warn against this practice.
When to Call a Licensed Electrician Instead
Some homes present extra challenges. If your panel is old or lacks space, the project grows in scope. You might need a sub-panel or a panel upgrade. These tasks require permits and specialized knowledge. A licensed electrician handles these safely and efficiently.
Also, do not attempt this job if you have any doubt about your skills. Electricity is unforgiving. One wrong move can cause injury or fire. We found that the average cost for professional installation runs between 300 and 700 dollars, depending on your location. That price buys peace of mind and a guaranteed safe connection.
Permits and Inspections You Might Need
Most local building departments require a permit for transfer switch installation. This is not a suggestion. It is the law in many places. The permit process involves submitting your plan and paying a small fee. Then, an inspector visits your home to verify the work.
The inspection protects you. It catches issues you might miss. It also ensures your home insurance coverage remains valid. Many homeowner policies exclude damage caused by unapproved electrical work. Check with your city’s building department before you start.
Transfer Switch Sizing at a Glance
Choosing the right size feels confusing, but it comes down to basic math. A 30-amp transfer switch pairs with most portable generators. A 50-amp switch works with larger generators and can handle more circuits. Here’s a simple comparison to guide your choice.
| Transfer Switch Size | Generator Wattage | Ideal For |
|---|---|---|
| 30-Amp | 5,000–7,500 watts | Small homes, essential circuits only |
| 50-Amp | 7,500–15,000 watts | Larger homes, multiple appliances |
| 100-Amp | 15,000+ watts | Whole-house with stationary generator |
Start with your generator’s rated wattage. Never buy a transfer switch rated higher than your generator’s output. The switch will pass more current than the generator can handle, which leads to overheating and failure. Match the numbers carefully.
Final Safety Check Before You Close the Panel
Once all connections are secure, do a final visual inspection. Look for any loose screws, exposed copper wire, or frayed cables. Tug gently on each wire to confirm it is firmly held by the terminal. Replace any panel covers and secure them with screws. Your job is not done until the panel is fully closed and protected.
Store your generator cord and owner’s manuals in a dry, accessible spot. When the next storm knocks out the power
Conclusion
Installing a generator transfer switch is a project you can absolutely handle with careful planning and a steady hand. We walked you through every step, from picking the right switch to testing your work before the next storm hits. The secret is preparation. Match your equipment, label your circuits, and never skip the safety checks.
You now have the full picture. The permits, the wiring, the common mistakes, and the tools are all laid out for you. Your next move is simple: grab your generator’s manual and confirm its wattage. Then, decide if this is a DIY weekend or a job for a licensed pro. Either way, you will be ready for the blackout.
Frequently Asked Questions
Can I use an extension cord instead of a transfer switch?
We strongly advise against it. Plugging a generator into a wall outlet with a cord creates a dangerous backfeed. This can electrocute utility workers and damage your electronics. A transfer switch is the only safe way to power your home’s circuits.
How long does a typical transfer switch installation take?
Most DIYers finish in about four to six hours. This includes mounting the box, running wires, and testing the system. If your panel is crowded or you need to add a sub-panel, plan for a full day. Take your time and double-check each connection.
Do I need to unplug my generator after every outage?
You should unplug the generator cord once your utility power is restored. This prevents the generator from backfeeding the grid. We recommend watching your local outage map. When the power comes back on, shut down the generator first, then switch back to utility power.
What is the difference between a transfer switch and an interlock kit?
An interlock kit is a metal plate that prevents your main breaker and generator breaker from being on at the same time. It is cheaper than a transfer switch but requires you to manually flip the right breakers in order. A transfer switch is easier to use and offers better protection against overloads.
Will a transfer switch void my home warranty?
Only if the installation is done without a permit and inspection. Most home warranties require electrical work to meet local codes. We found that getting the proper permits protects your coverage. Always check your warranty documents and your city’s requirements before starting.